![]()
The warming spring temperatures have ushered in another camping season along with the promise of hot, lazy summer days. Thoughts of spending hours enjoying hiking, fishing, or exploring nature’s secrets in the backcountry come to the forefront of your mind. Yes, it’s time to get the RV on the road with an eye toward air conditioning performance.
The heat of summer is welcoming for many as each day unfolds with higher temperatures. But while evening temps cool down significantly, there are some campers who find the overall climate too warm. For these folks, air conditioners in trailers and motorhomes are both needed and appreciated.
However, having an air conditioner might not be enough. Having an efficient air conditioner capable of producing a steady flow of cold air is needed to complete the summer camping picture.

Getty Images
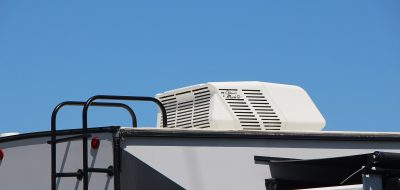
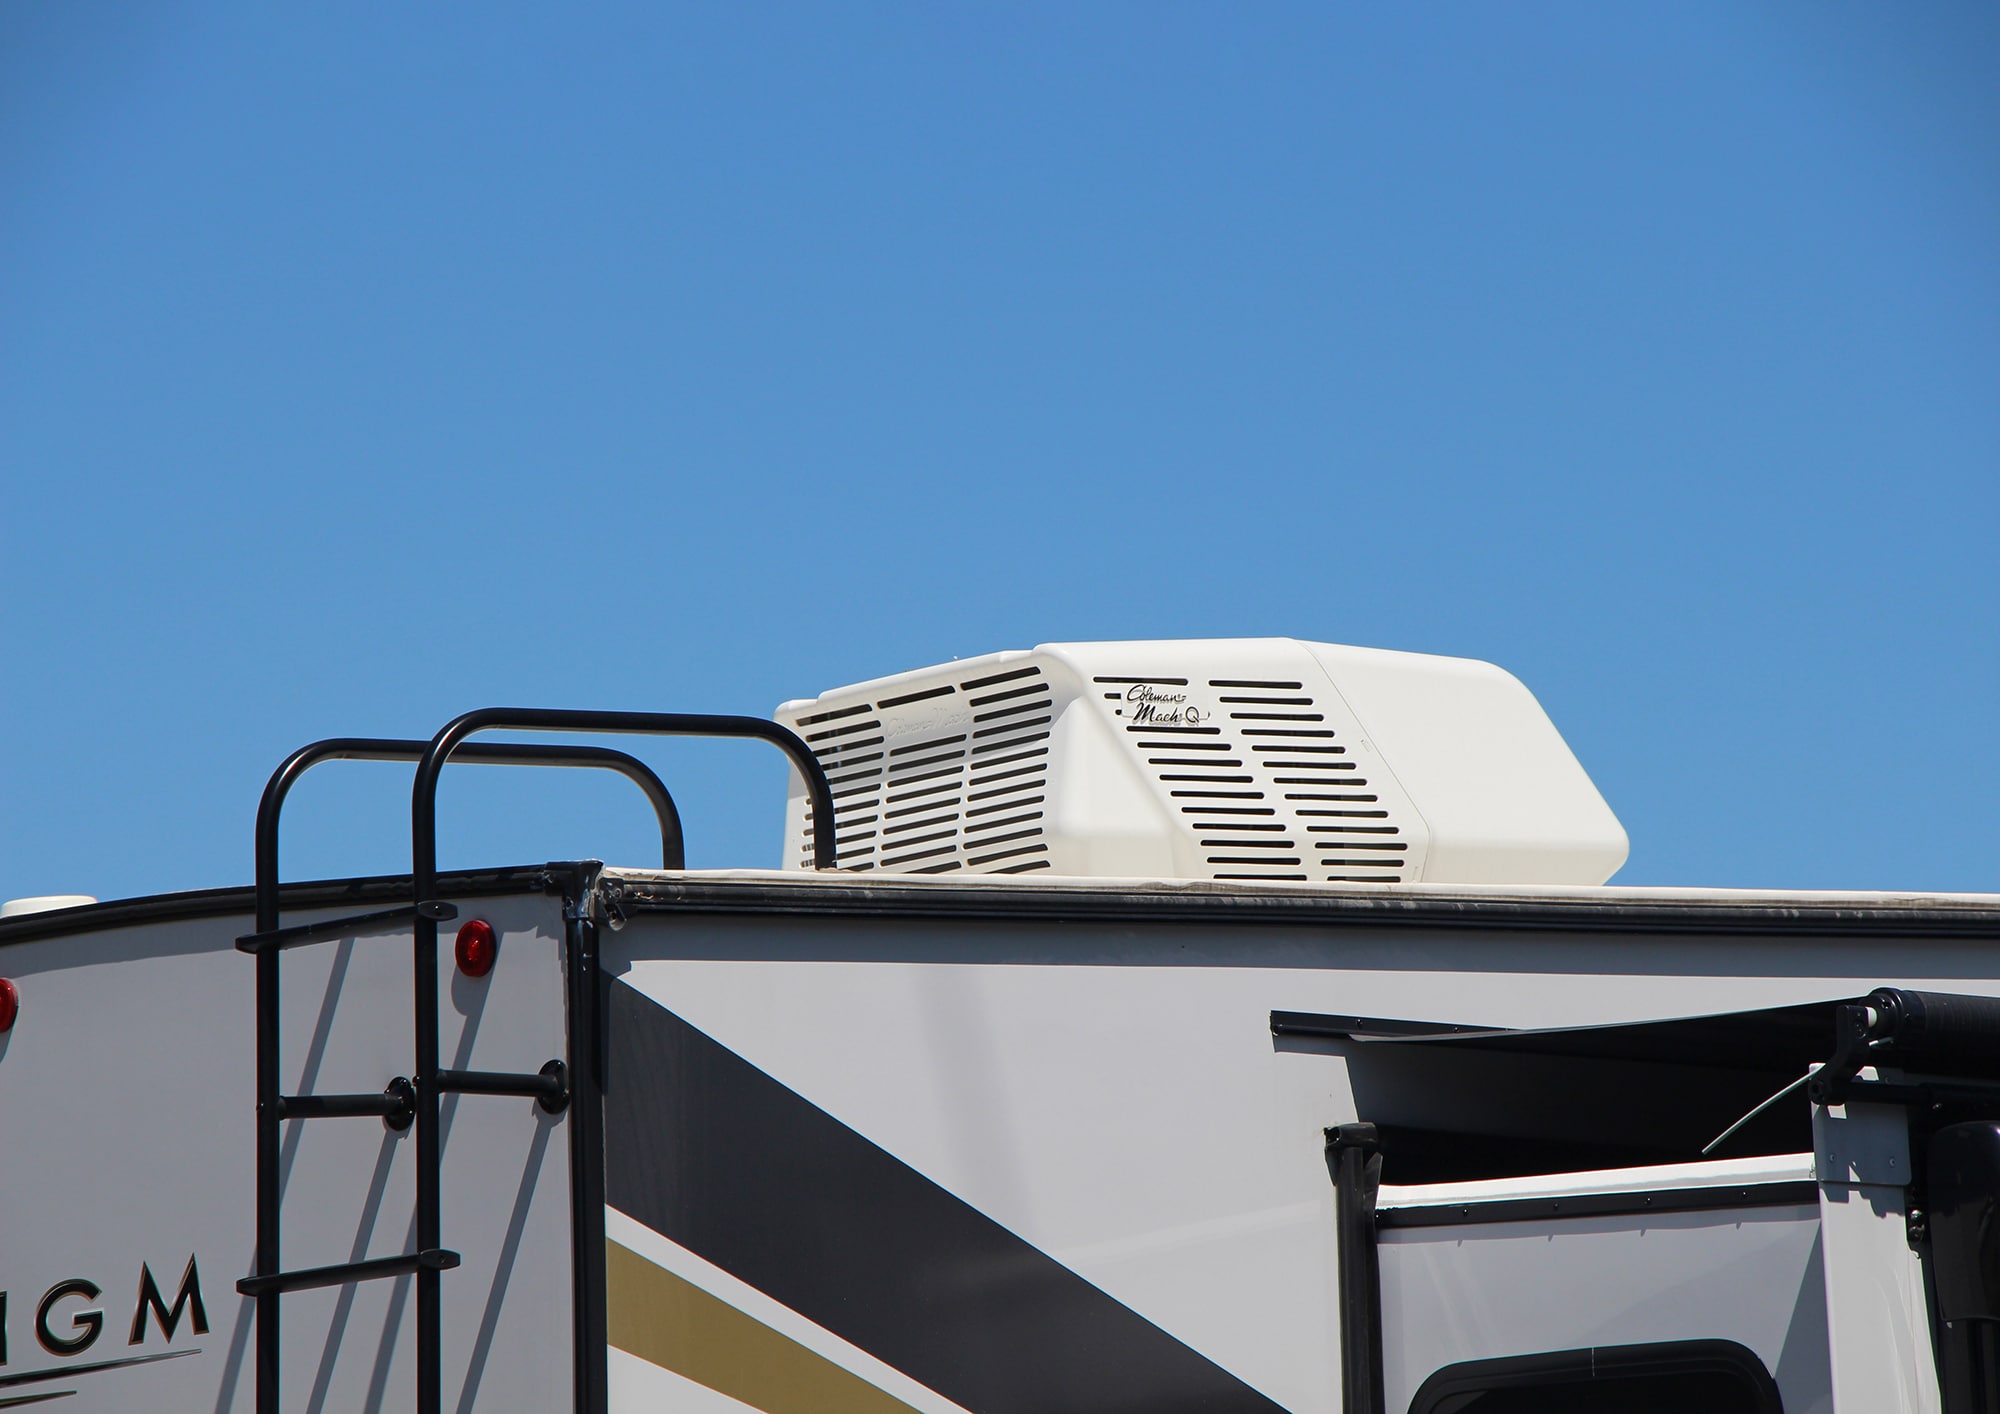
Keeping Your AC Unit Cool
So, how should we go about making sure we are getting the most from our RV air conditioner? Well, before embarking on your first season’s trip, a basic operation test should be made on the air conditioner(s). This involves merely running the air conditioning and measuring the incoming air temperature. A probe thermometer or infrared temperature gun can be used for this. As a rule of thumb, a reading of anything between 16 and 22 degrees Fahrenheit lower than that of the air entering the AC unit is an acceptable result. During this trial run, the functions controlled by the thermostat can be tested and set.
Okay, the temperature appears good. Now remove the air filters and inspect them for relatively non-restricted flow conditions. These are generally washable and easy-to-remove foam-like filters. If any dirt or dust is present, just rinse them clean. Allow these to dry prior to reinstalling. Well, that completes the pre-trip check. We’re ready to depart.
Got Enough Juice?
So you’ve arrived at the campground and are set up in your assigned site. The afternoon temperatures are rising under a brilliant blue sky. You hook up to the campsite shore power and throw the main breaker(s) to the “on” position. Be sure you are not using any extension cords. Use only the power cable that came with the unit. With the air conditioner now whirring and the coach cooling, it’s time to relax.

Voltage monitor. Photo: Peter Mercer
But wait, there is more air conditioning management needed at this point. The incoming camp alternating current power should be checked to confirm that adequate voltage is present. This can be measured at a duplex plug receptacle in the coach using a standard multi-meter or a simple plug-in voltage monitor. The later digital monitor is easier to use and can be left plugged in for future reference. Besides, they are only around $20 at Camping World or other similar suppliers.
Get the Numbers Right
So, what voltage value are we looking for? Well, an average RV roof air conditioner requires a minimum of about 110 VAC (voltage in alternating current). Your campground-supplied voltage is generally around 120 VAC. However, the campsite pedestal power is usually downgraded by use from other RV lot users, and aging wiring component wear and tear. To add to that, a measurement at an interior receptacle will be slightly reduced compared to the main power bus bar. Therefore, a reading as low as 108 VAC may be acceptable. However, running an air conditioner with low voltage causes an increase in amps. The spike in amps contributes to excess heat in the air conditioning unit. This can be damaging to the electric motors, the capacitors, and related control board wiring harnesses and components.
If your reading is below an acceptable value, here is how you may be able to correct it. Turn off all alternating current-powered components. Switch your refrigerator to run on propane, if possible. Turn off any inverters if so equipped. Turn down the battery charger output if applicable. You now should observe an increased reading on the monitor. This should allow you to operate your air conditioning.

Photo: Peter Mercer
Give Your AC Unit a Helping Hand
Okay, now the air is working. Time to give it a hand. Open any roof vents briefly to help expel the heated air at the ceiling. Deploy any awnings that will provide shade for portions of the outside of the RV’s body. Close windows and curtains. Limit entry door traffic, like the kids running in and out. Plan to cook outside using a barbecue or outdoor kitchen. Now sit back and relax.
Keep in mind that we have only looked at basic testing and monitoring of your air conditioner(s). Maintenance needs to be carried out from time to time on the roof-mounted unit. Procedures such as cowl inspection, evaporator cleaning, capacitor testing, drain inspection, and more should be done. While some people may be experienced in doing this themselves, it is advisable to have this work performed by a qualified service center.
A reasonable maintenance schedule and ongoing monitoring of your RVs air conditioner(s) will keep it providing the cool comfort you expect. Uninterrupted service does not just happen. It is planned.
Enjoy your RV journeys in comfort wherever you roam.
To ensure that your air conditioning unit has the protection it needs, check out Good Sam’s Extended Service Plan, which goes above and beyond a manufacturer’s warranty to protect travelers from the high costs associated with a mechanical breakdown.
Peter Mercer — Staying Cool This Summer