When most people think about RV interiors, they envision roughly the same thing — wood-grain cabinets, wall to wall carpet and dated wall panel patterns. After all, this was the default interior motif for the recreational vehicle industry for decades and still is to some extent. In recent years though, as the tiny-living movement has inspired many people to turn RVs into full-time homes and pictures of fully renovated and modernized RVs have garnered the attention of millions on social media, manufacturers have taken notice and begun to offer more modern interiors in their RV models. Many of these are beautiful but, at new RV prices, were out of our budget when we decided to live full time. Here are some easy and budget-friendly ways to update your RV.
Hitting the Highway
When my fiancé and I decided to make the leap into the full-time RV lifestyle, we looked at several newer RVs however, in the end we settled on a 30-year old motorhome with plans to renovate it completely. It was in excellent shape for its age but very dated with pink and blue velvet-like furniture, faded turquoise carpet and flower-printed wall panels. Six months later and a few thousand dollars, we were living in our transformed modern tiny-home on wheels.
How Committed Are You?
That was two years ago, and we’ve loved it ever since (so much so that we’ve actually upgraded recently to a larger camper that we’ve fully renovated) but having renovated a complete RV, I know how daunting a task it can be. Perhaps six months, which seems to be the average for DIY camper remodelers, is too much to commit to. Perhaps thousands of dollars exceed your budget. Perhaps a full renovation is outside your skillset. If you find yourself in one of the above categories, then this list is for you. The following are some of the updates that were easy, many taking less than a day to complete, inexpensive, many less than $50, and made the biggest impact to the overall aesthetic of our RV.
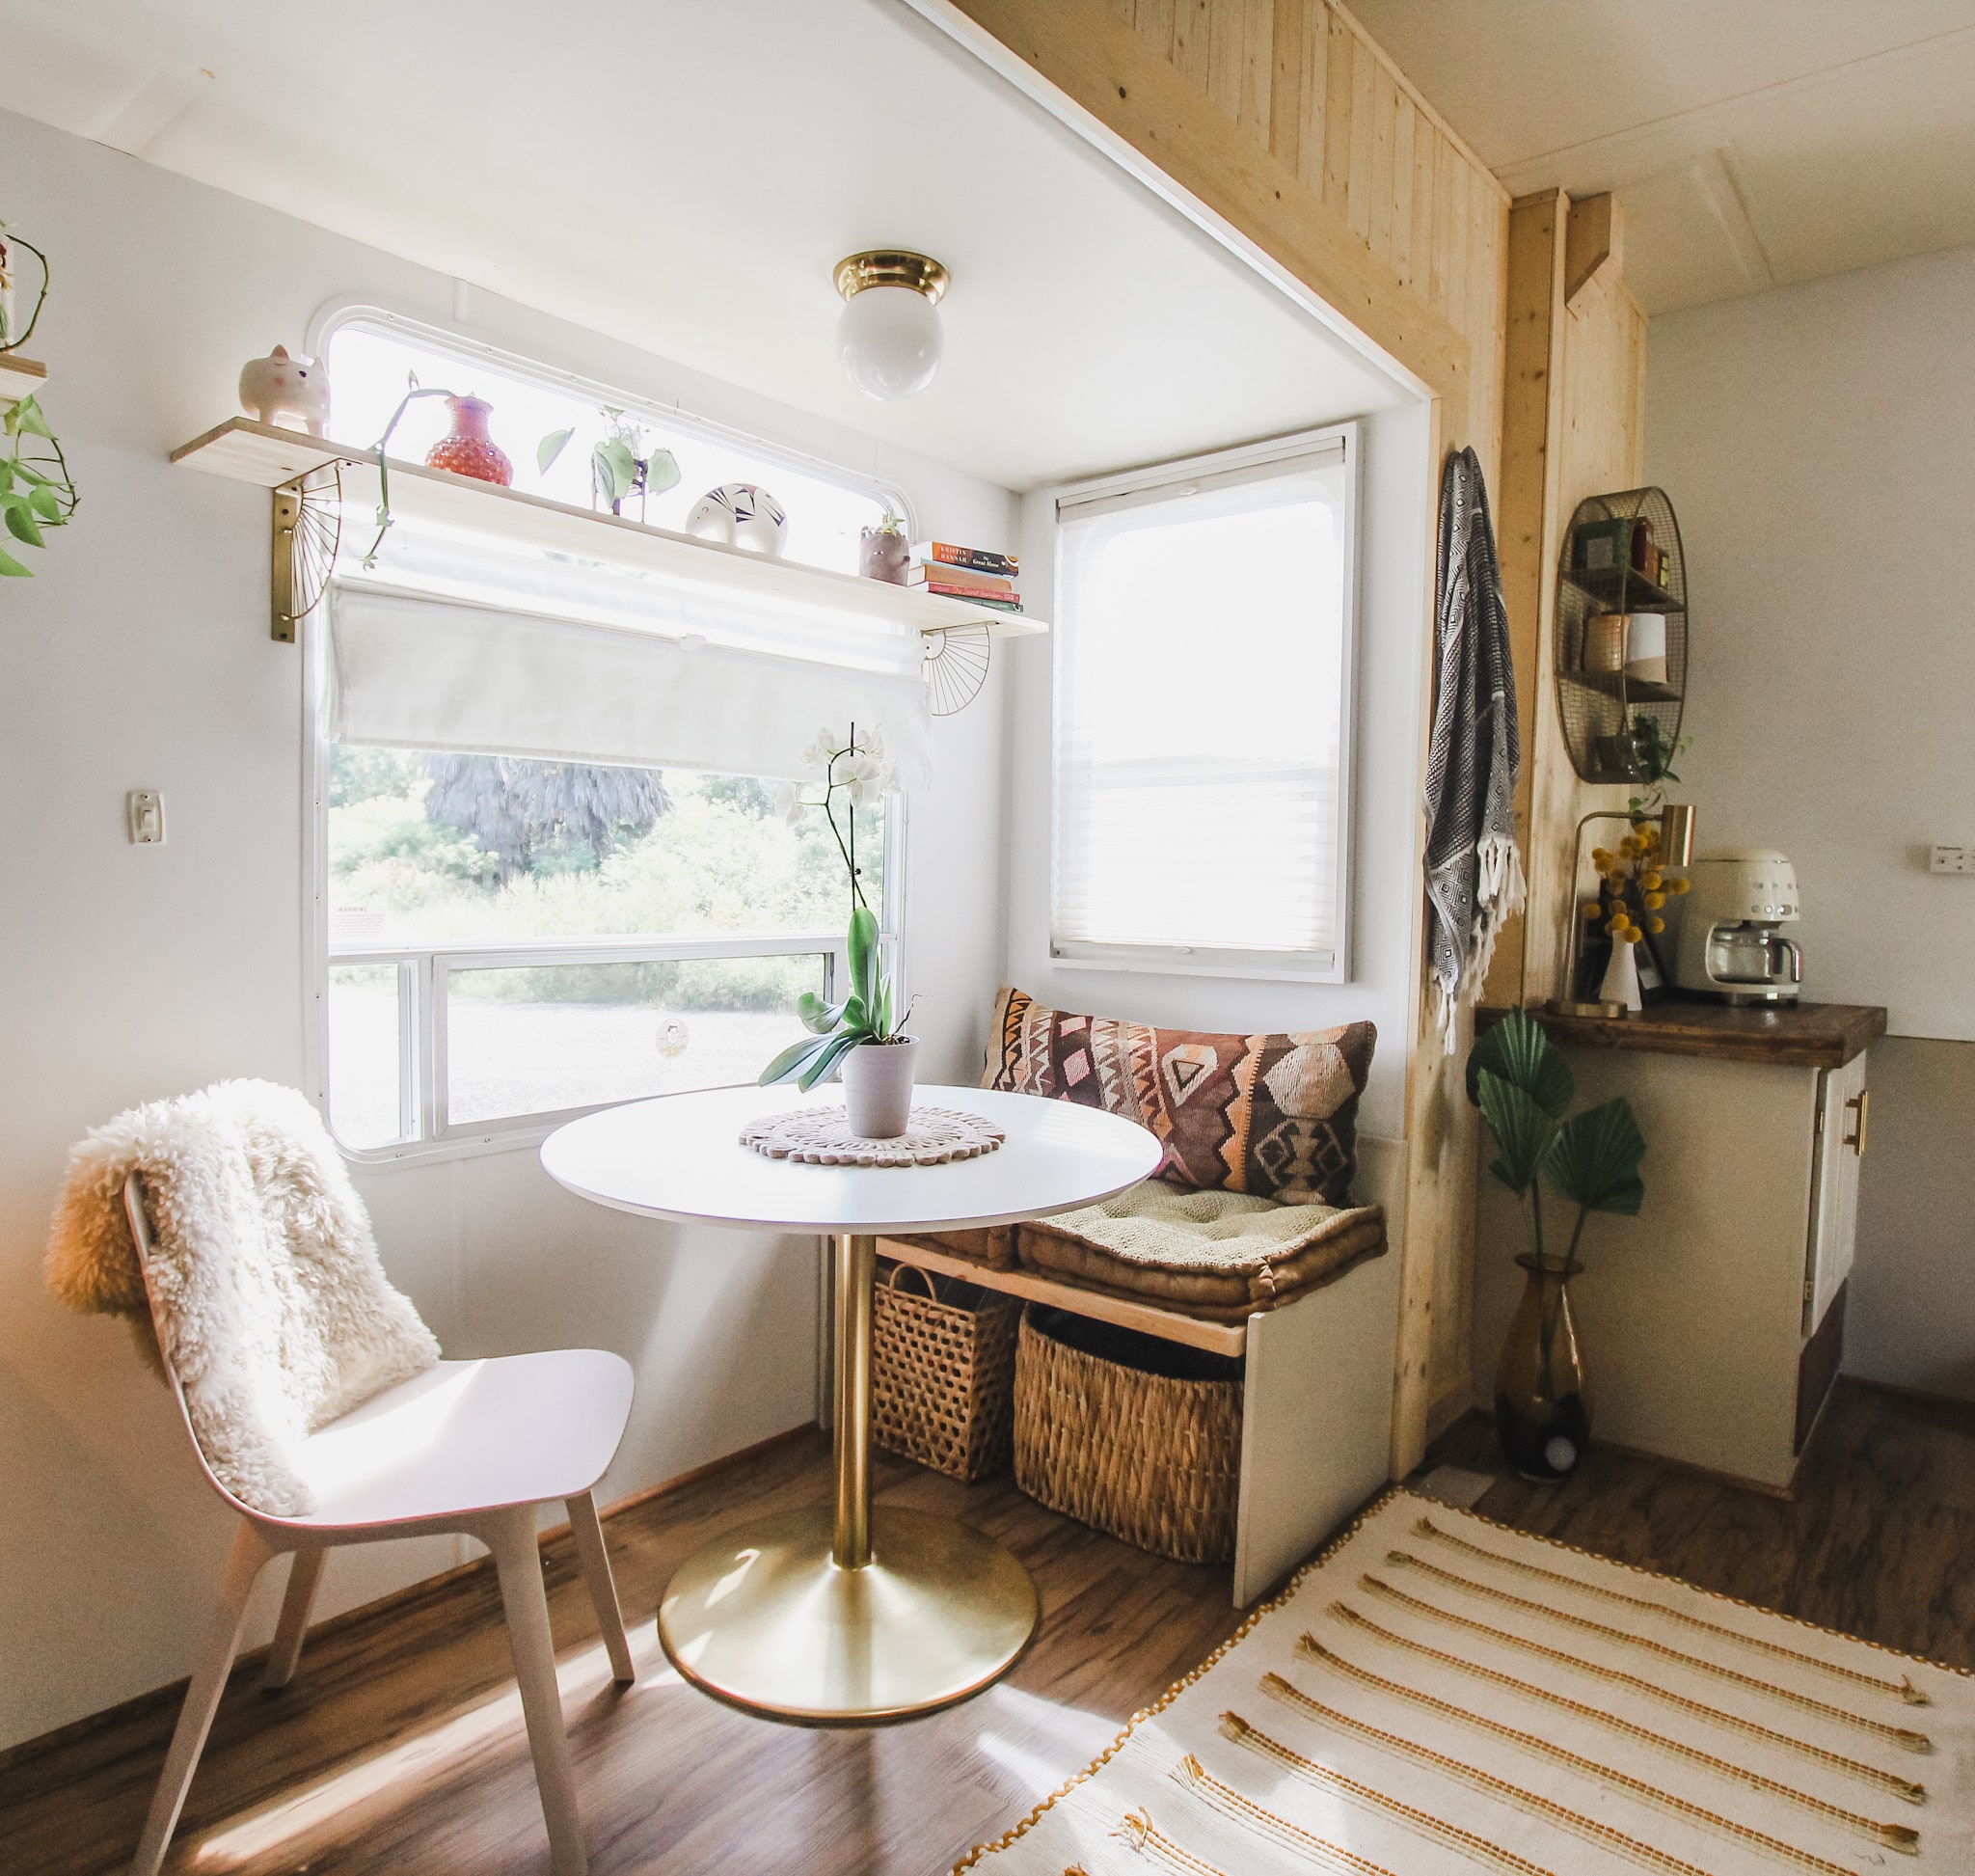
Photo: Rambler on the Road.
Painting
Paint is one of the most budget-friendly ways to update your RV and give it your personalized touch. Many full renovations paint everything just like we did but that’s not required. Start with a single accent wall in the main living space or just a set of cabinets in your bathroom. You’ll be amazed at how much a little paint can transform a space and, because you’re working in such a small space, how far a quart of paint will go in that limited square footage and how quickly it can be done.
Wallpaper
Similar to paint, wallpaper can make a big difference in a small space. Wallpaper can seem daunting if you’re imagining the old school adhesive and heavyweight paper but, new peel-and-stick wallpaper can make the job much easier. In our camper, the wallpaper projects each took less than 4 hours.

White-tile backsplash under the microwave. Photo: Rambler on the Road.
Backsplash
Traditional tile backsplash in campers likely wouldn’t work well due to weight and brittleness. A few good bumps and it would probably crack. Enter another peel-and-stick solution. Peel-and-stick tile is an easy way to quickly update your kitchen or bathroom with a modern touch. With the ever-expanding catalog of patterns and colors, it’s a great way to personalize your RV.
Decor
Most people who own an RV add some personalized art or decoration as a way to make the space their own but often stop short of removing the original decor. Many campers have a clock or mirror or accent wallpaper trim or the like. These are easy to remove and great places to update the look of a camper. In the case of that flowered wallpaper trim, it doesn’t even need to be removed. Just apply a peel-and-stick trim over the top.

Photo: Rambler on the Road.
Window Treatments
Both of the RVs we’ve renovated had similar window treatments – bulky, fabric-covered valances. Not only did these block a lot of natural light from entering the space but also protruded into the room and made it feel smaller. In our RV we replaced the existing window treatments with new. In some spots, we re-used the existing blinds since they were in excellent shape by simply building a new frame (one 8 foot pine 1×2 and a few screws built each frame in our case and cost less than $5 to produce). In other places, we replace the window treatments completely with curtains.
Furniture
Most RVs come fully equipped to live in with many having sofas, recliners, tables and chairs. Typically, this is to accommodate a large family but, in our case, with only 2 adults and 2 chihuahuas, we really didn’t need all that seating. We chose to replace all with furniture that suited our lifestyle better. The sleeper couch became our record console and the two over-stuffed recliners were replaced with a sofa. New furniture can be expensive but in our case, we used the sofa that we already owned that was stored when we left our traditional house. It is excellent for naps. If resale is a concern, just store the old furniture and reinstall it later.

Photo: Rambler on the Road.
Countertops
I know this can seem complicated and expensive to many RV owners but it’s really not that bad. Since you’re working with a small space, the cost is kept down by the scale of the project. In our motorhome for instance, it was less than 10 square feet. Costs can range from as little as $10 to as much as $100 per square foot depending on materials used for your new counters. We chose butcher block veneer for our first renovation at a cost of $150. The original countertops came out easily with just a drill to unscrew the counter from the cabinets and served as a perfect template to modify the new counter. The entire project only took one afternoon and made a big impact on the design of the kitchen.

Photo: Rambler on the Road.
Light Fixtures
This may also seem daunting to the DIY RV remodeler, but it doesn’t have to be. Since most RV lights are powered by the 12-volt system, most RV light fixtures are limited to automotive style bulbs and just a handful of styles. However, most standard light fixtures can be used in an RV by simply using a 12-volt bulb. We upgraded the dinette light and bathroom vanity light for less than $50 and just a few hours of work. Working with electrical systems can be hazardous so it’s recommended finding a qualified electrician to help with this.
Whether you’re just a weekend RVer, full-timer or anything in between, there’s no reason that an RV can’t feel a little more like home. Hopefully this list of easy upgrades helps you in that task.