Gather ’round the campfire for some tips on making a toasty and contained blaze.
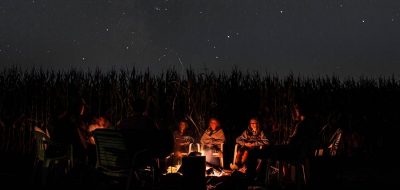
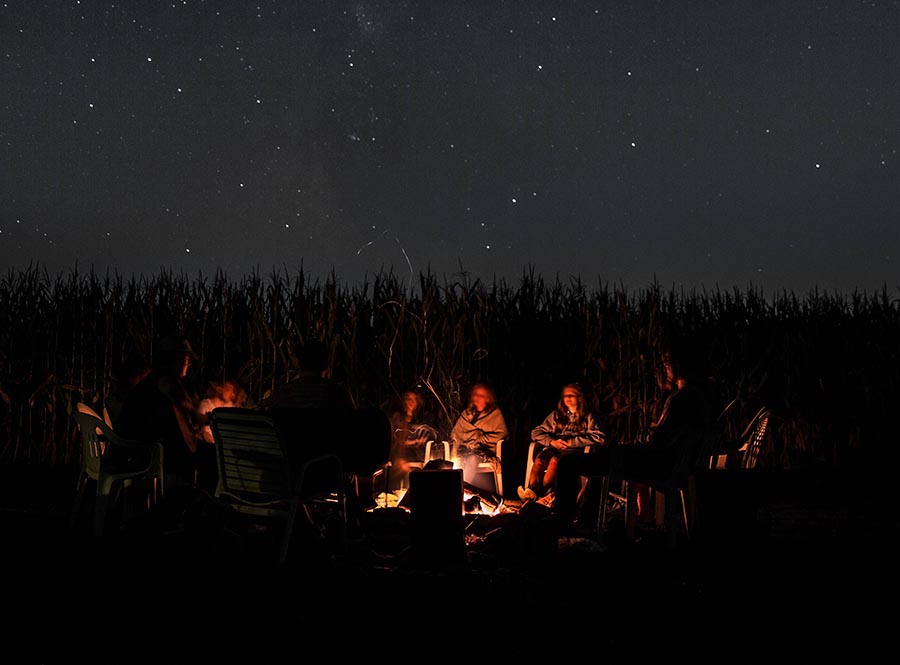
Campfires are a central part of the outdoors experience. Telling spooky stories around the flames, roasting marshmallows until they’re gooey, or simply basking in the warmth with friends and family constitute a big payoff after a day of active recreation.
But starting and maintaining a healthy campfire isn’t always so easy. The process of obtaining the proper fuel, battling the wind and cold, and keeping the fire blazing while observing safety rules can pose some big challenges. So to help you create a robust, contained fire — whether you’re a backpacker in a remote campsite or an RVer sitting around a well-designed fire ring— we’ve put together a few tips.
Ring Around the Campfire
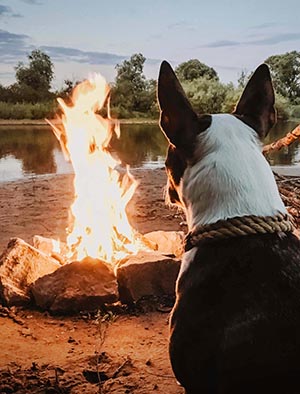
Image: Christoph Wesi
Many campgrounds have fire rings made of metal and concrete, giving you a designated spot for your fire. Undeveloped sites, on the other hand, simply consist of bare ground. If you fall into the latter category, make sure you’ve checked the federal, state or local agency that administers the site to make sure that fires are allowed. A permit may be required.
If you’re starting a fire in the backcountry, clear nearby brush and low-hanging branches that could turn your little blaze into the next big forest fire. Remove any grass and vegetation in an area with a radius of between 8 and 10 feet, recommends ReserveAmerica. Make sure the ground is composed of sand, gravel or mineral soil — heat can sterilize healthy soil. Remove any debris (burnt wood, foil, etc.) from previous campers. Create a makeshift ring with rocks to contain the fire.
Finding Fuel
When it comes to finding wood for your fire, keep it local. If you bring logs from your home base, you may introduce pesky insects to vulnerable habitats. Wood should stay within a 50-mile radius. Fortunately, many campgrounds sell locally sourced firewood on the premises. Call ahead to make sure that you will have a local supply.
If you’re foraging for firewood in the backcountry, use only wood that has broken off from trees and bushes; never cut wood from living trees, says ReserveAmerica. Avoid procuring branches thicker than an adult’s fist, as this material rarely burns completely. Again, check with the administering agency regarding fire rules.
Also, make sure you have the proper tools to start your campfire. Gander Outdoors recommends some handy products for the task.
Sparking the Fire
We’ve all seen those adventure movies where the hero ignites a pile of dry pine needles with nothing but two sticks. Fortunately, today’s campers carry matches or butane lighters for easy ignition, but you’ll still need tinder: small twigs, dry leaves or pine needles to start the flame. Wadded paper, cardboard and wood shavings also will suffice.
Another key ingredient is kindling, made up of small sticks that are usually less than 1-inch in circumference. This will take your fire to the next level.
Check out this fantastic overview of starting a fire from Go RVing Canada:
Building a Better Blaze
Now comes the big decision: What kind of fire do you want to build? Seasoned campers will tell you that different firewood configurations serve different purposes, so here are some options.
Tepee: This simple design is suitable for cooking. Place your tinder bundle in the center, then surround it with a “tepee” of kindling sticks. Place your wood in a similar fashion around the kindling. Light the tinder, and the upward flames will grow as they ignite kindling and then wood.
More tepee basics here from CleverHiker.com:
Lean-to: Is your campsite buffeted by a steady wind? Then the lean-to fire might be your solution. Place a long piece of kindling into the ground at a 30-degree angle, with the end of the stick pointing into the wind. Put your pile of tinder under the stick as a support, then lean additional pieces of kindling against the first stick so that it forms a “lean-to” over the tinder. Take extra caution, as windy conditions can carry embers away from the fire.
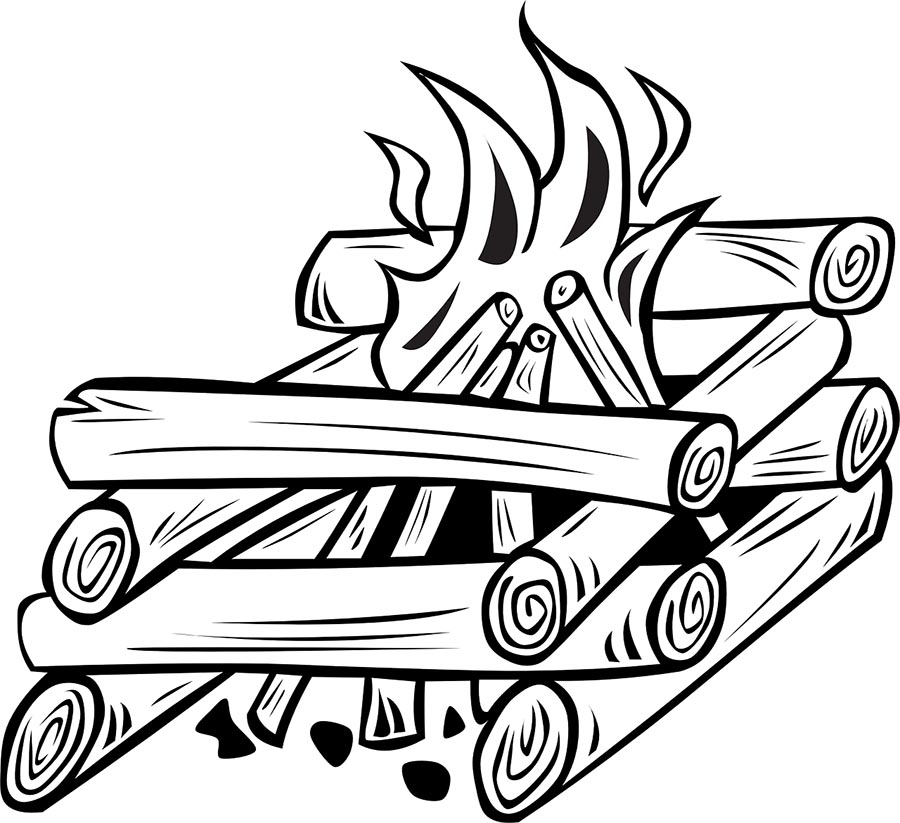 Log Cabin: If you’ve ever played with Lincoln Logs, then this design will be a snap. Place a tepee of tinder and kindling in the middle. Place two logs in parallel on each side of the tinder. Stack another pair of logs on top of the first pair so that it looks like #. Continue until you’ve built your “log cabin,” and light it up.
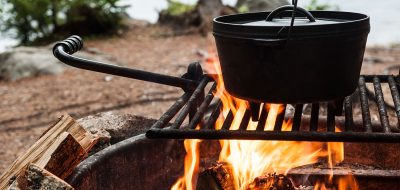
Platform: This configuration is another favorite for campfire cooks. Like the log cabin, you place the logs in perpendicular rows, but instead of pairs, place three or more logs in a dense configuration. Light from the top to create a solid “platform” of coals for pots and pans, says Backpacker.
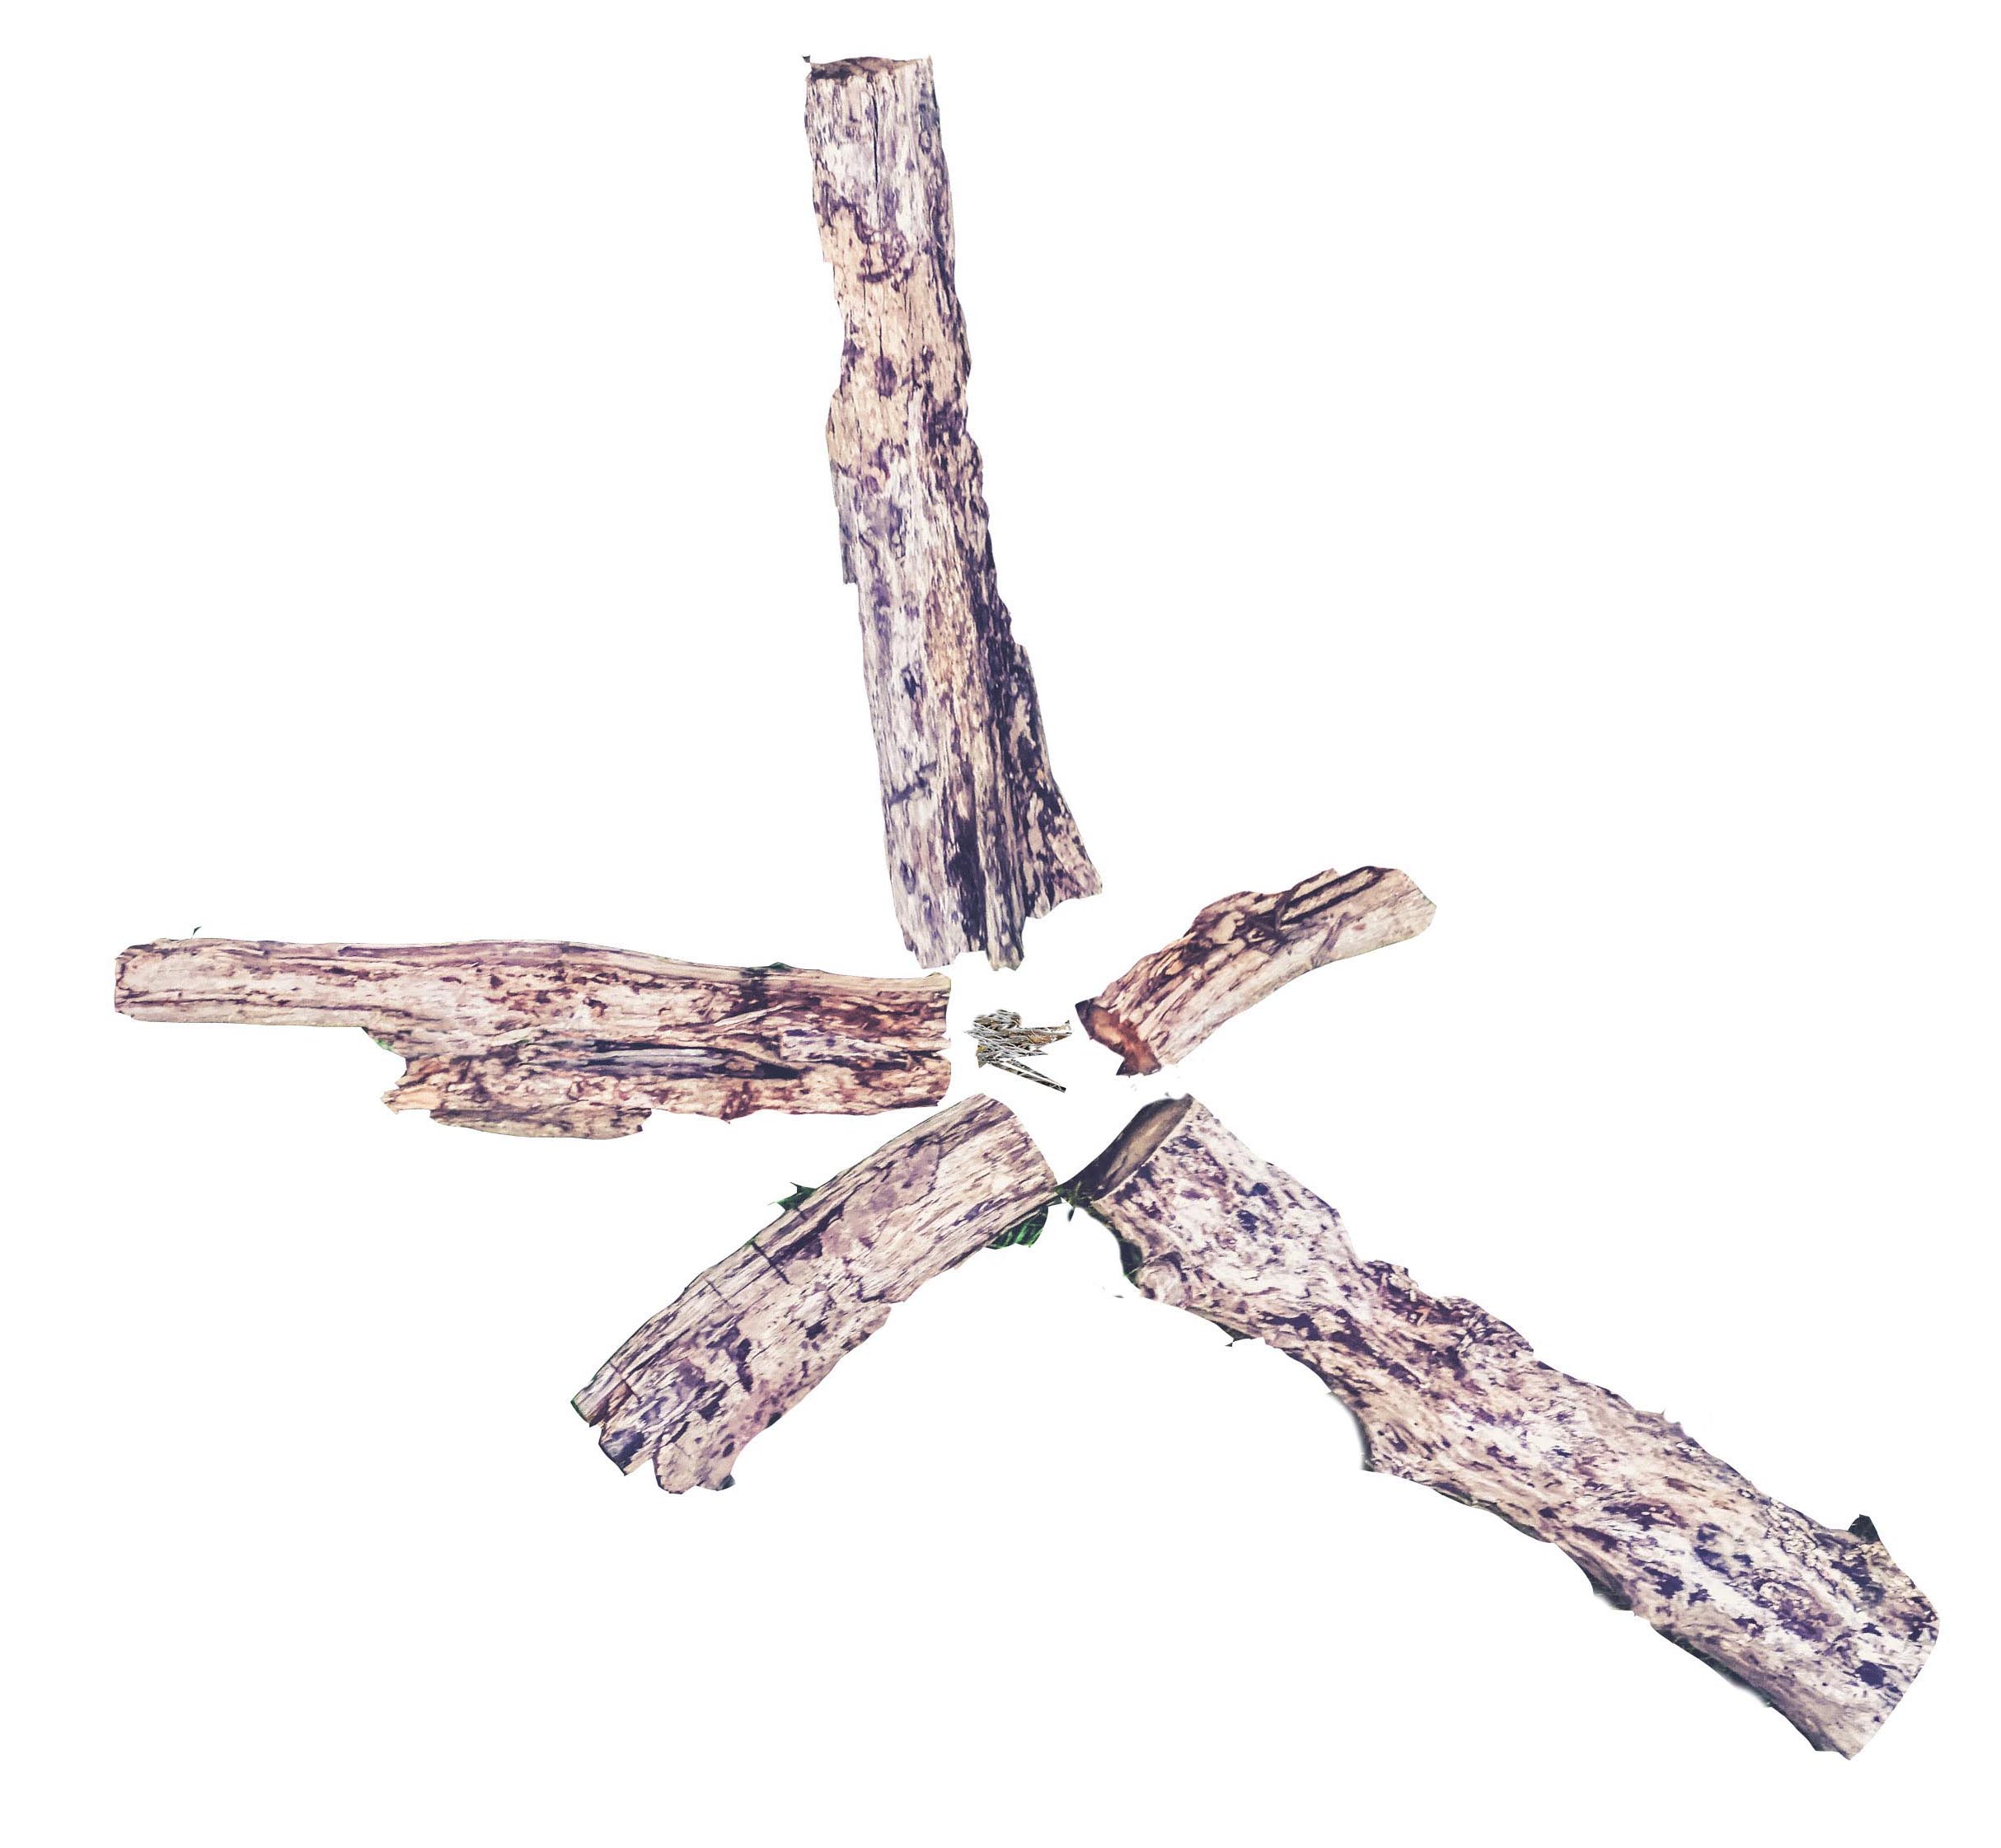 Star: Prefer a slow burn? To build a star fire, place logs end-to-end so that they resemble an asterisk. Place tinder and kindling in the center of the asterisk, and light. Nudge logs toward the center as they burn for gradual consumption. To extinguish, pull logs apart.
Burning and Extinguishing Basics
Keep your fire under control — never stack the wood so high that the blaze will collapse and spill out of the fire ring. Keep an eye on the fire at all times, and keep a shovel and water in reach to snuff out any out-of-control flames. If you’re using a grill for cooking, make sure it’s on a stable base — hot metal can cause serious burns (and you don’t want those hot dogs to fall into the flames if the grill tips). Plan a campfire-friendly treat to take advantage of your makeshift heat source.
Ready to call it a night? After extinguishing the flames with water, stir the embers with a stick and pour more water on it. Don’t leave the site until the ashes are cool to the touch; allow 20 minutes for the process, according to the Art of Manliness. Clean up and remove any plastic or foil that might have accidentally fallen into the fire. If you’re in the backcountry, crush any remaining charcoal and scatter the remains in a wide area.
Last step: Keep an extra supply of marshmallows on hand for the next night’s campfire.