Get the RV ready for travel this camping season. Follow these key steps to get your vehicle in top shape for adventure.
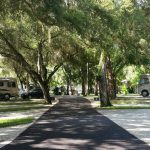
The warmer weather signals that another camping season is just arriving. If you’re not a Snowbird or Sun Belt resident, you’ve probably kept your rig in storage. Well, now it’s time to get the RV out of hibernation and prepare it for those trips you’ve been dreaming about all winter.
But before you turn the ignition, hold on. Your RV has been parked for months, and all of that idle time has taken its toll in a wide variety of ways. So take a deep breath and allot some time to do the necessary chores before the first of the season’s first cruise departs. Let’s look at the array of potential problems and necessities you face as you ready your rig.
1) General Walk-around Inspection
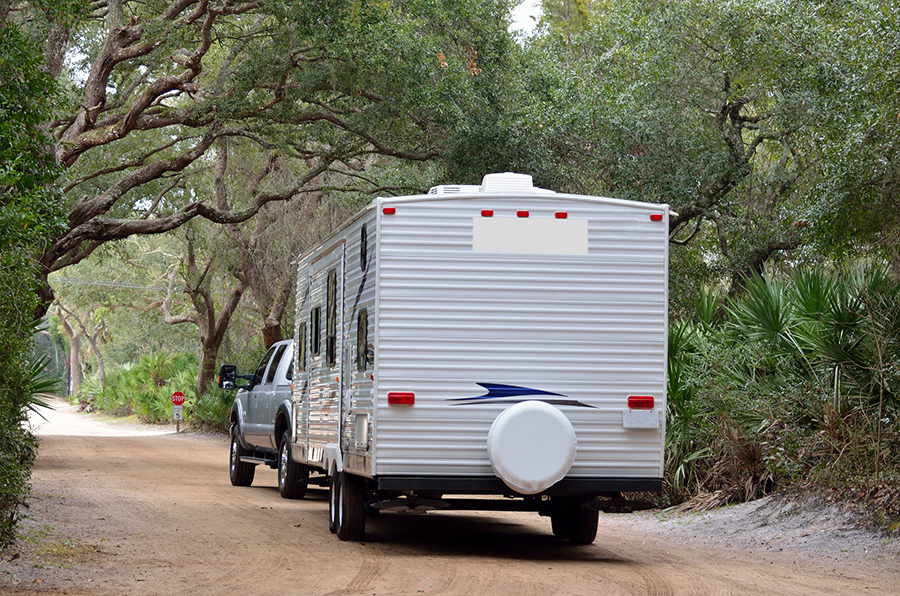
You should first take a walk around your recreational vehicle to verify that no damage has occurred during the storage. Also, look for any signs of fluid leaks from wheels, radiator and engine compartment. If your RV has been exposed to the sun and cold temperatures, you should closely examine areas prone to deterioration, such as weatherstripping, paint, decals and tires (see below).
While we’re on the subject, it’s always a good idea to remember the basics of the all-important pre-trip check, which includes a 360-degree walk-around. This applies to your travels throughout the year.
2) Freshwater System
The RV anti-freeze that was flushed through the freshwater system in the fall must be purged out and rinsed thoroughly. If you used only compressed air to purge the lines, a good rinse should still be done. Close the tank drain and test the system. Inspect for leaks. With the taps turned off, listen for the pump to stop. Listen for a couple of minutes to assure the system maintains pressure. If the pump starts and stops, you have water escaping somewhere or a failed check valve at the pump output line.
Check out more freshwater tips for a clean system.
3) Tires
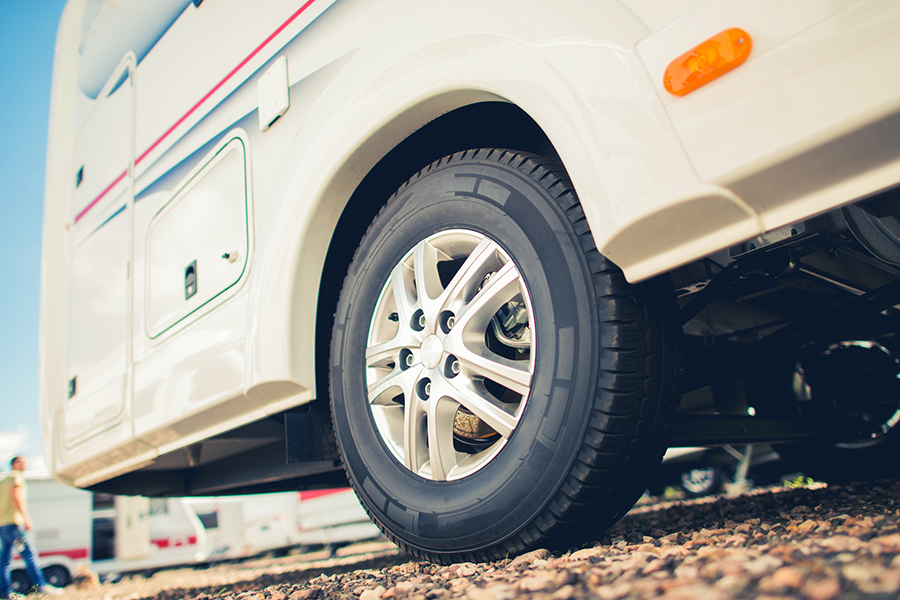
Do a close visual inspection of each tire. Even though they were fine when you stored them in the fall, tires can fall victim to aging, deterioration or accidental damage during extended layups. Check the sidewalls for any cuts or cracks and if present, measure the depth of each. At 3/32-inches, tires should be replaced without delay.
While inspecting your tires, take the time to measure tread depth to confirm uniform wear. Tread depth must be a minimum 3/32 inches for summer tires. (These specs may vary depending on the make and size of the tire and should be verified by the specific manufacturer of the product.) If you don’t have a tire tread gauge, use a coin and scratch the tread height on it. Then just measure the scratch-to-coin edge with a measuring tape.
Check the cold tire pressure of each and adjust according to the required pressure for your specific RV loaded weight. Remember, pneumatic tires lose air pressure over time. So, make sure to check and adjust from time to time, as well as for substantial ambient air temperature changes.
4) Running Fluids
All running fluid levels should be checked, including engine oil, brake fluid, radiator fluid, transmission fluid, power steering fluid, cooling system coolant and windshield-washer fluid. Perform a visual inspection of the axle hubs on both sides of the wheels to assure none are leaking. View the footprint profile where the vehicle was parked after moving the rig. Any signs of fluid leaks should be located from the profile position and investigated.
5) Rodent Recon
Too often, rodents take refuge in RVs during the cold winters. Look for droppings in drawers and in cubby holes. Mice, rats and other furry critters can chew into wiring harnesses and insulation. If you discover the presence of these little intruders, check all wiring bundles and under the hood gear. Find a suitable pest deterrent to ward off these wannabe residents.
6) Battery Bank
 Get your DC (direct current) electric system up and running, whether that means re-installing the batteries or just re-connecting after they have been plugged into a charger. Wet-cell, non-sealed batteries need to be checked for the water/electrolyte level and topped as needed. Verify the age of your batteries. If they are four or more years old, you should test them to determine their health and their ability to supply adequate service for the coming season. (All batteries have a code stamped into the positive terminal or on the top of the case. Refer to your battery maker’s website to determine the code sequence.)
There are two ways to do a simple battery test. A voltage reading using a multimeter or a specific gravity test using a hydrometer. Sealed batteries can only be voltage tested. To perform a voltage test, a fully charged battery must be disconnected from all loads and left for at least an hour or two. Then, using a multimeter, measure the “Rested state, or open circuit” voltage. It should be at least 12.8/12.9 volts DC. For the specific gravity test, you need a battery testing hydrometer. Here, with a fully charged battery, we are looking for a reading of 1.265 per cell.
If the batteries do not meet the needed specifications or happen to have gone dead flat during the layup, they should be replaced.
7) Clean Up the RV
Give the RV a wash to get rid of the dust and dirt that accumulated over the winter. You’ll want your RV to look new and be sparkling bright for the fun season ahead. You also want to impress your neighbors with your clean machine when you invite them to your site for a barbecue.
Now all that’s left to do is embark on that long-awaited RV adventure across North America. Check out Camping World to stock up on the supplies and accessories you’ll need for the road ahead.
Peter Mercer — On The Road Again!