Hi Mark My Words readers,
This month’s column will address some issues with winter storage and camping in frigid weather. Remember to send your RVing questions to [email protected].
Hi Mark,
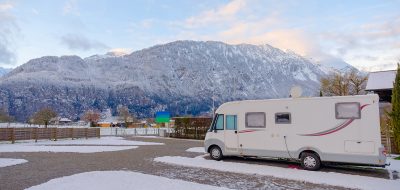
I am spending four months this winter skiing at Mammoth Lakes, Lake Tahoe and Breckenridge. Two of the RV resorts include electric in the monthly rental. The RV resort in Colorado charges a monthly rate plus electricity. My question: Is it cheaper to heat my RV (29-foot Winnebago Minnie) using propane or electricity?
Thank you,
Tom
Hi Tom,
Manufacturers of electric resistant heaters generally claim that the input of one kilowatt/hour produces about 3,400 BTUs, assuming 100 percent efficiency. Most electric heaters come fairly close to that. Each gallon of propane contains about 91,700 Btus of heat energy. A typical RV forced-air furnace is probably only about 75-percent efficient, so a gallon of propane burned in the furnace will produce about 69,000 BTUs of heat. If you are operating a vent-free heater, like a blue-flame heater or a catalytic heater, those approach the 100 percent
Photo: Getty Images
efficiency level. So let’s see now, my calculator says that it takes about 22 kW of electricity to match the heat output of my forced-air furnace burning a gallon of propane. It would take about 27 KW to match my vent-free heater’s output. Armed with those numbers, it’s easy to figure out whether electric or propane is cheaper at your location. For instance: If I’m using my furnace and the cost of electricity is $.13 / KWH, once the cost of propane reaches about $2.85 a gallon, electric starts to be the better value. In the example above, the break-even point would be about $3.50 a gallon if the vent-free heater was being considered.
Mark,
What is your suggestion on keeping my holding tanks and water lines from freezing in the winter? I’m going to have to live in my RV this winter for work in Wood River, Illinois. Also, at what temp are these items good before freezing and causing water-line breaks and leaks?
John
Hi John,
It’s been my experience that most RVs tolerate nighttime temps down into the 20s fairly well, as long as the daytime temps get above freezing. The problems start when the mercury stays below freezing for days on end. Temperatures in the teens or below can be a real challenge, as any piping that’s exposed under the RV is going to freeze, and in extreme cold, even water lines run through interior cabinets close to exterior walls can freeze. Always keep the RV warm inside and open cabinet doors to allow that warm air to reach internal plumbing. You’ll need to insulate and/or heat any exposed freshwater plumbing and keep your freshwater hose from freezing. If you are traveling a lot, simply use the hose to fill your fresh water tank and then disconnect it and drain it. If you are parked for a longer period, consider heat taping and insulating your water hose. Standard 110v heat tape can be wrapped in a spiral along the length of the hose and then covered with either round foam pipe insulation or fiberglass batting wrapped with tape. Don’t forget to wrap the faucet to protect it, and add a pad of insulation where the hose connects to your RV. In moderately cold weather, this should keep your water flowing. If it gets extremely cold (below zero), it may still be necessary to let a faucet drip overnight.
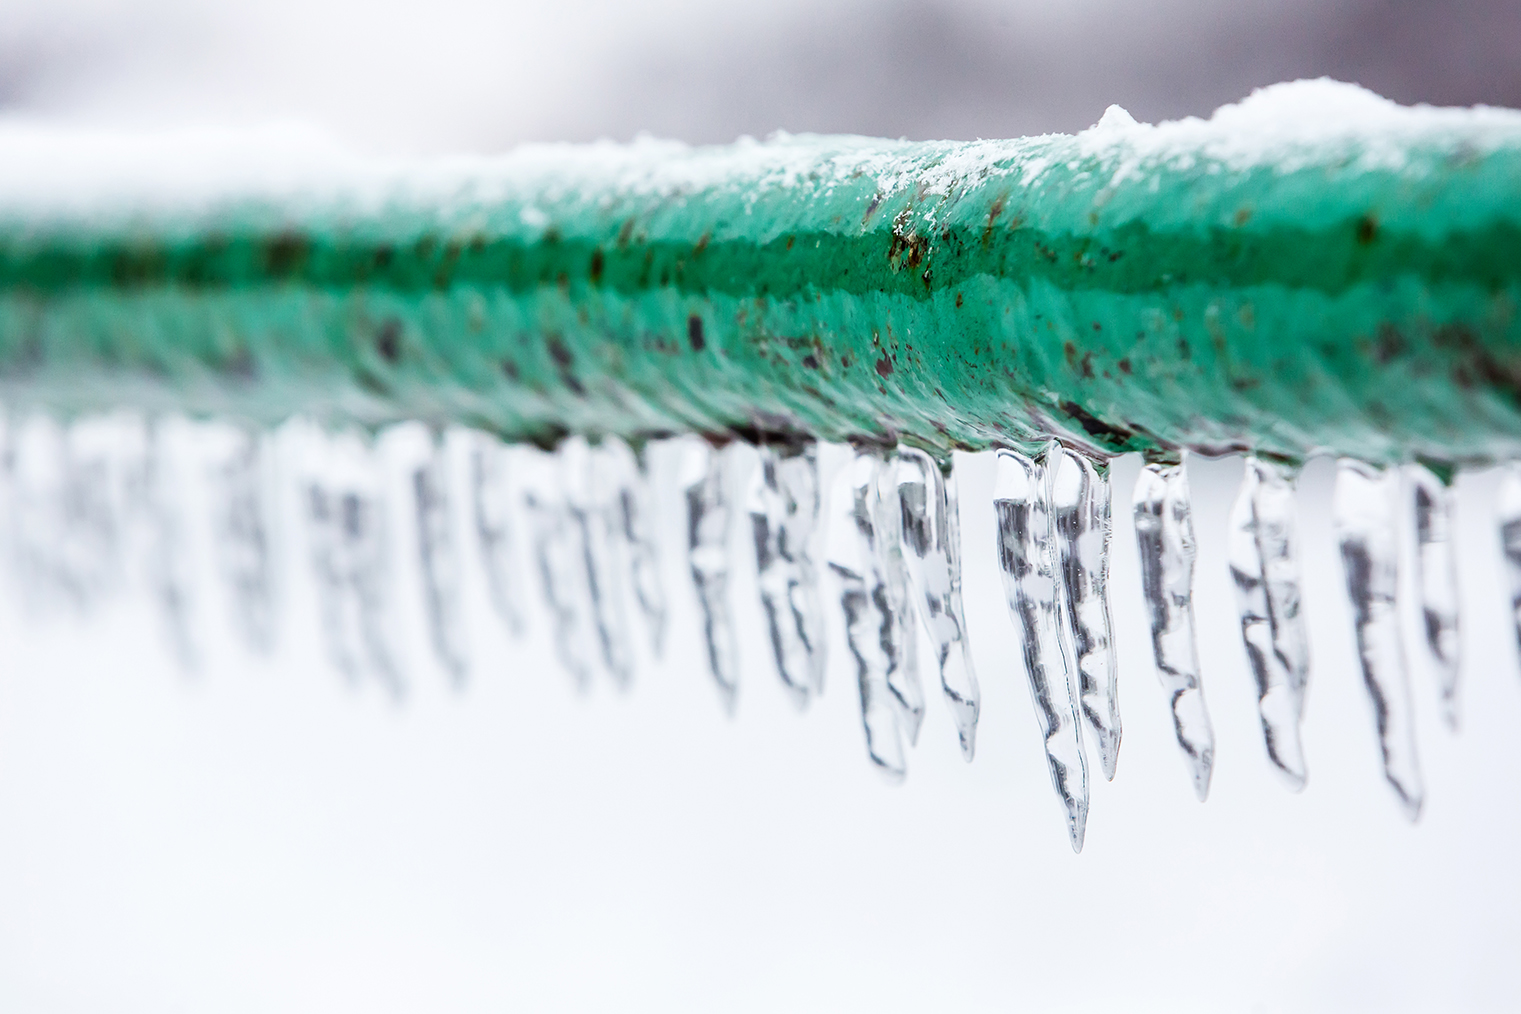
Photo: Getty Images
Sewer lines need special attention in subfreezing weather, too. It’s necessary to support the hose and provide a continuous slope from the RV sewer connection to the park sewer hookup. That way, water will drain from the hose and not create an ice plug at the low point. Alternately, you can use a straight section of thin-wall PVC sewer pipe and the necessary fittings to complete your sewer hookup. The PVC will stand up to cold temperatures better than your plastic hose and is fairly inexpensive.
If your RV has exposed tanks, you will need to take extra steps to protect your freshwater and holding tanks from freezing. In milder climates, where the temperature routinely rises above freezing during the day, you can usually get by with keeping your fresh tank topped up and keep both the gray and black tank valves closed until you need to dump them. If it gets down into the single digits at night and rarely rises above freezing during the day, then you will almost have to drain your freshwater tank to protect it. You will also need to insulate and/or heat your holding tanks or use significant amounts of RV antifreeze in them to keep things flowing. If you are parked for a while, tank insulation for exposed holding tanks can be fabricated from fiberglass insulation and light plywood. Just build a small lightweight box around the tank and line it with insulation. A small electric light bulb can be used to provide a safe source of heat. For RVs with enclosed tanks, it’s often enough to provide some source of heat in the tank compartment, and small electric bulbs can be used here as well.
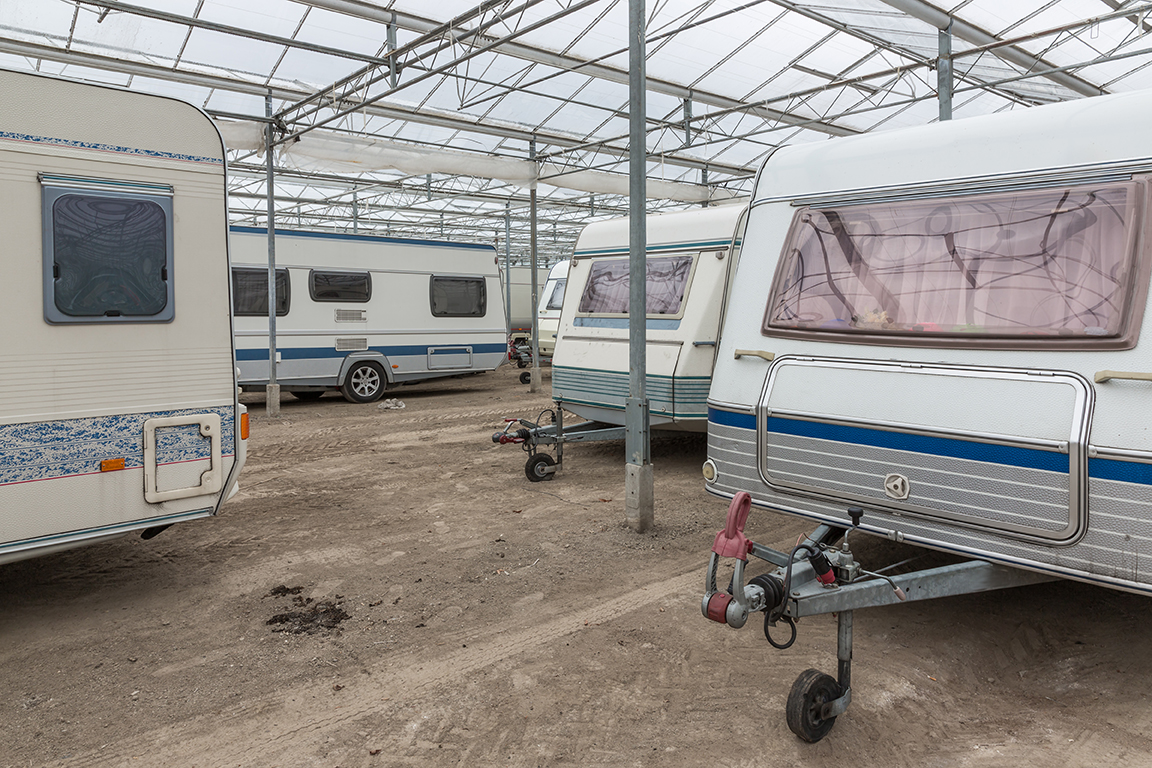
Photo: Getty Images
Regardless of your RV’s tank design, if you plan to do a lot of winter camping, look into electric heating pads that are designed for RV holding tanks. They can be purchased from many RV parts dealers or camping catalogs and will allow you to use the holding tanks as you normally would with no fear of freeze-ups. Check out www.ultraheat.com for some examples.
Hi Mark,
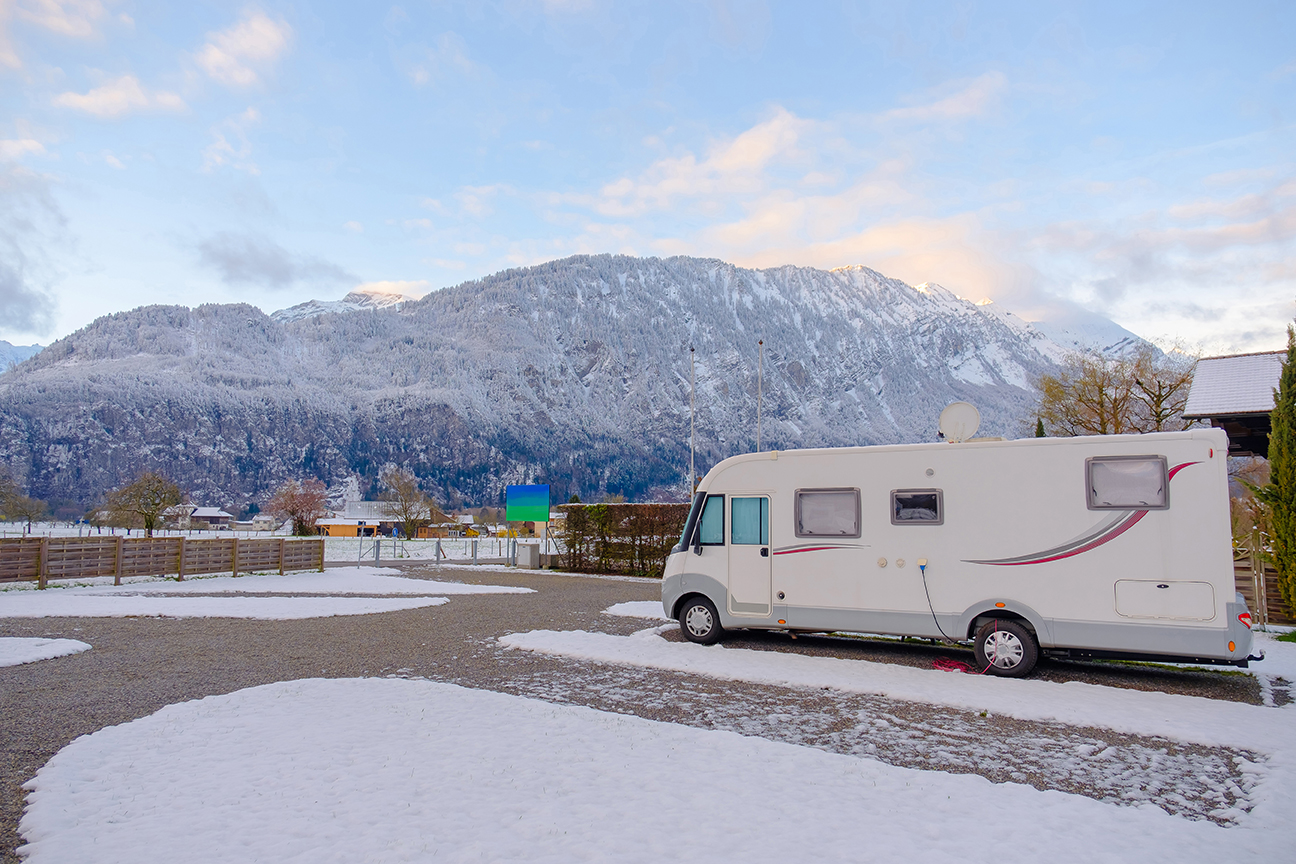
We are new to RVing and live in Northern Michigan, where we get a lot of lake-effect snow. We store our fifth-wheel camper outside at a storage facility. How much snow can a 30-foot travel trailer handle on the roof during the winter? We noticed several RV dealers in the area that store their inventory outside, but I don’t know if they periodically remove the snow from the roofs.
Thanks,
Al
Hi Al,
I ran into this when I kept my RV in Tehachapi, California. The average RV roof can probably tolerate 10 to 20 pounds per square foot of snow load, and that equates to about 6 to 12 inches of wet, heavy snow. Whenever the snow accumulation on my camper approached 12 inches, I shoveled it off. If your RV roof feels pretty strong when you walk around on it, you may be OK with allowing more accumulation, but it’s a risk I wouldn’t take. You can deal with the problem in a number of ways: The best answer (of course) is to find covered storage for the winter months, but not everyone can afford that. Some folks simply keep a heater running inside the RV, which may help melt off the snow as it accumulates, but that can be expensive and requires a power source. Others have used shoring inside the rig to support the roof, typically 2×4 and 2×6 lumber, but that’s no guarantee that the roof won’t be damaged anyway. The final option is to manually remove the snow accumulation whenever it approaches a dangerous depth. Here is an article by the University of Arkansas Division of Agriculture on ice and snow accumulation that includes a table defining the weights of snow and ice. You may be surprised at how much that white fluffy stuff can weigh!
Mark,
This is not a question but rather another possible solution to keeping the snow off the RV roof. I live in northern Idaho, so I deal with large snow loads every year. To keep from having to shovel snow off the RV roof (and possible damage to the rubber roof), I built an inexpensive snow roof for my RV. I used the folding plastic sawhorses and placed several down the center of the RV roof. I then took a piece of conduit pipe and secured to the groove in the top of the sawhorses with mini bungee cords. I then took a large plastic tarp (for 36 inches, it took two) and draped over the “peak” I had created and securely fastened to bottom of the motorhome with heavy-duty bungee cords. I folded and wrapped the front and back like wrapping a package and secured. The snow slides right off the tarp, and blowing wind does not dislodge the tarp if tight on the sides. The cost for everything was less than $200 for a 36-foot motorhome.
Sandi
Thanks, Sandi! That’s a great idea!
Mark