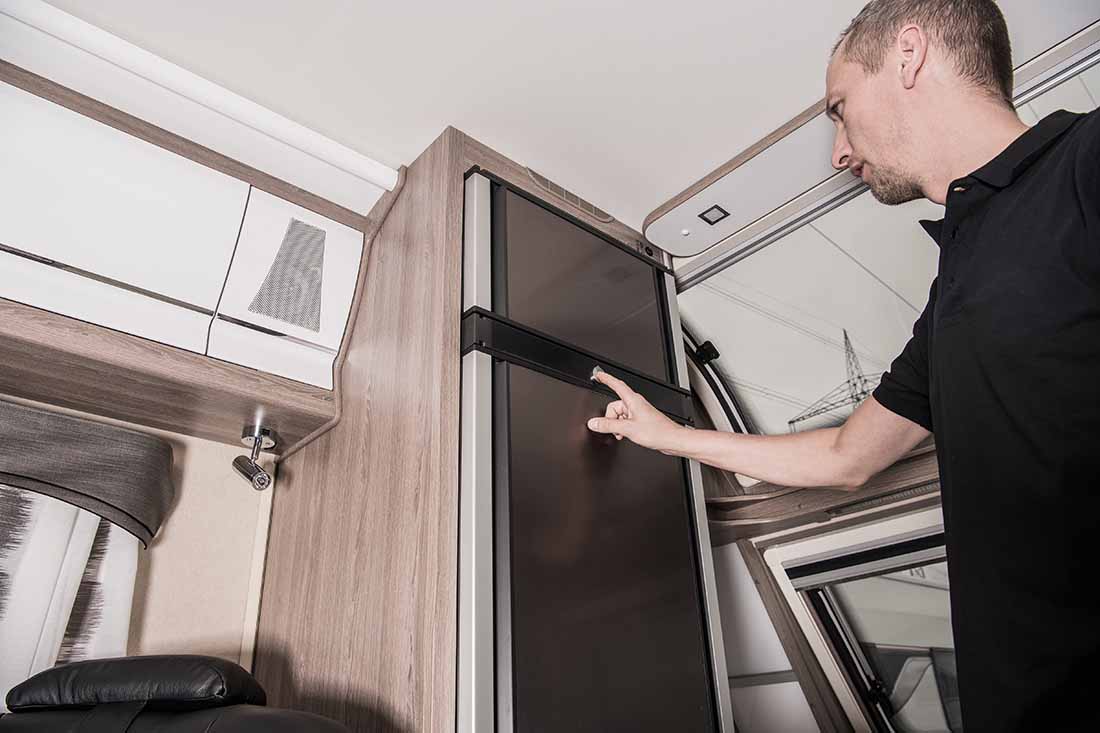
When it comes to keeping your food cold, RV travelers have two big choices: RV absorption refrigerators and residential fridges.
Let’s consider the pros and cons of each one, and then let’s focus on the challenges involved in replacing your absorption fridge with a residential unit in your RV.

Dometic Americana II Refrigerator
Absorption Fridges
Operating on propane or electric, these types of appliances have been ideal for off-the-grid camping. They do, however, have several shortfalls when compared to what you are used to at home. First, they have a reduced interior volume due to the shallow depth needed for the absorption system located at the rear of the unit. Second, this type of refrigerator must be relatively level while in operation. Failure to maintain this level positioning can cause crystallization in the cooling coil, resulting in possibly shortening the unit’s life. Also, compared to your residential refrigerator at home, these units usually do not have self-defrost or in-door ice and water dispensers, and in general do not deliver the cooling precision you may be used to.
Residential Fridges
Full residential fridges have been standard on high-tiered coaches for many years and on“all-electric” builds (no propane onboard). These units required extra batteries and inverters to meet the additional off-grid electric load. Today’s home-type refrigerators, however, are far more efficient and require less power to operate than years ago. Residential refrigerators today work at about one-third of the power consumption they did in 1990. Therefore, we are now seeing a growing popularity of these electric-only refrigerators, not only in new coaches but as upgrades to existing units.

Whirlpool French Door Refrigerator
The residential refrigerators offer some great advantages over the absorption type. Here are a few:
- Far more inside space with the same-size exterior.
- Not as level-sensitive.
- Far more inexpensive to replace than high-priced absorption units.
- More modern-frig features.
- Better temperature precision and cooling accuracy.
So, if you are thinking about buying a new coach, check out the availability of getting a residential fridge. If your current rig has an RV-type absorption unit, you may wish to consider joining the many who have opted for upgrading to a residential model. Much, of course, depends on your RV application. While the electric residential fridge is superior in many ways, it cannot necessarily deliver the endless off-grid needs of some die-hard dry campers.
Perhaps with the exception of extreme off-grid campers, my experience in interacting with fellow campers supports this all-electric appliance choice. This is further endorsed by the growing number of new motorhome purchasers that elect to go with this option in their vehicles.
Going all-in on Residential
Okay! So you have made up your mind and want to join those that have successfully tackled and completed the conversion and installation of the just-like-home reefer. Unfortunately, it is not as easy as just changing out the old for the new. There are many other considerations and configuration that must be verified and done.
If you’re working with an RV service center to make this change — or if this is a DIY project — there are several expenses to consider. Before you know it, you could be racking up some big costs to accommodate your new appliances. So follow this checklist to make sure you’re not breaking the bank.

Photo: Getty Images
• Refrigerator Size: Determine the overall dimensions of the new unit as to its adaptation into the existing space. Some carpentry changes may be required depending on the fit. Remember to verify the selected refrigerator’s direction of door opening as it will near certainly need to match the existing door swing. Also be sure the hinged side of the door has adequate clearance. This is generally accomplished by selecting the correct cabinet depth that will position the door to protrude out from the surrounding cabinetry by about the door’s thickness.
• Special Application Need: In your choice of make and model of your refrigerator, consideration of how the door(s) will be secured is very important. Unlike your residential unit at home, the RV application requires a lock to secure the door(s) while traveling. The standard magnetic actions will not work, regardless of their apparent strength. While a jury-rigged bungee cord can be used to secure the handles, it visually isn’t that appealing. Some kind of mechanical latching apparatus must be fitted to the door. Your appliance dealer or the manufacturer may be able to source a solution for this. If not, many RV dealers may have a generic product that can fill the bill.
• Assess Removal Path: Determine how to remove the existing unit from inside the coach and the path needed by the new appliance. Many times this can require the removal of the entrance door or a large window.
• Installation Site Preparation: A dedicated 120 VAC 15 amp breaker and line from the panel will be required at the rear of the unit site. This power source must also be supplied by an inverter that provides flow through power while connected to shore power and inverted 12 VDC to 120 AC when no outside AC is present. It is strongly recommended that a pure sine wave inverter is used, otherwise some residential appliance electronics may have or develop issues.
A water supply line for an ice maker, if so equipped, must be located in the appropriate location and have a suitably installed shut off valve. Be sure to allow adequate space for airflow over the condenser tubing at the rear of the unit.

Photo: Getty Images
Installing the Unit: Make the connections needed for the refrigerator. A piece of wood at the top and the bottom on the back wall may be needed as a stop for the rear of the reefer to maintain a good air space. Once the unit is solidly in place it must be secured from moving. Floor strips and molding trim can do the job and give that finished look.
12-Volt House Bank: Total amperage of the house bank batteries must be compared to the new power load configuration. This, in most cases, will result in the need to add some additional batteries, usually two more. With the increase of the house bank’s total amperage, verification is needed to determine the capability of the existing battery charger in terms of being able to adequately service the bank.
Well, with the conversion complete, it’s ready to use. You will be pleasantly surprised at how large the inside is compared to the original, even though the exterior size has not changed. This is due to the elimination of the absorption configuration compartment at the rear of the unit.
When plugged in at camp, your reefer will operate solely on shore power. When dry camping, the it will be powered by the inverter, which is supported by the batteries of the house bank. When driving, the inverter will be supplying the needed AC power via the inverter. The battery bank in this case is continually maintained by the prime mover’s alternator.


