Most RV owners can tell you about the freedom and adventure the lifestyle allows but they will also likely follow by telling you just what an investment it’s going to be to maintain that RV.
From plumbing to brake pads, fuses to hydraulic fluid, and anything in-between, owning an RV can be an education in DIY maintenance, resourcefulness, and handiwork. And even then, with the best upkeep and care, there are still inevitable repairs that require professional help.
To plan for and stay ahead of potentially expensive and inconvenient RV issues throughout the years of ownership, we’re looking at a wide-ranging list of major RV repairs to expect and what you can do to prepare.

Plumbing and Water Systems
Let’s start with what many dread: plumbing and water. Not only can plumbing be potentially unpleasant, water systems in general can lead to significant damage to your RV. Knowing common problems and repairs is a good defense.
Clogged toilets
Clogged toilets are a crass reality of RV ownership, but certainly, one that can be mitigated with proper care and attention.
Pyramid plug of debris
The leading cause of clogs in an RV toilet are plugs that come from compounded debris in your black water holding tank. If not regularly dealt with, waste will accrue over time, eventually reaching the base of the toilet. To prevent blockage over time, it’s vital that you close your black water tank valve. The reason is that your tank is flat, and while acquired waste will build up, it will effortlessly dump out when you open it. But if you leave your valve open while in use, waste will build up from the sewer and create a plug.
Blockage
Similar to a pyramid plug, blockage occurs with the build-up of toilet paper and waste, forcing a backup of water in the bowl of the toilet. This tends to be more common in rigs where the holding tank is farther away from the toilet, but it’s worth noting the sensitivity of your RVs plumbing and what can and cannot be flushed down.
Leaving your black water drain open
While hooked up to a sewer connection, make a note to avoid leaving the black water drain open; otherwise, you’ll have sludge stuck in your holding tank.
Solutions
If there’s just blockage, then it’s probably an issue you can solve on your own with a plunger or tank cleaner; otherwise, you’ll want to hire a plumber.
Long term issues
Most clogged toilet issues can be resolved on your own. But keep in mind the plumbing and wastewater systems on an RV are built differently than those at home. The materials used are designed for portability and less so for longevity, and you may face more significant issues with gate valves, connections, holding tanks, and more that require professional help beyond your own ability.
Split water supply lines
Whether it’s your hot water, bathroom, or kitchen sink, your water supply lines are vital to the everyday use of your RV. A split in any of these lines can lead to long-term damage, and damaged pipes need to be identified and replaced immediately to prevent further water from leaking.
Causes
While your plumbing at home typically consists of metal pipes that can be corroded over time by soil and acid or burst from frozen water, RV water lines are typically made of PVC. This material is lightweight and better for portability but is still susceptible to splits formed by frozen water. Splits are generally brought about by drastic changes in temperature — also known as thermal expansion — causing pipes to expand rapidly and contract.
Solutions
If you need to repair a section of the line, you should be able to find the split and cut out the affected area and then simply reattach the ends with a fitting if slack allows. If those can’t reach, you should be able to find replacement PVC at your local hardware store. Measure and cut out a comparable length from the new line, then connect it with the old one with a compression fitting.
It should also be noted that while a plastic line can be cut with a knife, you’ll need a pipe cutter for copper lines found in older RV models.
Preventative Maintainance
To avoid splits, invest in a pressure regulator, filter, and regularly winterize and sanitize your tanks and lines.
Water Pump
To operate showers, toilets, faucets, and all running water, you need a properly working water pump to push water through. Problems with your water pump can be caused by a variety of issues — some unrelated to the pump itself. Water pumps cost between $50 and $500 to replace, so knowing what might be happening is helpful so you can troubleshoot before replacing.
Causes
Leaks are the most common problem for water pumps — whether the leak is in the system or in the pump. Splits in your pipes and other leaks can cause your water pump to continue running, cycling on and off. If you notice this, you need to begin determining if a leak exists or if the water pump pressure switch is defective. If you can locate a leak in the line, there’s a good chance there’s a leak in the pump.
Solutions
If the problem is a split, leaky water pipe, follow the instructions above to fix the leak. If the problem is the water pump itself, that could mean a more costly, involved repair — often with the help of a professional. If your pump is defective, it may not be covered under warranty, which means you may have to take the hit on the cost unless you’ve invested in an extended service plan that covers water pumps.
Water heater
A broken water heater can quickly escalate from a morning shower disruption into a costly, more significant problem. Water heaters can cost as much as $1000 to replace, and it’s a significant repair often requiring the help of professionals. So what happens if the hot water goes out, and it’s not simply because you’ve used your hot water reserve?
Causes
If your water heater runs on propane, start by checking your tanks as well as making sure your service valve is open. Or if it is electric, check to make sure you haven’t blown a fuse. If that doesn’t fix the problem, you likely have an issue with the water heater itself. It could be a problem with your ignitor or gas valve, thermostat, or heating element.
Solutions
First and foremost, keep your water heater full. One guaranteed way to fry your water heater is to run it without water. It’s also a good idea to drain out your hot water heater yearly — giving you the opportunity to inspect the electric heating element and anode rod to make sure everything is running smoothly.
If it’s still not functioning correctly, it’s time to talk to a professional. Water heaters have a long shelf-life — many can easily last 15 years — but it’s often our most reliable systems that we know the least about. If still experiencing problems, contact a professional.
Winterization
As you prepare for winter, all of the water needs to be flushed out and either replaced with antifreeze or pushed out with an air compressor.
For the antifreeze method, be sure to remove water from any in-line filters and the galley, pour antifreeze into all drains and the shower, and then flush the taps until you see pink color coming through. If you’re using an air compressor, set your pressure regulator to 40 PSI (without ever surpassing 50 PSI) and remove all of the water. In both cases, you’ll still need to pour antifreeze into the drain traps considering air pressure won’t be able to fully clean out the elbows.
HVAC
One of the main benefits of traveling in an RV is the ability to regulate the temperature, whether you’re traveling in warmer areas that require AC or colder areas that require heating. If things go wrong, life gets uncomfortable. Let’s look at some common HVAC issues you are likely to face as an RV owner.
Dirty air filters
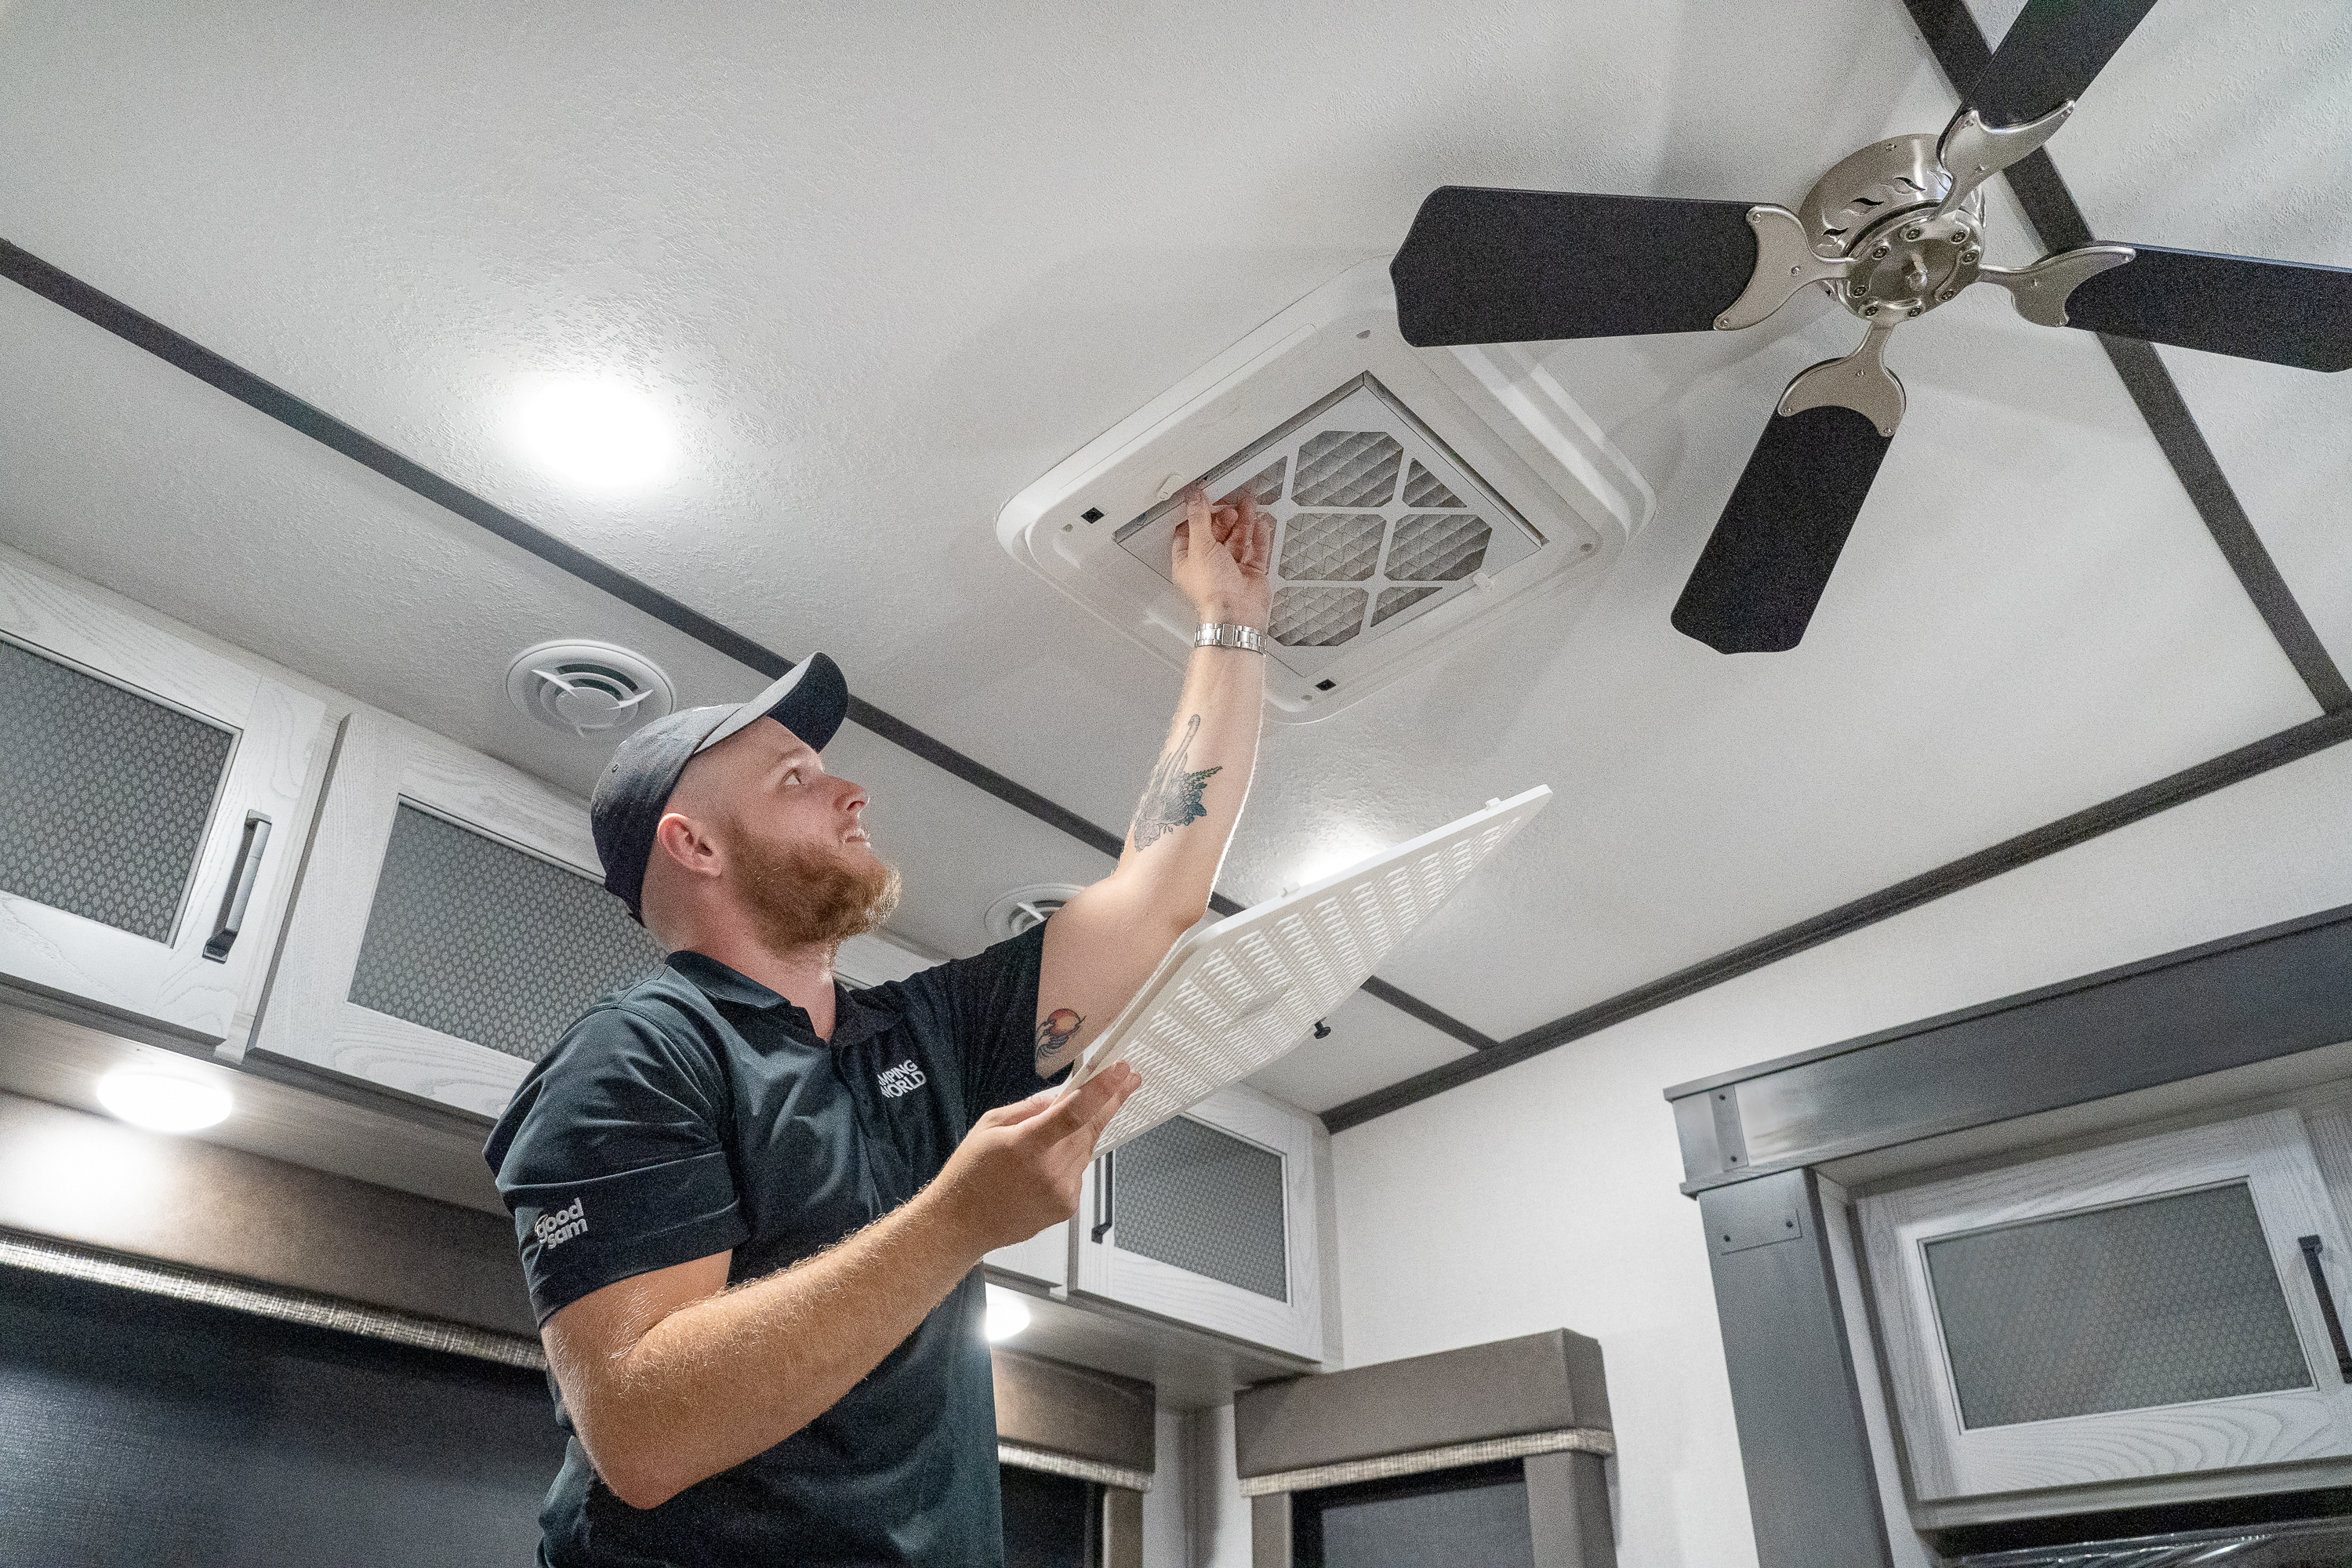
In terms of HVAC, a dirty air vent filter is one of the easiest and least expensive problems to fix. If your AC is running without producing cold air, start by checking the filter and replacing it if necessary. Also as a general note, it’s a good idea to change your air filters every 12,000 to 15,000 miles.
Thermostat
If the filters are clean but the HVAC is not responding to temperature adjustments, there’s a chance you might simply have a broken thermostat, in which case you can replace it with a more intuitive system. However, keep in mind that since there are electrical components, it’s best to trust a professional if you’re unsure in any way.
AC unit
AC units last between three to ten years depending on usage, the AC unit, and luck. Unfortunately, you may need a new air conditioning unit entirely at some point. And the reality is that this is not a DIY project. You will need to bring it into a service center because even with a working knowledge of air conditioning, there are a number of dangerous electrical components you may not be equipped to handle.
Cost
AC units typically run between $700 to $1,400, depending on the unit and the RV. And the installation will come in around $1,500 making the AC unit one of the most expensive repairs your RV can undergo. That’s why it’s imperative to know how long your AC unit is covered by a warranty. If not, all the more reason to consider coverage from an extended service plan.
Furnace
The furnace on your RV is a complicated piece of equipment, which is why it’s recommended that you have it inspected once a year by a professional. For a complete breakdown of how your furnace operates, its many components, and best practices, consult our guide here. But know more often than not, a furnace problem will require the need of a service professional.
Cost
Replacing just the motor on your furnace can cost upwards of $300, but repair costs can vary widely depending on the repair type, damaged components, and replacement costs. But some furnace costs can quickly rise into the $1000+ range.
Electrical system and battery
RVs rely on the electrical system and batteries to operate many different components. Everything from lighting to amenities to navigation to the refrigerator to the power inverter. Electrical issues are
Fuses and Breakers
Fuses and breakers serve to protect not just you but also your RV from an electrical line drawing too much current and causing damage.
Ground fault indicators (GFIs) shut off
Should your AC appliances stop working, there’s a chance it’s the ground fault indicator detected an issue and automatically shut off. Try unplugging the appliances and resetting the GFI, and then start plugging appliances in one by one to see if you can narrow down the root issue.
Blown fuse
If you blow a fuse it’s imperative that you replace it with another fuse that matches, as opposed to a higher-rated one as that could surpass the intended operational load of your RV and create serious damage or even an electrical fire.
Cost
The cost for fuses and breakers are fairly negligible, as that’s part of their purpose: to prevent surges that might damage components. Fuses range anywhere from $2 to $8. GFIs get pricier, coming in between $130 to $300.
12-Volt System
Considering your 12-volt system runs just about everything in your RV (heater, pump, fridge, etc.) you’ll know quickly when it’s not functioning properly. The good news is that most issues are as easily remedied as replacing a fuse or a battery. However, if the problem exceeds swapping out a part, you’ll want to seek out service professionals, considering the issue is electrical in nature.
Cost
Electrical system: $500 to $1,250

Let’s take a look at some of the components that are powered by the 12-volt system and potential repairs to expect with these components.
Refrigerator
Your fridge should last about 15 years (give or take a few). That being said, there are certainly a few things to consider if you want to get the most life out of your fridge.
- Try to keep your fridge as flat as possible by parking on level surfaces more often than not.
- Keep your RV relatively cool by parking in the shade when it’s hot out.
- Pre-chilled items will take less energy away from the fridge since it won’t have to absorb as much heat.
- Clean out the burner unit from time to time, as strong scents can attract spiders and other insects that could potentially build nests.
- Consider adding a small battery powered fan inside of the refrigerator to help circulate air faster (especially during hotter weather).
- Regularly defrost your fridge, as the buildup insulates and prevents it from absorbing the heat of it’s contents. Also, don’t use a hairdryer as the excessive heat can warp the cooling fins.
- Wipe any moisture away from contents added to the fridge, as this will prevent frost buildup and increase its efficiency.
- Leave room in your fridge for better air-flow.
- Clean out your fridge’s exhaust vent to prevent birds from nesting and reducing efficiency.
When the time comes, to find a replacement, measure out how much space you’ll need, swap out the units, and make sure your new fridge is properly secured for travel.
Cost
$500 to $4,000 for a new refrigerator
Washer and Dryer
In terms of RV washers and dryers, you’ll find there are generally three models: stackable, portable, and combination. The reality is that vented units (stackable and non-vented) tend to function better than non-vented. Generally speaking, your washer and dryer should last a little over 10 years, but if it breaksdown after eight it’s probably worth replacing. Make a note to clean your ducts and hoses once or twice a year, and replace the hose every four to six years to get the most milage out of your machine.
Cost
$800 to $2,200 per washer or dryer
Stove
A quality camper stove should last you about 20 years, so if your RV’s stove isn’t working, chances are there’s just a disconnect with the gas. Start by shutting off the oven’s gas, and if the issue persists then it might be that the supply line from the propane tanks is shut off. Any issue beyond that should be brought in for professional inspection.
Cost
$400 to $900
Battery
If unencumbered, RV batteries last about five or six years and can be swapped out similarly to a car. That being said, you need to have a good understanding of how to swap out batteries to avoid any damage to the RV or injury to yourself.
Winterization
When it comes to batteries, there are three options for winterization. You can disconnect and leave them in place in your RV, you can leave them connected and charged with a reliable AC outlet, or you can remove the batteries altogether.
12-volt accessories
Make sure 12-volt powered components (radio, refrigerator, back lighting, GPS, fuses, etc.) are disabled while in storage, as they will continuously run and drain your battery.
Cost:
About $1,000 per battery
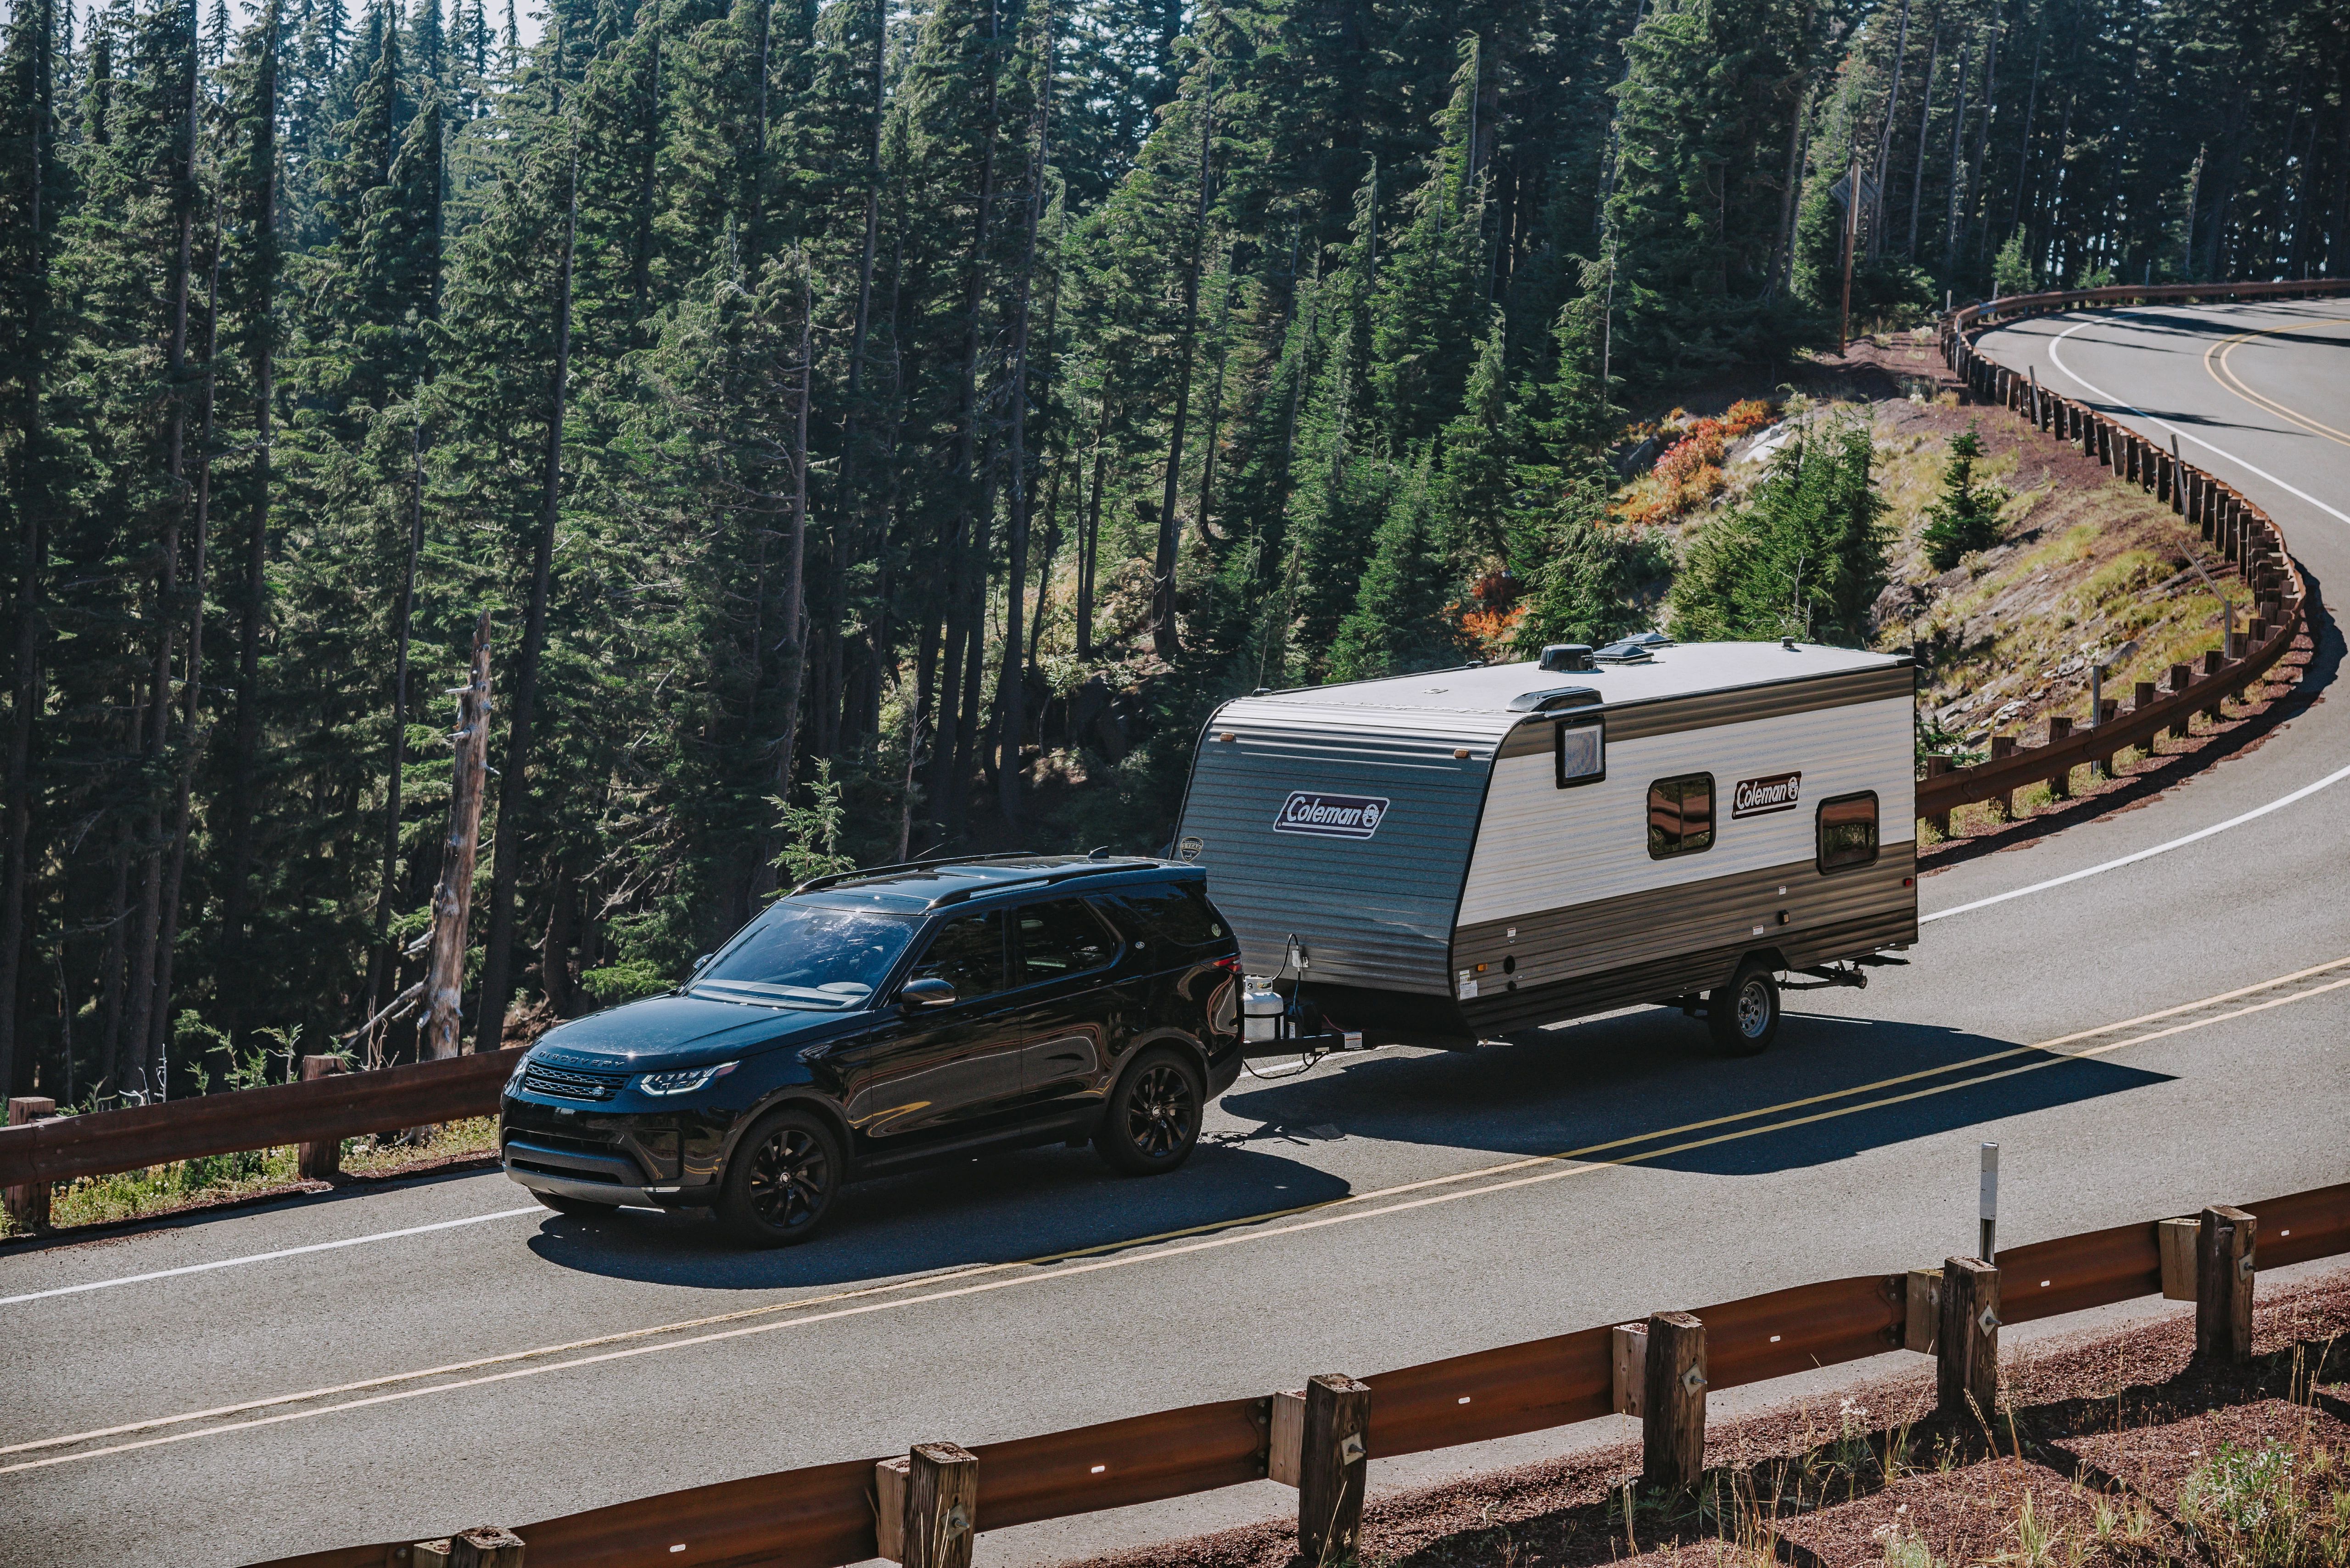
Brakes
Best practices would dictate you check and replace your brakes every year or 12,000 miles (whichever comes first). Failure to replace your brakes in a timely manner is hazardous and certainly more expensive in the long run.
Cost
Complete brake repair (rotors, pads, and calipers): $250 to $800
Tires
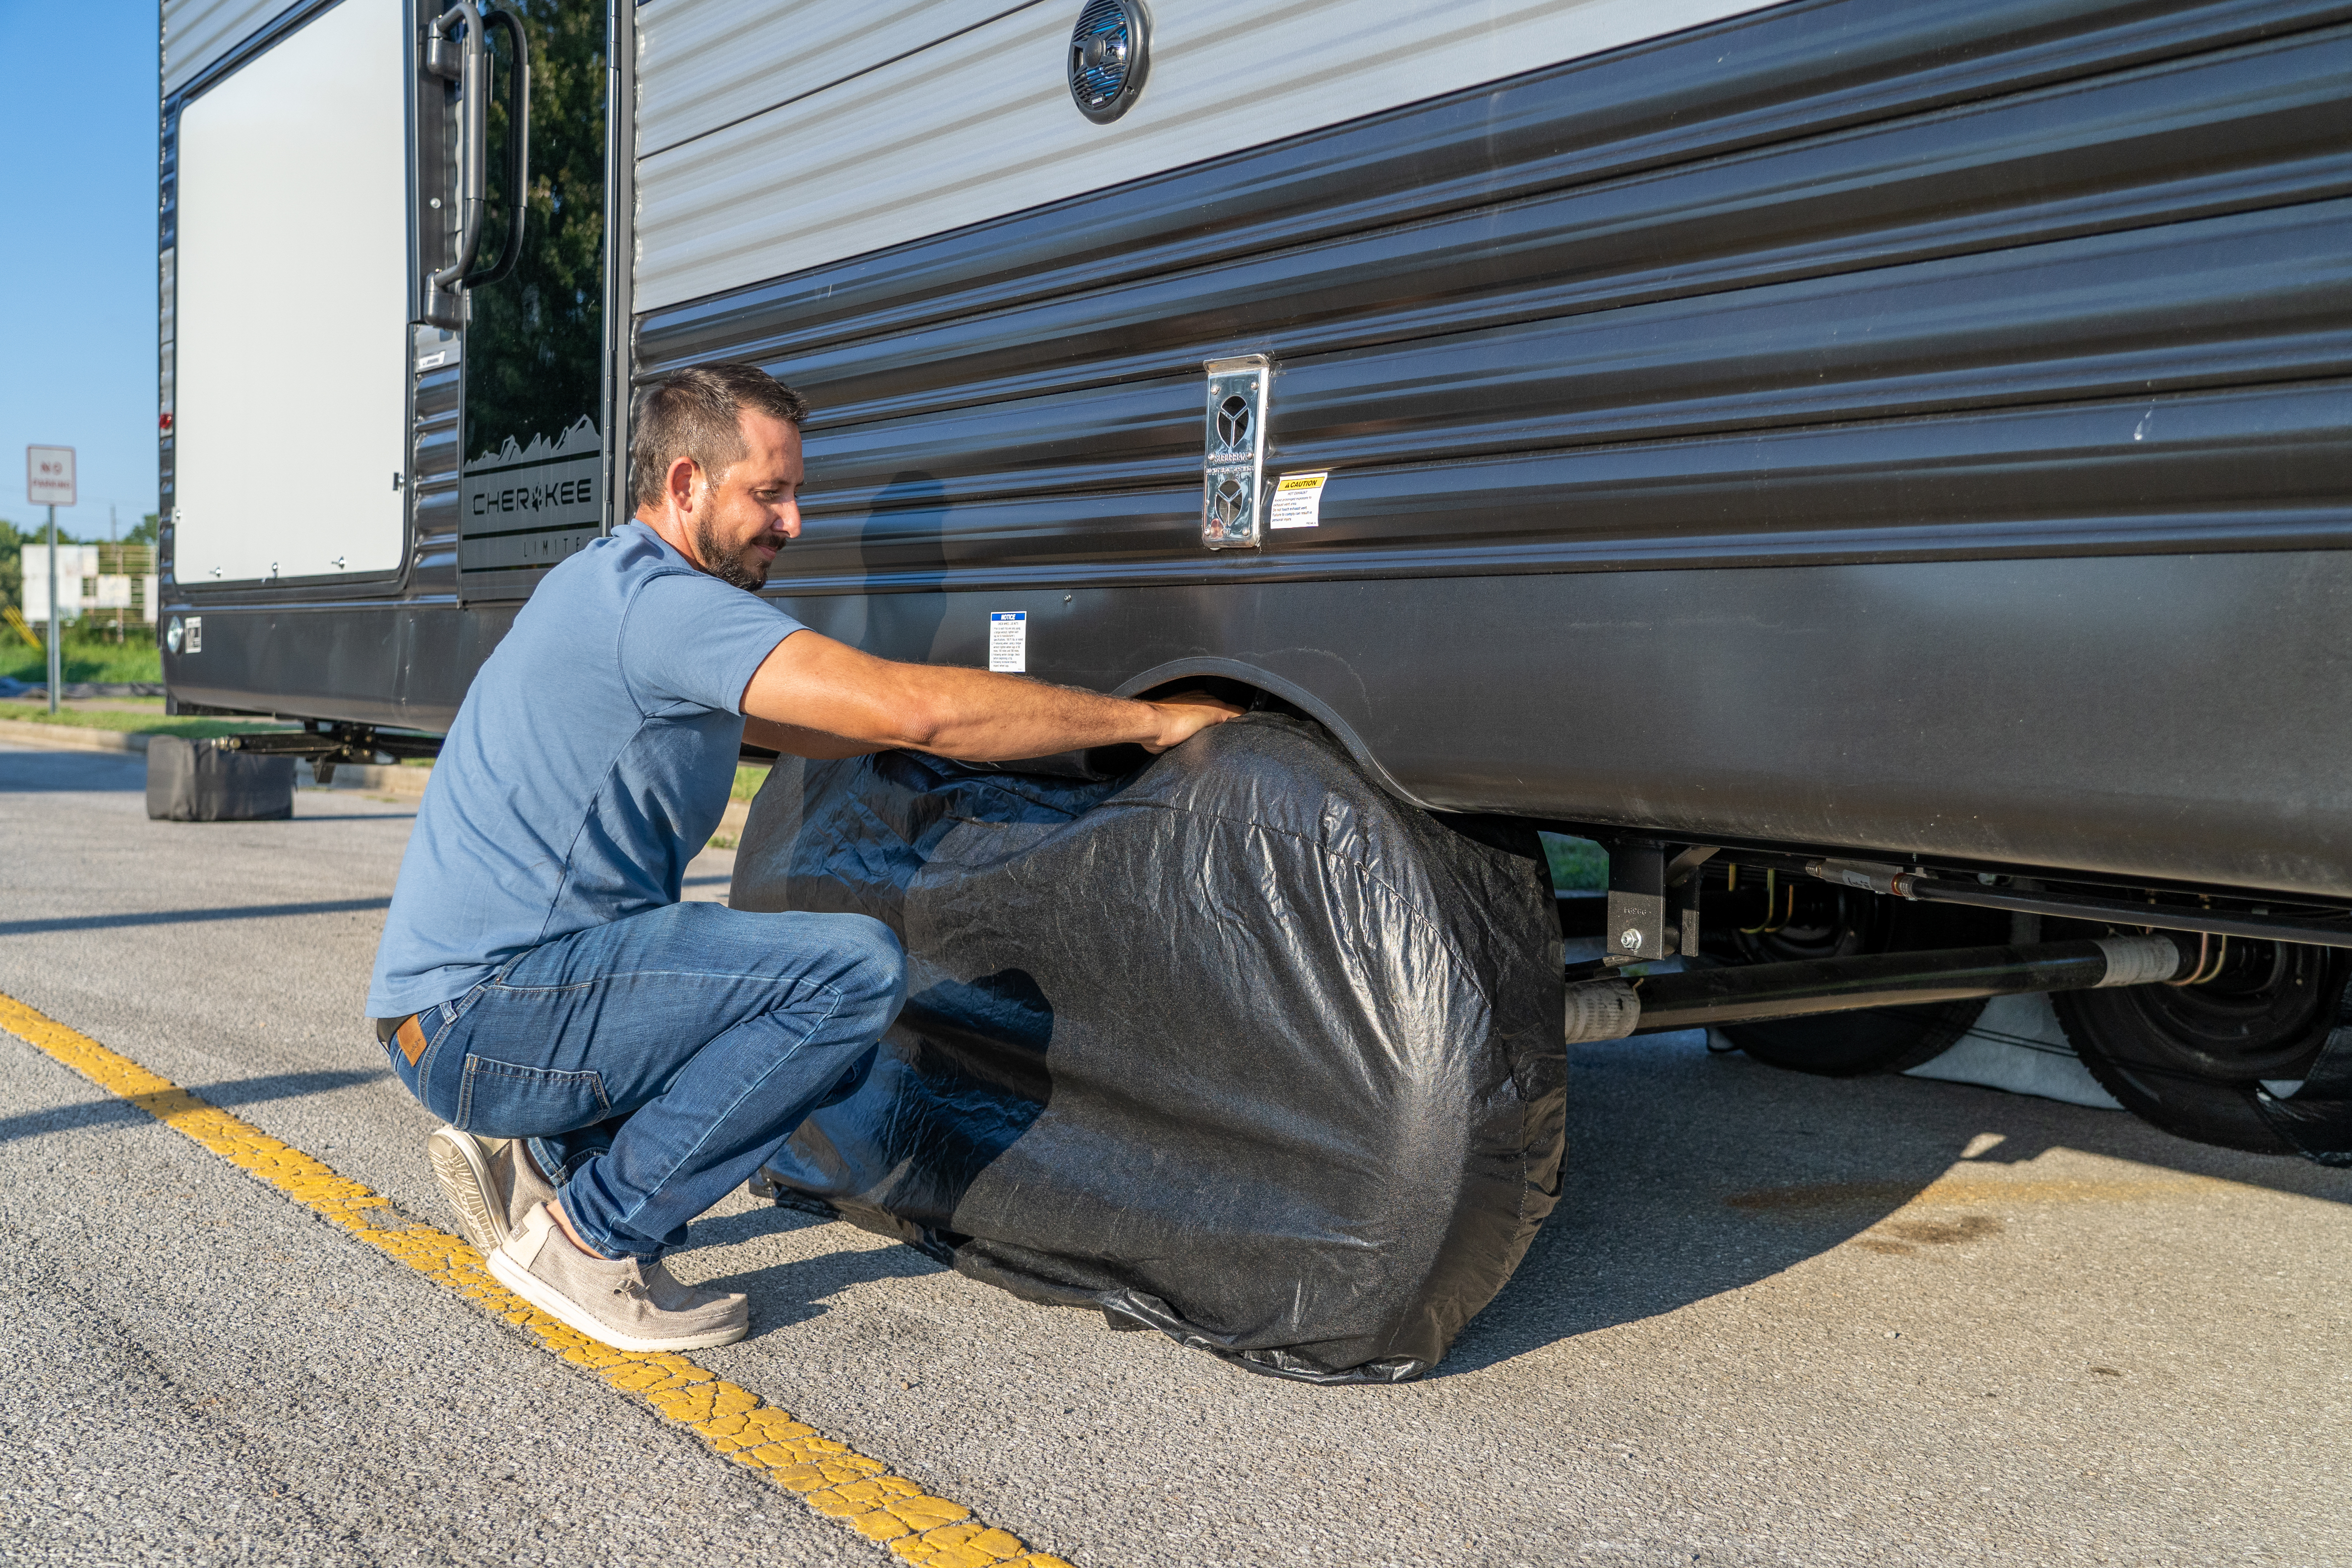
Plan to replace your RV’s tires every three to six years depending on how much you drive. Over time, the tread on your tires wears down. Always keep an eye on the tread (specifically wearing down to a 16th of an inch), and be sure to service your wheel bearings regularly, as they can cause quite a headache on the side of the highway if they fail.
Cost
Around $250 per tire
Winterization
During the winter, place the tires over a sheet of plywood to prevent dirt from leaching onto the chemicals from the tire casings; and be sure to add 10 percent more inflation to the recommended pressure for your RV, as your tires will naturally lose pressure over time.
Roof Leaks
The reality is that water damage to your RV can be an incredibly expensive problem to have, and a leaky roof is often the culprit. Make a habit to check your roof every year, and seal up any cracks to prevent leaks from the rain and elements.
Cost
Sealant: $10 to $20
A new roof: Around $10,000
Slide Outs
Like anything else, slide outs can naturally wear down over time. One way to prevent wear and tear is to keep your rollout awnings and seals clean. Before you retract your slide out, remove any clutter or debris that may have accumulated, and use lubricant for the rubber seal throughout the season. In the event that you do run into an issue, it might just be a blown fuse and therefore an easy patch. But if the problem is mechanical or hydraulic, you’ll want to bring it in to be serviced.
Cost
$500 to $2,000
Additional Considerations
Research
Between YouTube How-To’s and troubleshooting articles, you can overcome a number of pitfalls on your own. That being said, it’s not wise to go beyond the scope of your expertise. Keep a record of what’s still under warranty (and can therefore be handled by the dealership), as well as what isn’t and needs to be brought into a trusted service center.
RV Mechanics
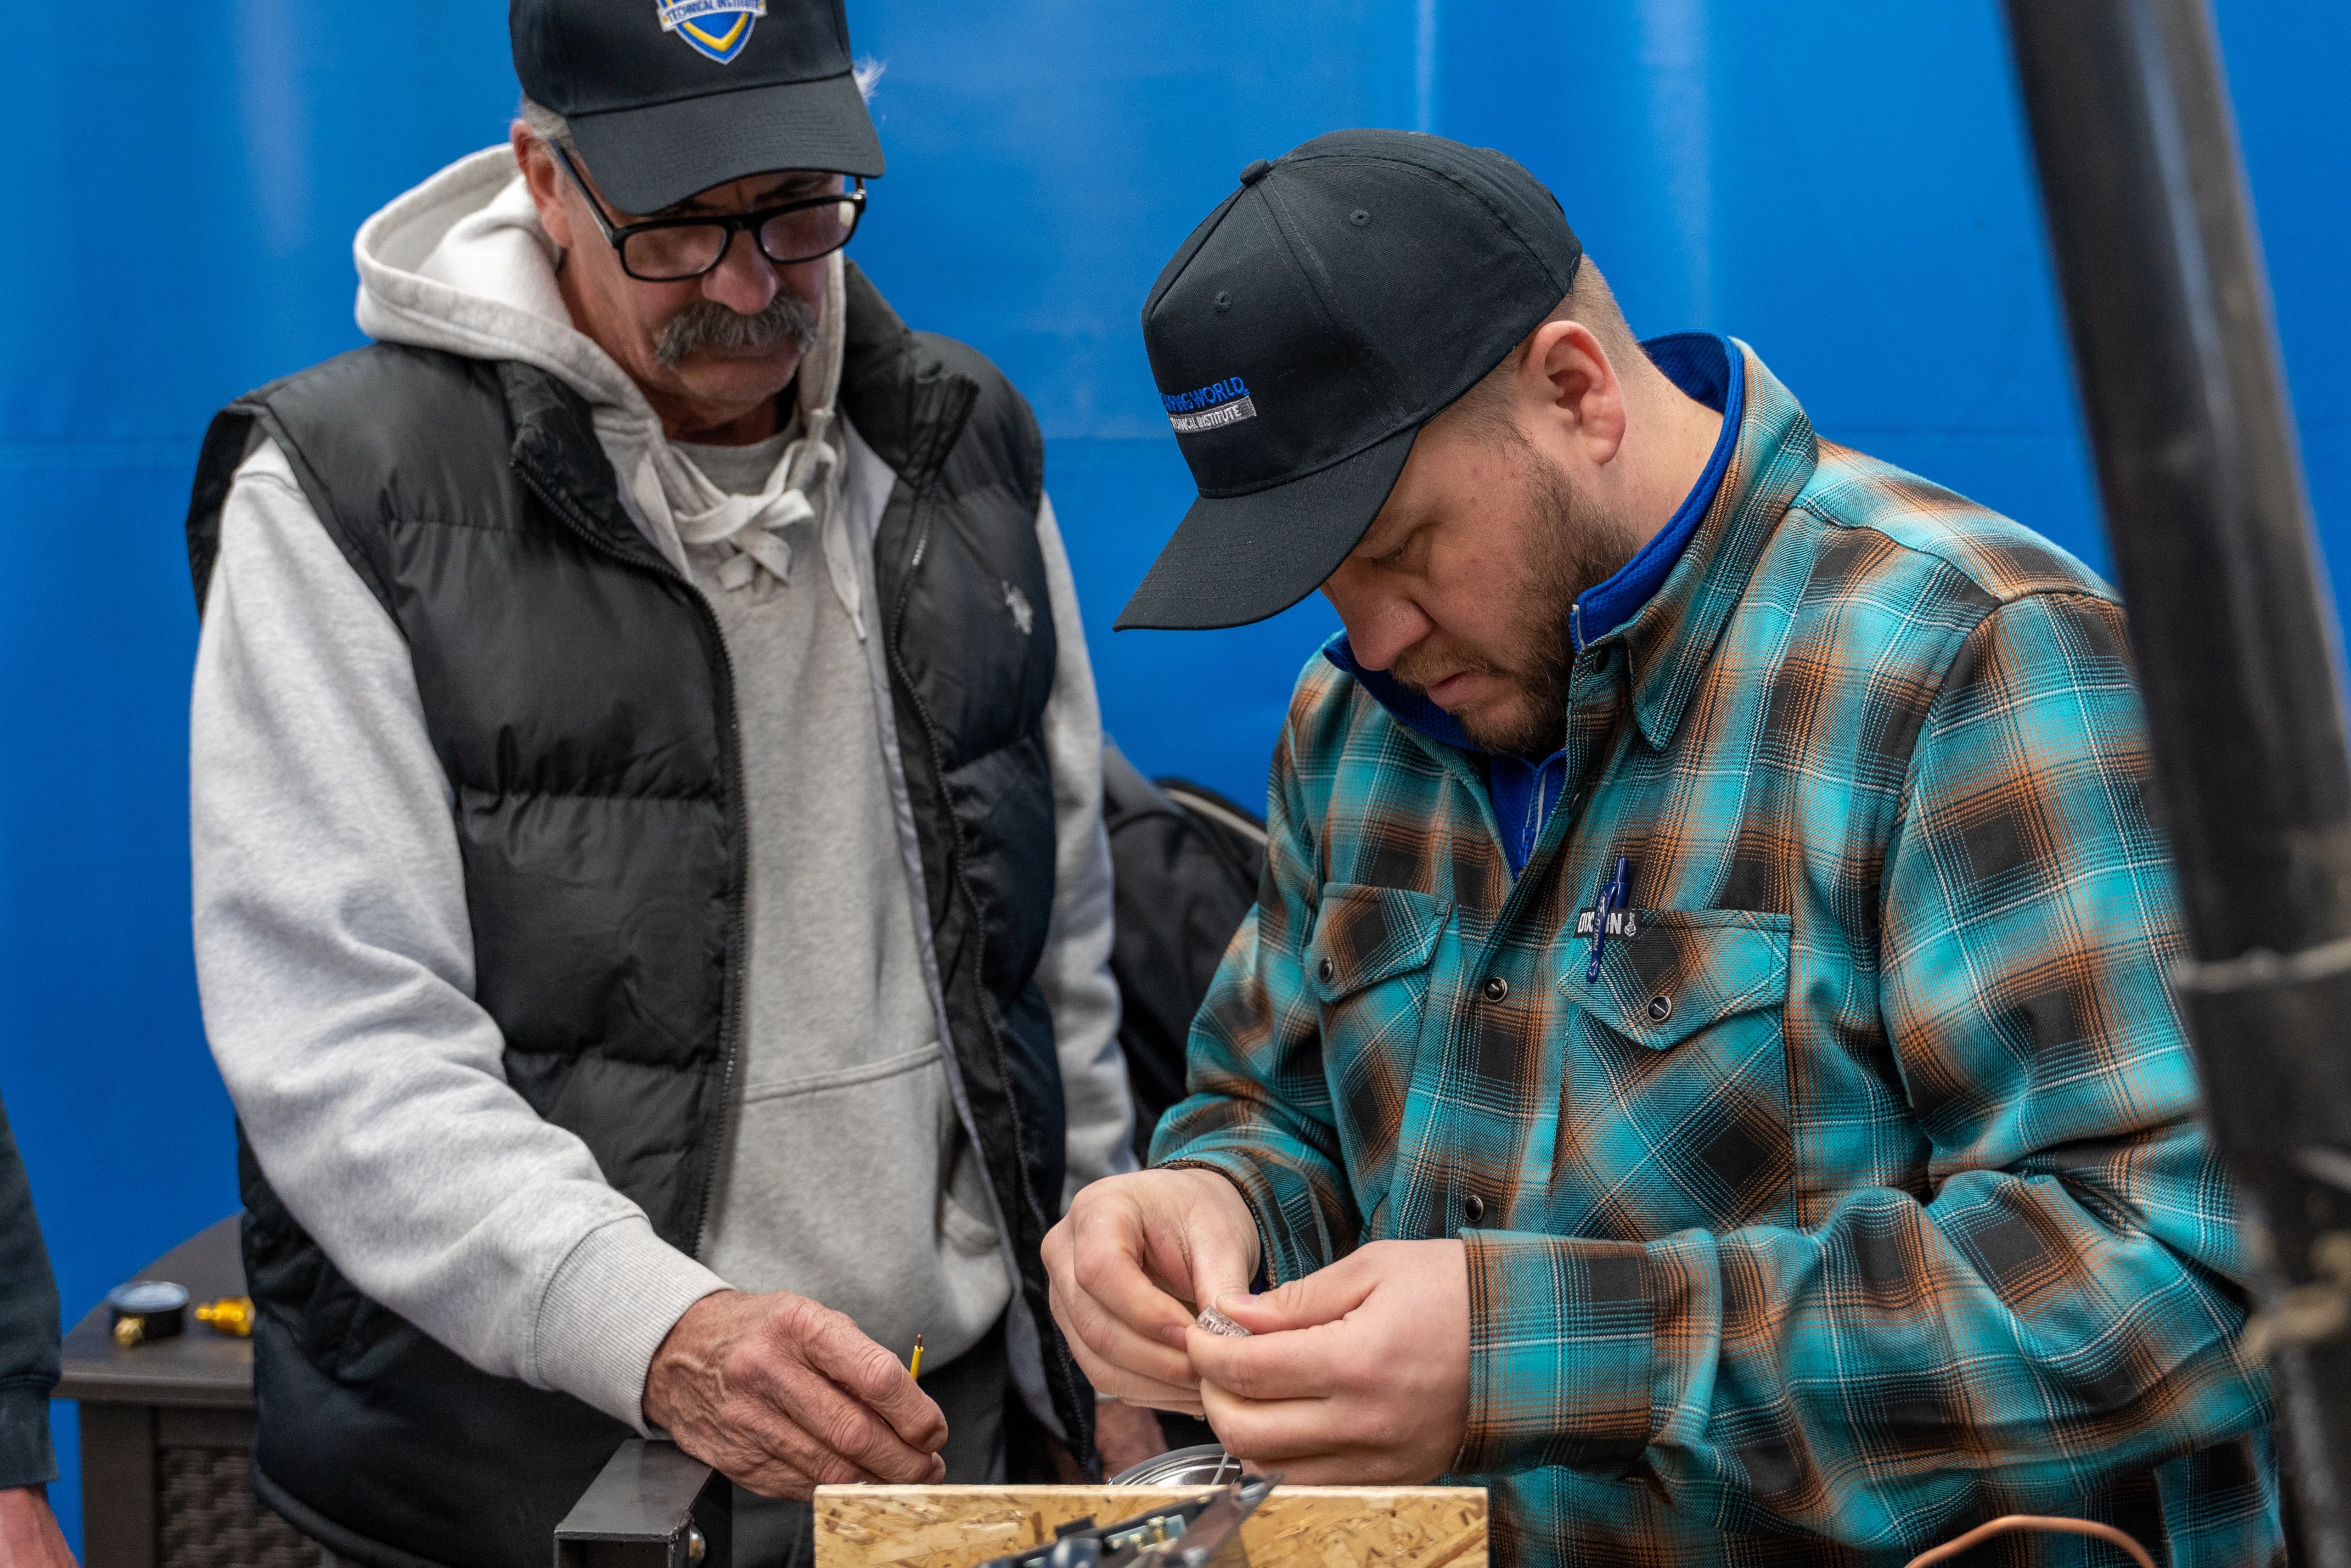
When it comes to professional RV repairs, it’s almost never going to be a small ticket, but it doesn’t have to be inordinate either. As you search for a quality RV mechanic, find someone reliable, honest, and efficient. Here are a few things to consider.
- Make sure they are a certified repair shop actually specializes in RVs (and not a general repair facility).
- Check reviews and see what other customers have to say about their experience.
- See if they offer warranties to ensure any work done.
- Get an estimate before any maintenance or repairs are made.
- Keep records of what work was performed.
Good Sam Extended Service Plan (ESP)
Even if your RV is still under warranty, RV warranties don’t cover every component, and some parts remain under warranty longer than others. For example, chances are a number of your appliances aren’t covered under warranty and could quietly lead to costly repairs. In those moments, an Extended Service Plan like Good Sam’s can bring tremendous peace of mind.
Good Sam’s ESP is a mechanical breakdown insurance that goes well beyond a manufactuer’s warranty to protect you from exorbitant costs after a mechanical breakdown.
With ESP, you’ll get financial peace of mind as we’ll pay the repair shop directly; and cover any unexpected travel, food and lodging costs for the first five days. Plus you decide your deducabtle, where to repair your vehicle, payment terms and schedule. And if you sell your RV, we’ll transfer the plan onto the new owner at now cost to you – adding value to your sale.
Not to mention that with services like Tire and Wheel and Roadside Assistance, and the trust of over two million members, they are able to keep you going no matter what the road ahead throws your way.