Brought to you by Good Sam Tire & Wheel Protection
Up to 40 percent of auto and RV disablements are tire related, and many of these mishaps can be avoided with proper tire maintenance. So before you hit the road this spring, follow these six steps to ensure your tires carry you to your next destination flat-free.
1. Gauge the pressure and weigh properly…
Unlike most auto tires where the maximum inflation pressure on the sidewall should never be exceeded, the pressure figure on the sidewall of a light or medium-duty truck tire is the minimum pressure necessary to carry the maximum stated load.
In other words, if a tire reads “Max Load single: 3650 lbs at 65 psi cold” then 65 psi is the minimum cold-air inflation pressure necessary to carry the maximum load figure. Some RVers may be inclined to simply inflate such a tire to 65 psi—but unless that tire is carrying its maximum load, all this will result in is a rough ride.
Tire manufacturers like Goodyear and Michelin publish load/inflation tables online that indicate how much weight a tire can carry based on inflation pressure. Weigh your coach loaded and ready for travel (including passenger weight, fuel, freshwater, supplies, etc.) to determine the amount of air necessary to carry your load.
2. Determine axle weight and tire pressure
When weighing your RV, use individual wheel scales, giving you weight figures at each corner. Or at least weigh the front and rear axles separately. Tire pressure can differ from front to back for different loads, but it should remain the same across an axle (even if weight differs from side-to-side) to ensure safe handling. It’s also vital to continue monitoring tire performance on the road.
Even stored motorhomes are susceptible to tire air-pressure loss. Tires can lose 1 psi per month, and about 1 psi for every 10-degree F drop in ambient temperature, which is why tire manufacturers recommend that you check it at least monthly.
Tire pressure should always be checked when the tires are cold and not driven for more than one mile. If you must check tire pressure when the tires are warm, allow for an increase in air pressure
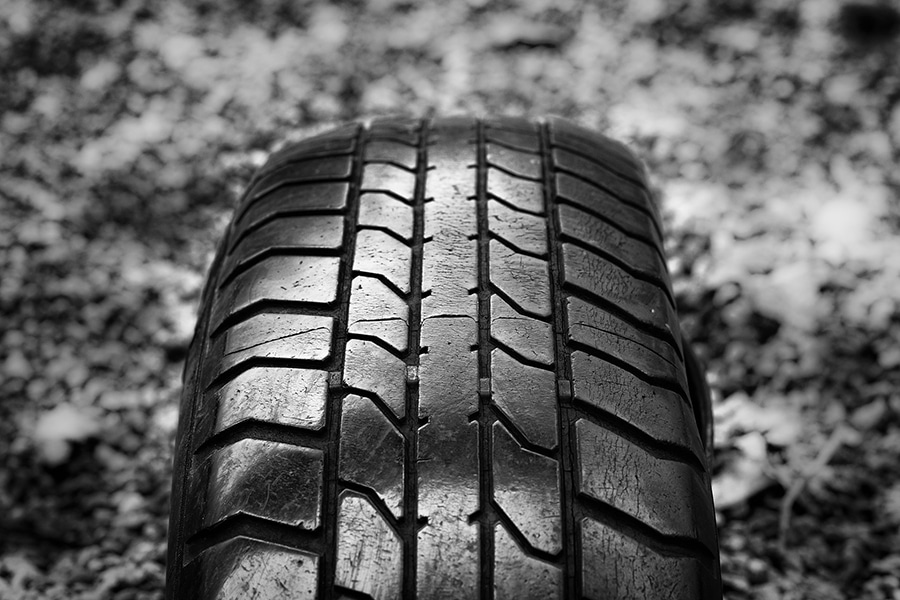
Image: Pixabay Photos
3. Avoid excessive flex in your RV tires
Any time an under-inflated tire is run at normal highway speeds, excessive flex builds heat that can damage the inner liner, casing, and outer sidewall of the tire.
According to guidelines published by the Rubber Manufacturers Association, any tire ran at less than 80 percent of the recommended air pressure for its load should be inspected for possible damage. What’s more, when one tire in a dual configuration is underinflated, the other tire can be overloaded and should be inspected for damage as well.
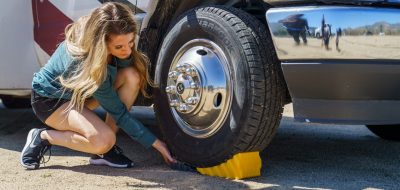
Incidentally, the improper use of leveling blocks can cause damage similar to that created by overloading and underinflation. When using leveling blocks, make sure that they are wider than the tire’s tread and longer than its footprint. In the case of rear duals, make sure both tires are supported equally.
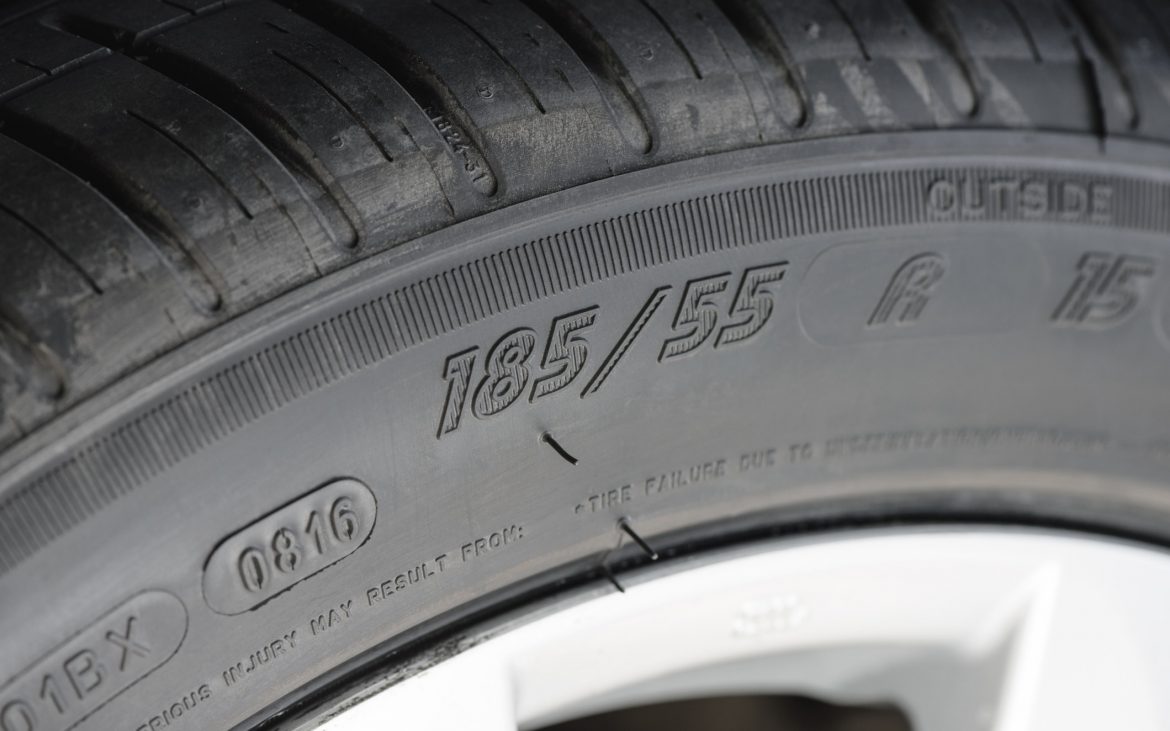
Numbers on a tire sidewall. Image: NorGal/Getty Images/iStockPhoto
4. Play the numbers game
Become familiar with the numbers molded into the tire’s sidewalls. Here you’ll find the size, load ratings, load index/speed symbol, and the DOT number that indicates the week and year the tire was built.
Let’s start with size:
A typical Class A motorhome tire would be a 275/70R22.5. Here, “275” is the cross-section width of the tire, measured at its widest part (not the tread) and expressed in millimeters. Here “70” is the aspect ratio, also expressed in millimeters. The aspect ratio indicates the height of the sidewall relative to the cross-section width. In this instance, the sidewall is 70 percent as tall as the cross-section is wide. “R” indicates radial, and 22.5 in is the rim diameter.
As we noted earlier, air pressure and load-carrying capacity go hand-in-hand, so the two figures are displayed together on the sidewall. Again, a typical example might read, “Max load single: 3640 lbs at 65 psi cold; Max load dual: 3415 lbs at 65 psi cold.” Note the tire in question is capable of carrying more load as a single-tire application than it is when paired with another tire. There is a logical reason for this, and it has to do with road crown and heat, which brings us to number five…
5. Treat your tires right by consulting the load index
Almost every road is built with a crown (curvature) to promote water runoff. While on a crowned road, it is easy to see that the inner tires are carrying more load than the outer. Also, the proximity of dual tires makes them run hotter than single tires. For both reasons, tire manufacturers reduce the load-carrying rating of tires in dual configuration to prevent overloading.
The load index reflects the maximum load ratings of the tire (discussed above) and is expressed in an alphanumeric manner. It may appear something like “143/141L.” In this instance, 143 represents the maximum load for a single tire, 141 for dual tires. The letter is the speed symbol, representing the maximum speed that the tire is rated for. The letter L, for example, is a common speed symbol for a Class A motorhome tire and indicates a maximum speed of about 75 mph.
If the letter is lower than that (K, for example), the top speed is only 69 mph. If you are driving faster than the maximum speed rating for the tire, you are exceeding that tire’s design limit — and inviting disaster. Keep your speed within a safe margin.
6. Check your tires’ age
Even though you may only put 5,000 miles a year on your coach/truck tires, it is likely your tires will “time out” before they wear out.
This is where those last four digits of the DOT number on the sidewall come in. The first two figures indicate the week the tire was made. The second two indicate its year of manufacture. So, if the last four numbers read “4021,” it translates to a tire built in the 40th week of 2021.
At the end of five years of service, you should have your tires closely inspected, regardless of the miles they have traveled. Many tire manufacturers recognize seven years as the age at which a tire should be replaced (including the spare) regardless of its apparent condition.
Throughout your travels, regularly check for cracks and uneven tread wear. These can indicate serious problems that await you down the road.
Treat your tires right, and they’ll serve you well on the road ahead. Check out our comprehensive guide to tires for autos and RVs to learn more.

