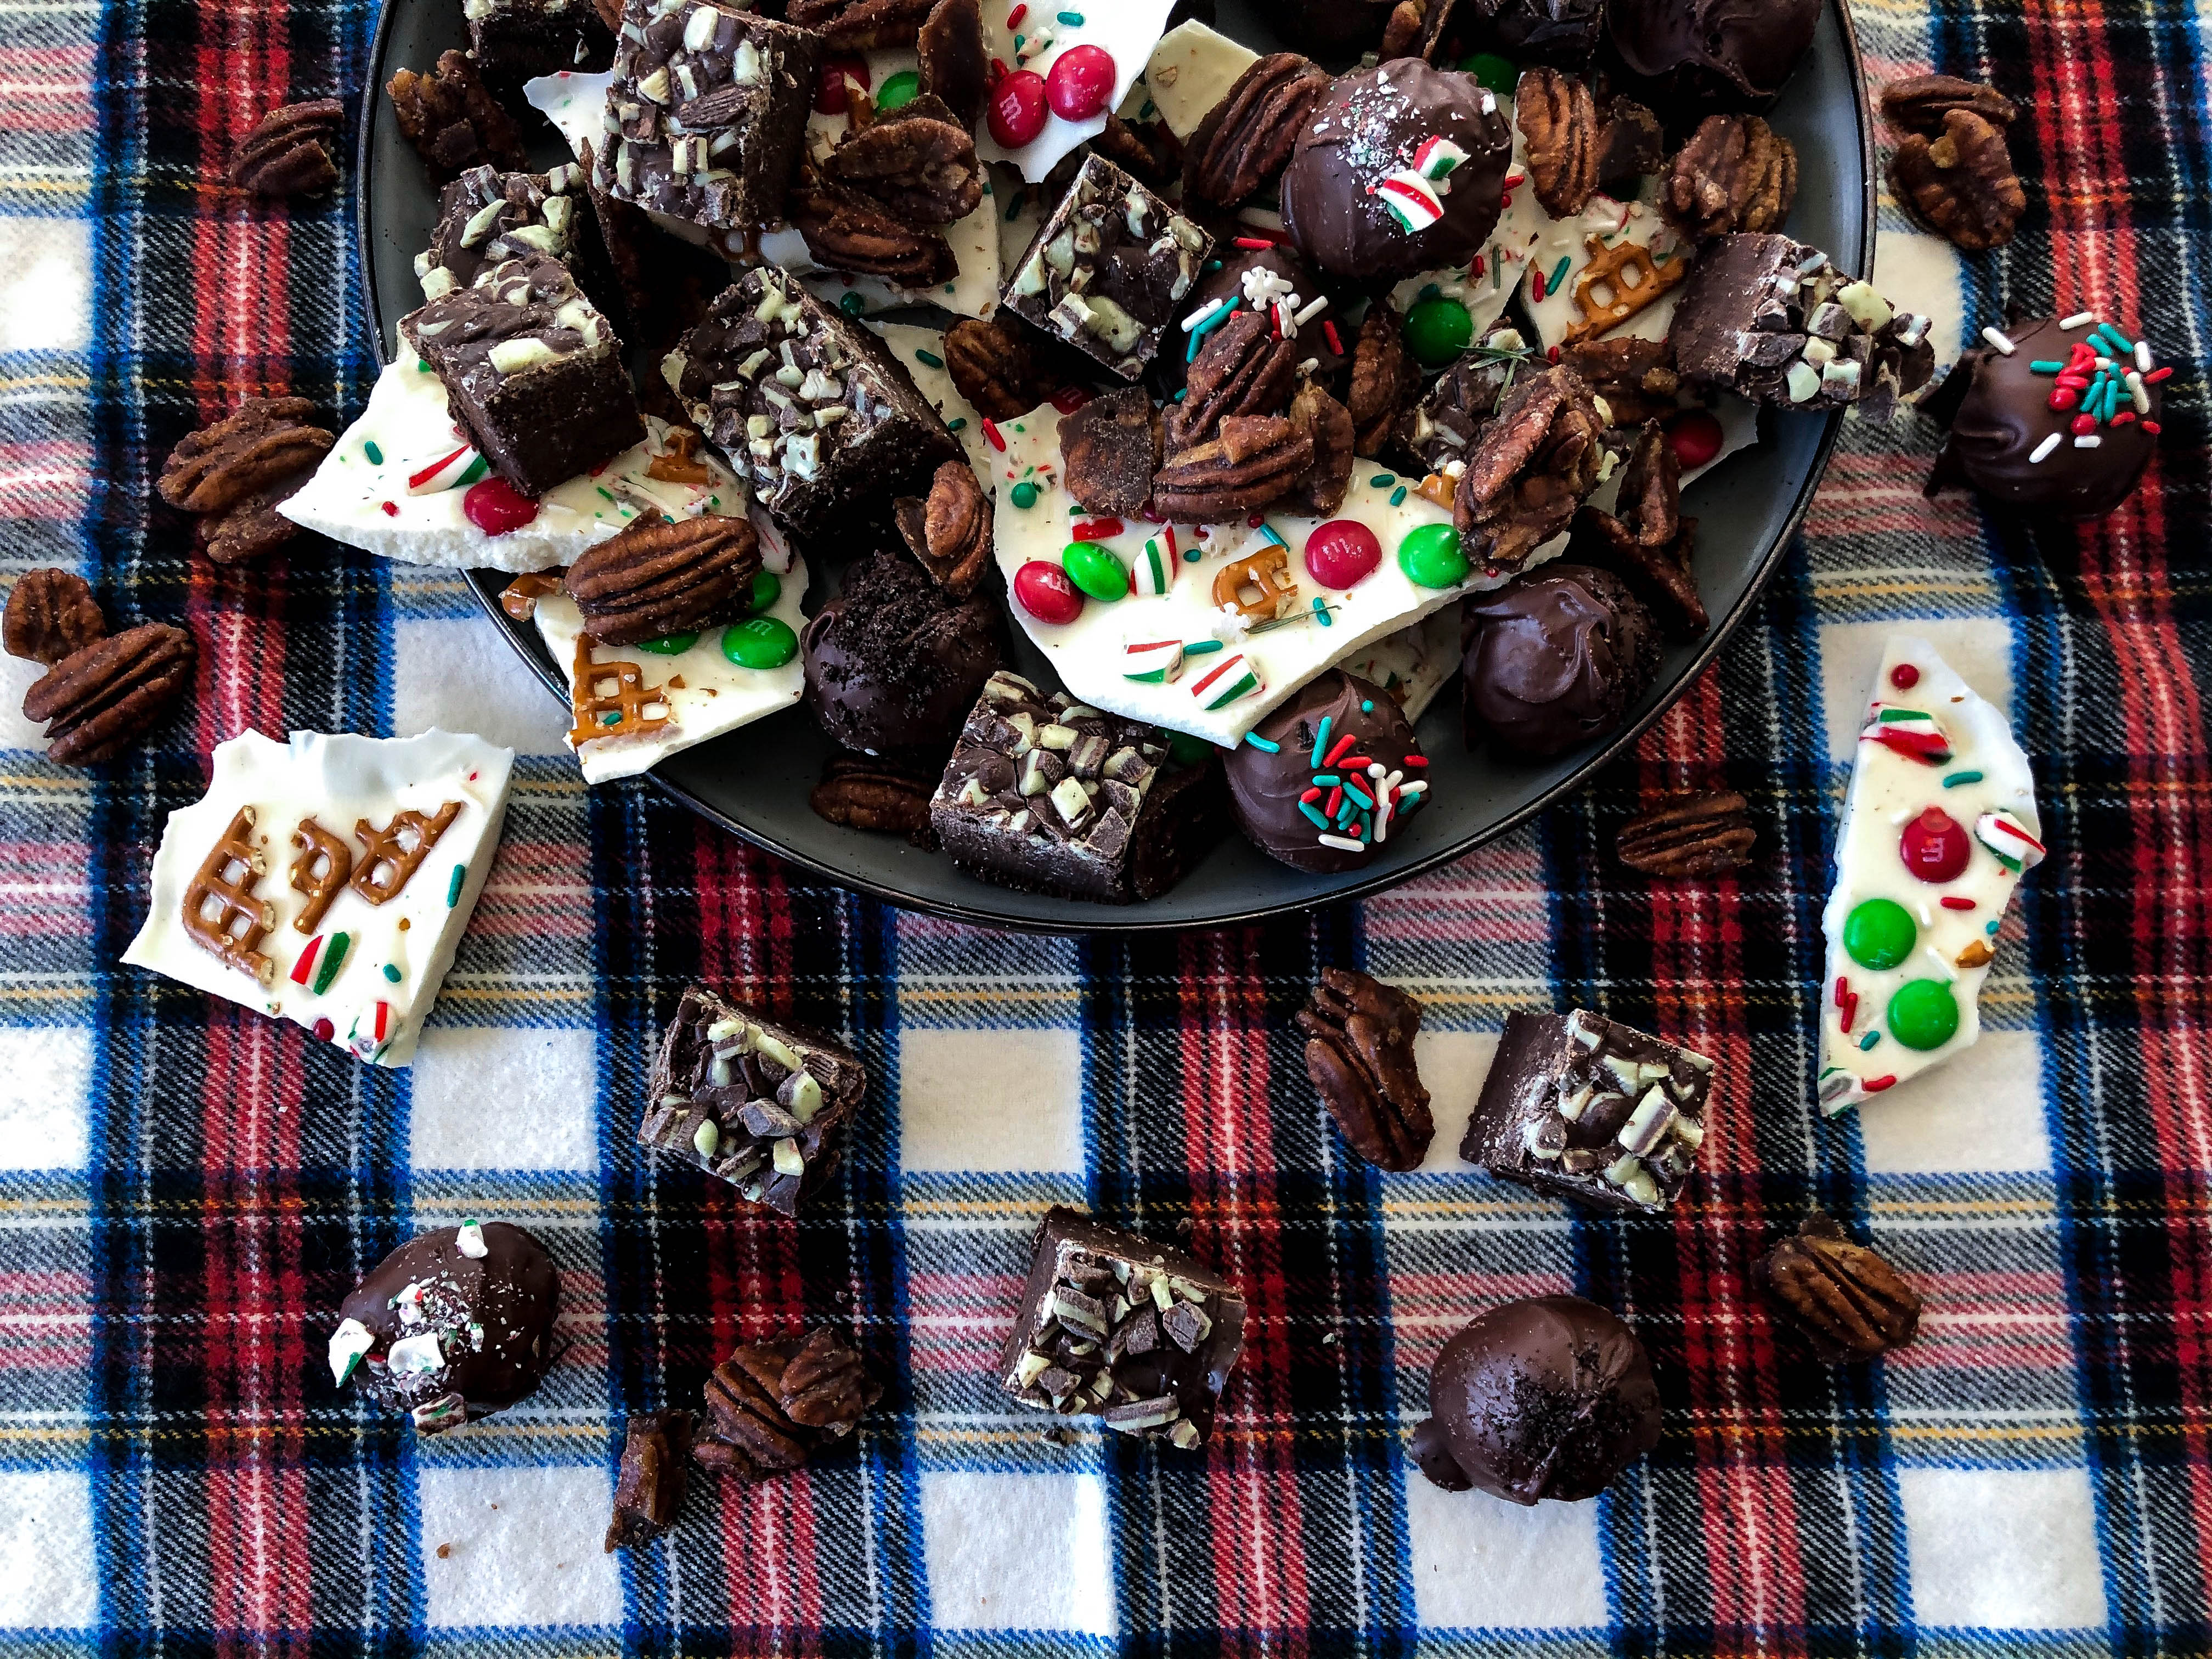
Spending the holidays in your RV doesn’t mean you have to miss out on all the sugary treats that this time of the year brings. While RV ovens can be temperamental, there are plenty of delicious desserts you can make that don’t require baking. All of these treats can be made by using the stovetop or microwave. They’re a great way to spend an afternoon getting into the holiday spirit with the family. Here are four easy dessert recipes you can make in your RV – no oven needed!

Photo: Kacey Cribari
Stovetop Candied Pecans
These candied pecans are sugary, spiced, and can even be a little spicy if you add a pinch of cayenne pepper! We love adding some for that bit of extra heat, but they’re just as delicious if you leave it out. And while many candied pecan recipes require the oven, these can be made on a stovetop.
Ingredients
- 1 cup pecan halves
- ½ cup brown sugar
- 1 tsp ground cinnamon
- ¼ tsp salt
- 2 TBSP water
- Optional – a pinch of cayenne pepper

Photo: Kacey Cribari
Directions
Line a baking sheet with parchment paper (or spread parchment paper over a section of your table or countertop).
Combine the brown sugar, cinnamon, salt, water, and cayenne (if using) in a medium-sized skillet or saucepan.
Cook over medium heat for about 1-2 minutes until the sugar is dissolved and the mixture starts to bubble. Stir often to make sure it doesn’t burn.

Photo: Kacey Cribari
Add the pecans and stir well so everything is evenly coated. Cook for another 2-3 minutes, stirring often.
Spread the pecan mixture onto the parchment paper in 1 layer. Let cool completely before breaking apart and serving.
Store in an airtight container.
White Chocolate Bark
Chocolate or white chocolate bark is a great dessert to make with the whole family. It’s super simple to make, and fully customizable so everyone can add the toppings they love. You can use nuts, candy, dried fruit, or sprinkles, the options are endless! For this holiday white chocolate bark, we used a mix of pretzels, M&Ms, candy canes, and sprinkles, but feel free to mix it up and use your favorite toppings.

Photo: Kacey Cribari
Ingredients
- 12 oz white chocolate chips
Optional toppings:
- 1/3 cup pretzels
- ¼ cup M&Ms
- 1 TBSP crushed candy canes (1-2)
- 1 TBSP holiday sprinkles
Directions
Line a small baking sheet in parchment paper. This works best with a baking sheet that has a lip to contain the melted chocolate. We used a 9 x 13-inch sheet.
Chop up all of the toppings you’ll be using into bite-sized pieces.

Photo: Kacey Cribari
Melt the white chocolate in a microwave-safe bowl for 30 seconds, then stir. Repeat for another 30 seconds in the microwave and stir again. If the white chocolate needs additional time to melt, microwave in 15-second intervals and stir in between until fully melted. Keep an eye on the chocolate to make sure it doesn’t burn! You can also slowly melt the white chocolate in a saucepan over a stovetop on low heat until everything is melted. Again, make sure to stir often so it doesn’t burn or seize.

Photo: Kacey Cribari
Pour the melted white chocolate onto the parchment paper and spread into a thin layer. Sprinkle with the toppings of your choice.
Leave the bark to set for a few hours until hard, then break it into pieces and enjoy! Store in an airtight container.
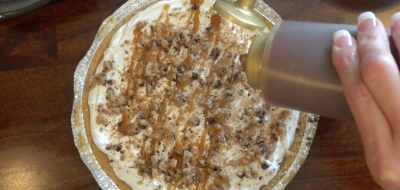
Mint Fudge
While I think chocolate and mint should be enjoyed year-round, this flavor combination really shines during the holiday season. This simple fudge recipe mixes smooth dark chocolate with delicious mint flavor for a classic holiday treat.
Ingredients
- 3 cups dark chocolate chips (about 1 ½ bags)
- 1 14-oz can sweetened condensed milk
- 1/2 tsp peppermint extract
- ¾ cup Andes candies baking chips (or you can crush regular Andes candies into bits)

Photo: Kacey Cribari
Directions
Line an 8×8- or 9×9-inch baking pan with tinfoil or parchment paper.
Add the chocolate chips and sweetened condensed milk into a medium-sized saucepan. Melt the chocolate and milk over low heat on the stovetop, stirring frequently so it won’t burn. Heat until the chocolate is completely melted.
Remove the saucepan from the heat and mix in the peppermint extract, stirring well to combine.

Photo: Kacey Cribari
Pour the chocolate mixture into the tinfoil or parchment paper lined pan. Sprinkle the Andes candies over the top of the fudge.
Chill in the refrigerator for at least 2 hours to let the fudge set. Cut into squares and enjoy! Store in an airtight container.
Oreo Truffles
Oreo truffles are fancy looking but so simple to make. In fact, they only use 3 ingredients! They are a great dessert to make for all sorts of holidays, picnics, or just when you want an easy, chocolatey treat. But be warned, you’ll want to eat them all!

Photo: Kacey Cribari
Ingredients
- 1 package Oreo cookies (about 36 cookies)
- 1 8 oz package of cream cheese, softened
- 1 package (12 oz) semi-sweet chocolate chips, melted
Optional toppings:
- Sprinkles
- Melted white chocolate
- Oreo crumbs
- Crushed candy canes
Directions
Line a baking sheet with tinfoil or parchment paper and set aside.
Crush the Oreos into fine crumbs. If you have a food processor, just add them all to the food processer bowl and pulse into crumbs. You can also crush the Oreos by hand by adding them to a large, gallon-sized resealable plastic bag and smashing them with a rolling pin, hammer, or the back of a large spoon. Transfer the crumbs to a large mixing bowl.
If you want to use some of the crushed Oreo crumbs as toppings, set 2 TBSP of crumbs aside for later.
Add the package of softened cream cheese to the Oreo crumbs and mix until well combined. If you have a food processer, add the cream cheese directly to the bowl and pulse until mixed. You can also mix it by hand by adding the cream cheese to the bowl of Oreo crumbs and mixing with a large spoon, spatula, or electric hand mixer.

Photo: Kacey Cribari
Form the mixture into small balls, about 1 TBPS each, and place them on the baking sheet. For best results, chill the balls in the refrigerator for 15 minutes to help firm the cream cheese and make it easier to dip in the chocolate. However, if they won’t fit in the fridge, move onto the next step.
You can melt the chocolate chips in a saucepan over low heat on the stovetop, or in a microwave-safe bowl in the microwave. If you go the microwave route, microwave the chocolate for 30 seconds, then stir. Repeat microwaving in 20-second increments stirring in between until the chocolate is fully melted.
Remove the Oreo balls from the fridge, dip them in the melted chocolate, and place them back on the prepared baking sheet. Sprinkle with your choice of toppings such as crushed candy canes, melted white chocolate, Andes candy bits, or the Oreo crumbs that were set aside earlier.
Let the chocolate harden for about an hour, then enjoy! Store in an airtight container in the fridge.