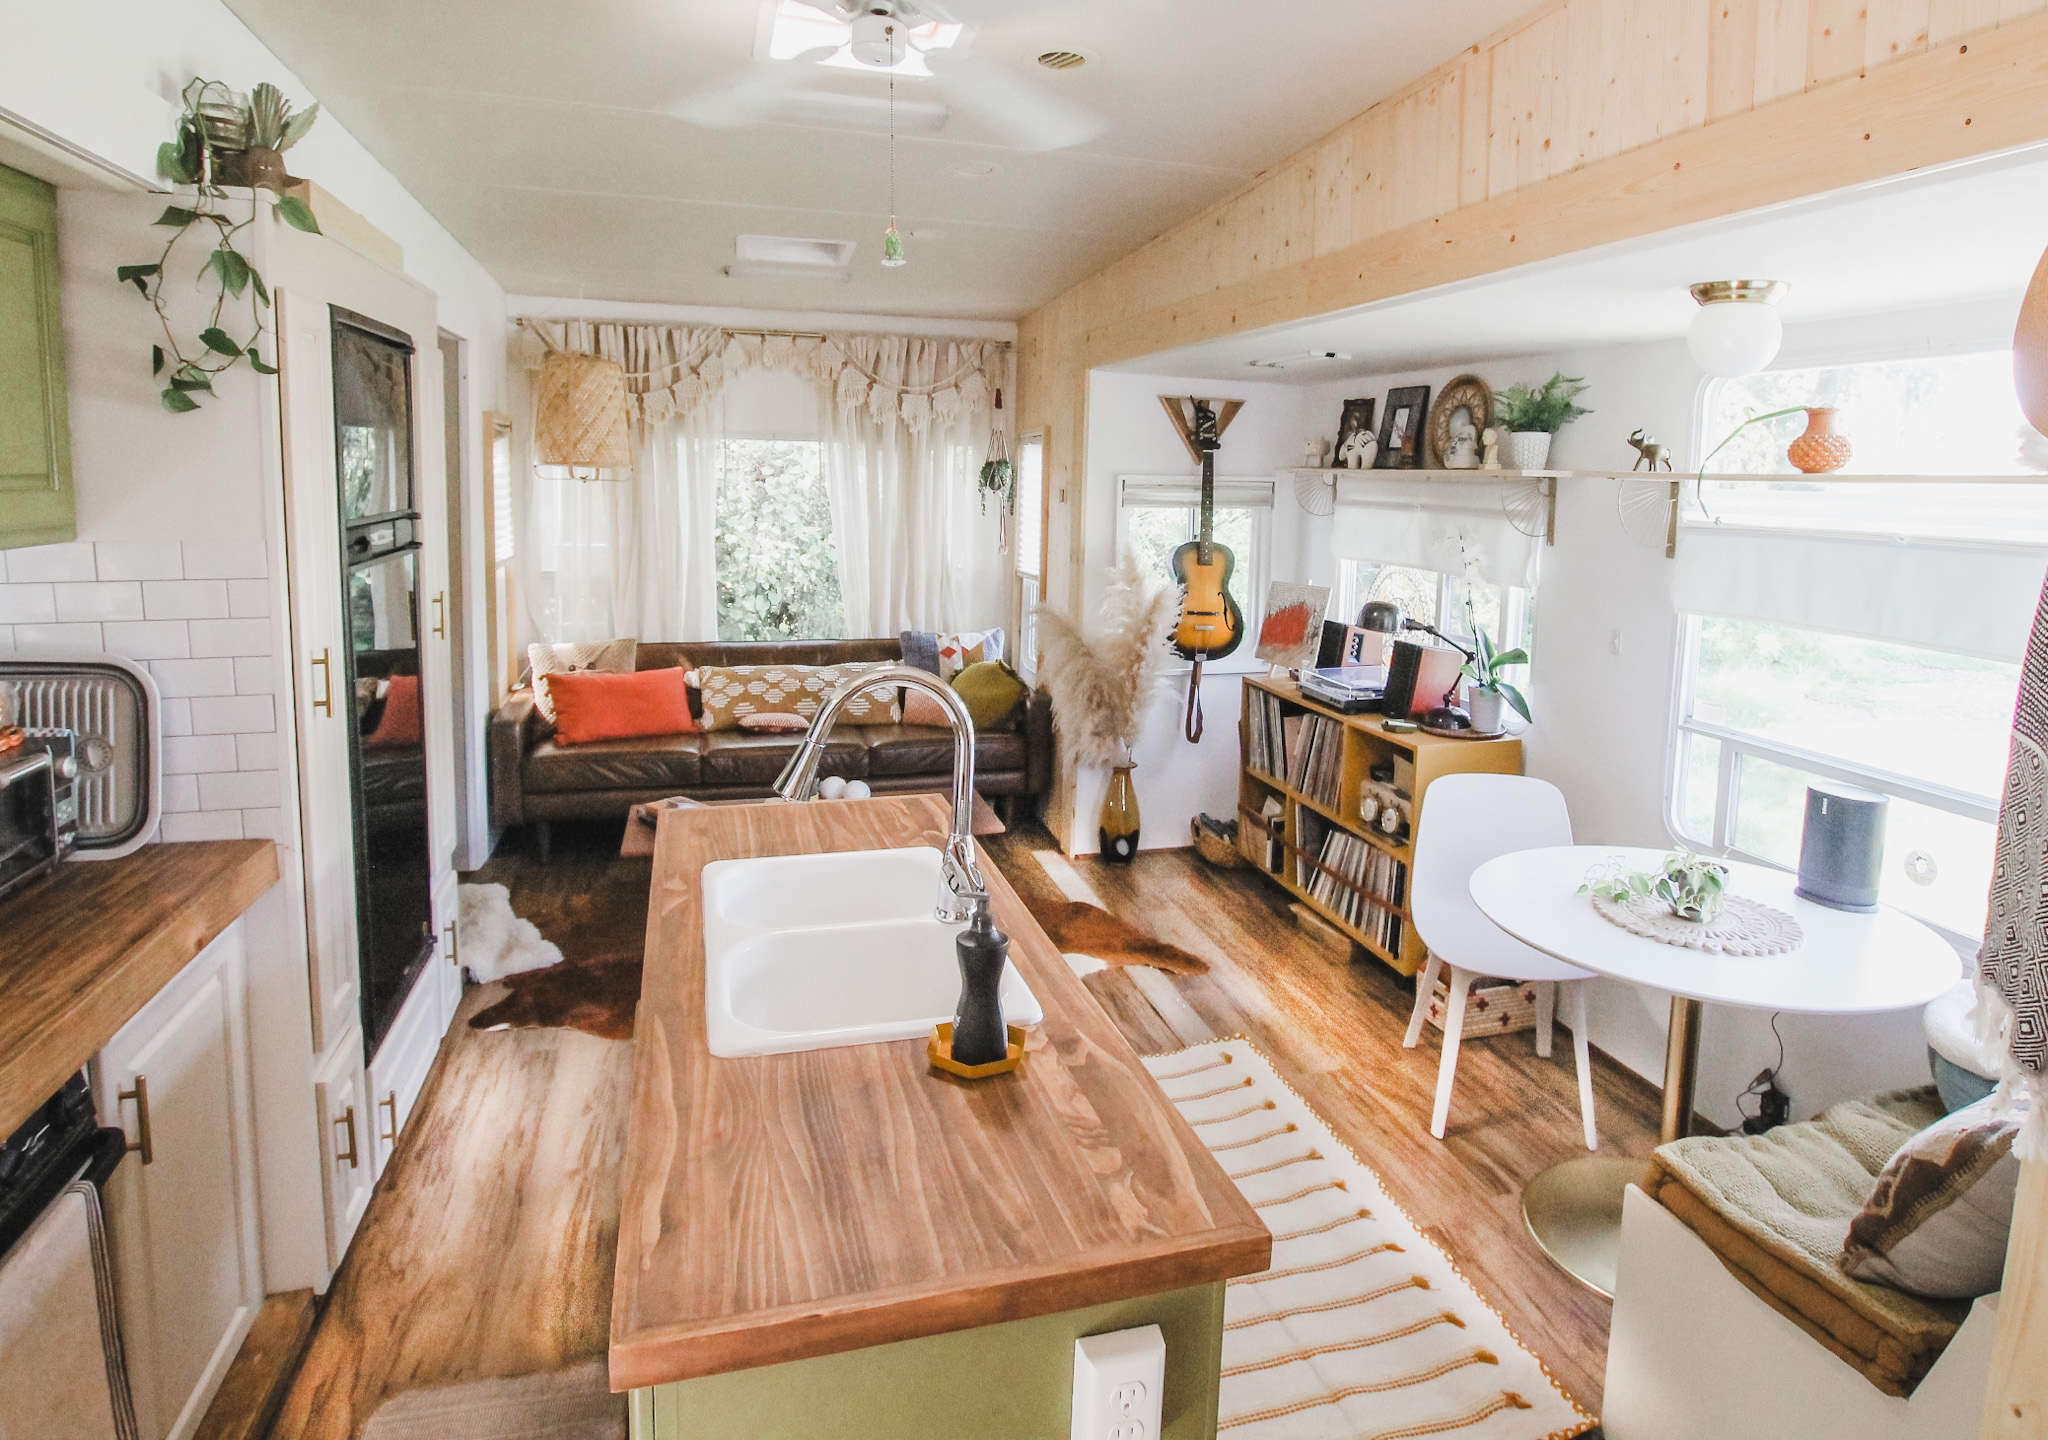
When we bought our first motorhome, a 30-year-old Class A, with the intention of a total remodel, we knew the RV floors would have to go. The baby blue wall-to-wall carpet was faded from years of sun-bleaching, discolored and worn from years of high traffic and just dated and past its prime. This is probably true of most older, and even some well used newer, RVs.
In the 3 years since we replaced our dingy old carpet and posted pics online, one of the most commonly asked questions from our followers, looking to remodel a camper, is about flooring. What type of flooring should I use? How do you remove the old flooring? How much does it cost? And so on!
While there are several ways to go about replacing flooring and several ways to get an attractive and durable outcome, the fundamentals are always the same. In the following, I’ll go over the methods we used in removing our old floors and installing new floors – a project we’ve now tackled in multiple builds for ourselves and our clients. To be honest, it can be a lot of work but new floors can make a huge difference in the look and function of your camper and are well worth the trouble.
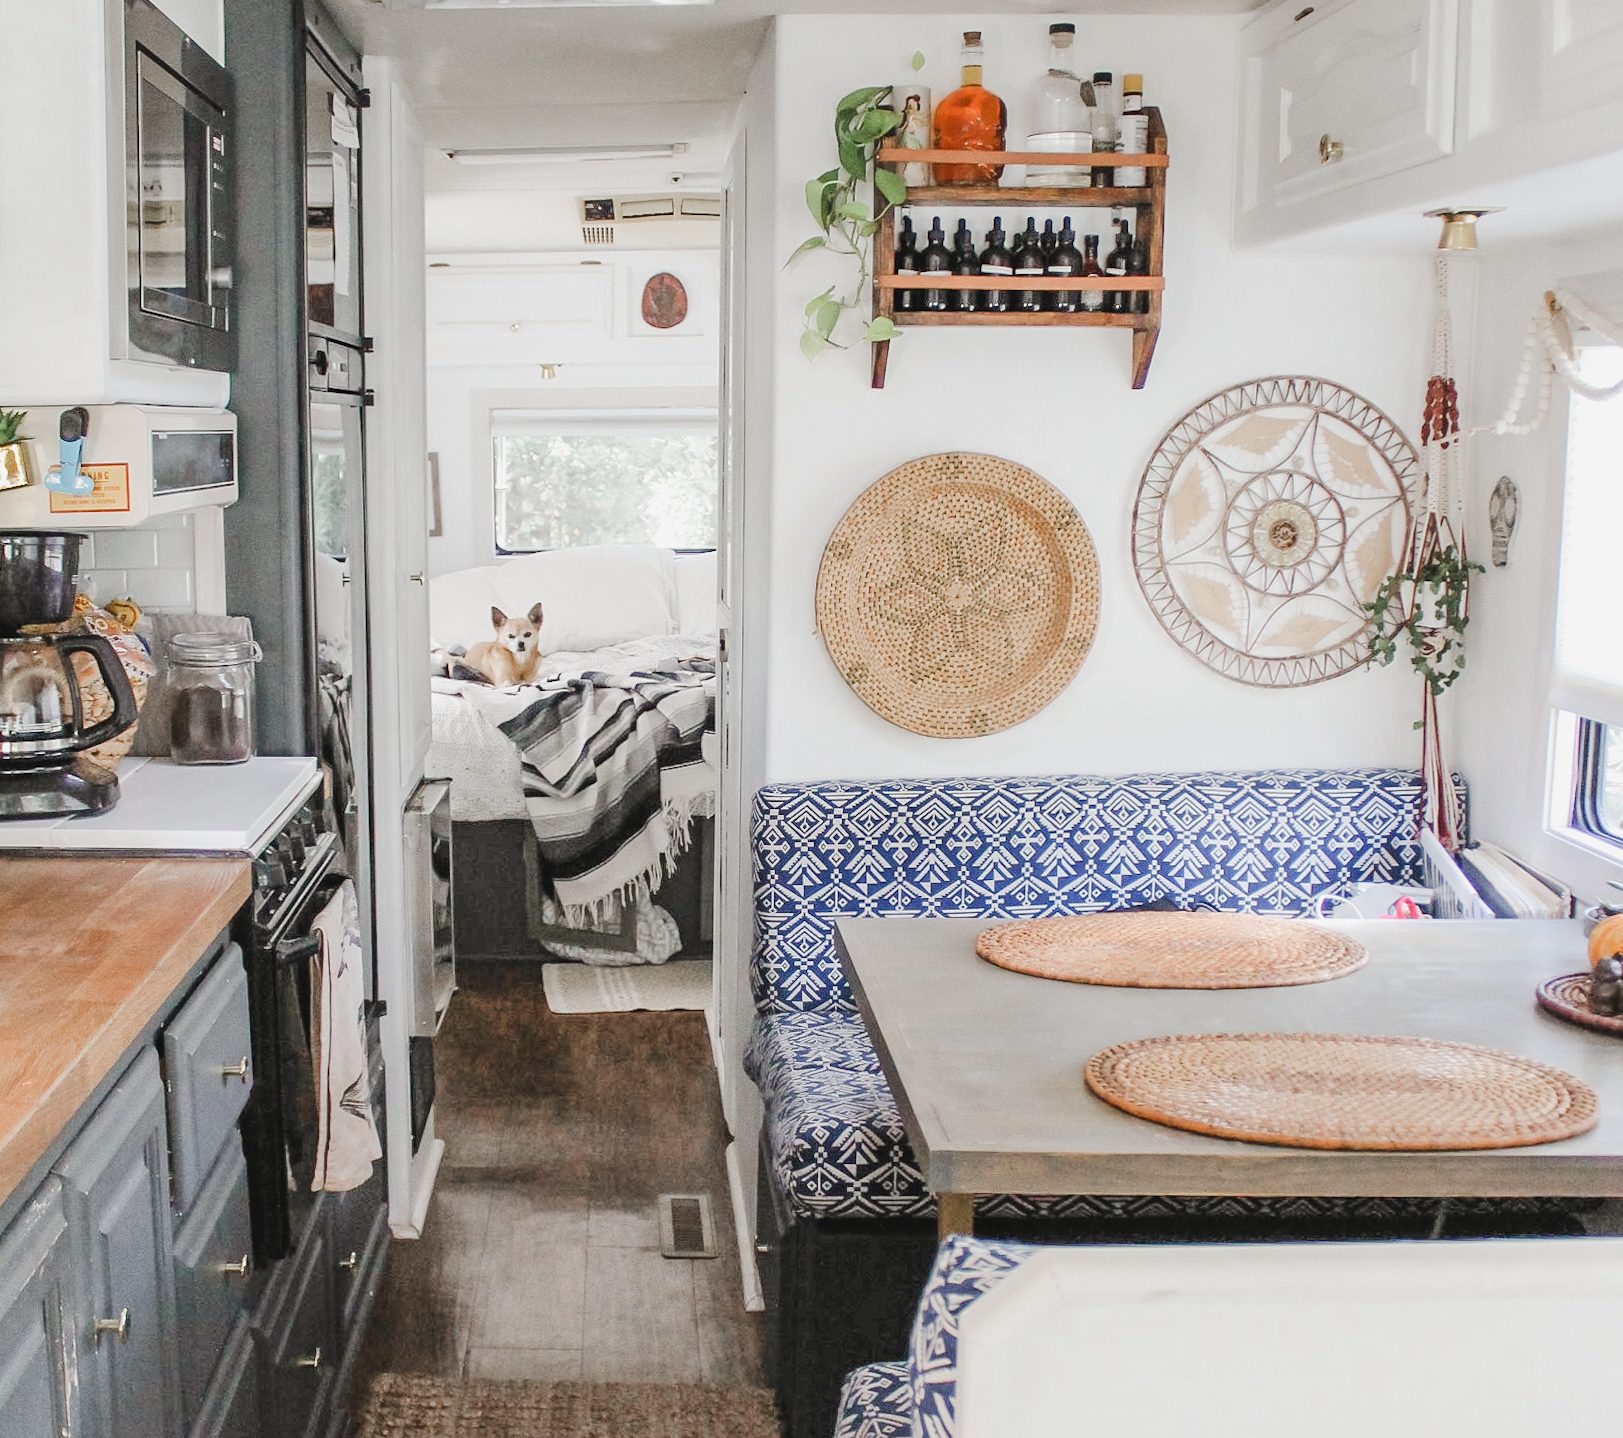
Before: The old RV floor. Photo: The Ramblr RV
Out With The Old
The first step in this transformation is obviously removing the old floors. There’s no way to sugar coat this — it’s a pain! Most campers have either carpet or linoleum or both. In all of my experience, factory RV floors were installed to never come out. EVER! They’re often installed first, before the cabinets, furniture and even walls are installed so removing them can be tricky. In our remodels, we’ve opted to only remove the floors under the furniture, which can be removed by a couple of bolts or screw typically. Where the flooring extends under cabinets, we’ve chosen to leave the old floor. In most cases, in the bottom of cabinets, it’s been fairly protected from wear and tear and ok to leave if you can live with seeing it when you’re pulling that crockpot from under your dinette bench. If not, in our latest remodel, we used ¼ inch PVC sheets to cut inserts that we installed in the cabinets where the carpet was left. I leave it up to you on how to proceed.
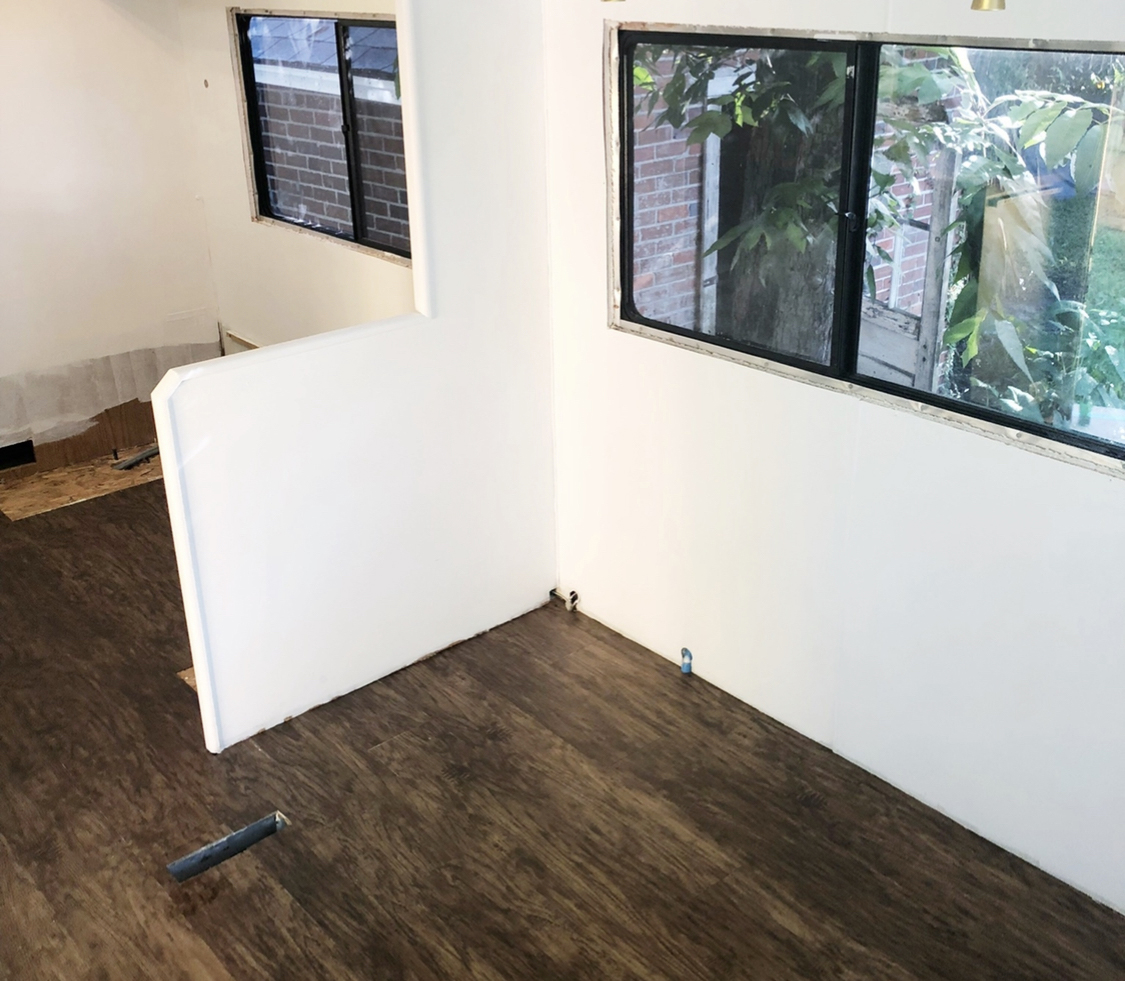
Removing the old floor. Photo: The Ramblr RV
The adhesives used for linoleum in most campers are of the industrial, construction strength variety and not easy to remove. This can be an opportunity to save yourself some work. If the linoleum floors are level and in good shape, you can lay your new floor right over the top of the old. If the linoleum has texture, you may want to use a leveler first however, it’s not necessary. If it’s possible to leave the old linoleum, I would recommend it. If the linoleum is damaged or loose in some sections, it will need to be removed to ensure a durable, level final product. This will take some time but all you need is some elbow grease and simple tools. First, cut linoleum away from cabinets and walls using a razor knife. Cutting floors will dull the blade so make sure you have plenty of replacements and change them often. Working with smaller pieces will be easier so make as many cuts as you like to create manageable sized pieces. Often just pulling will make linoleum release. If not, a couple of scrapers will do the trick. There are adhesive removers that can help with this but warm, soapy water has done the trick for us in the past. The only thing to worry about is not damaging the subfloor, often particle board or plywood. You’ll want it later for your new floor to be in as good a condition as possible so try not to gouge it. In the end, you want to remove as much of the old floor as possible but a little residual adhesive or paper is fine.
Carpet removal is much the same. Use a sharp razor blade to cut the carpet into manageable pieces and pull. Try to cut as close to the edges of the cabinets and walls as possible. If a little carpet is still visible, don’t worry about it since you’ll hide that with shoe molding later. Carpet could be glued down but, in most of our camper rehabs, it’s stapled. And Boy, is it ever! In both of our campers, there were staples everywhere. More staples than you would ever imagine. This is tedious but has to be addressed. Pulling staples with a set of pliers is the best way to remove them but in the instance that the staple won’t budge or breaks off, use a hammer to pound it down into the subfloor. You’ll want as smooth a subfloor as possible for your install.
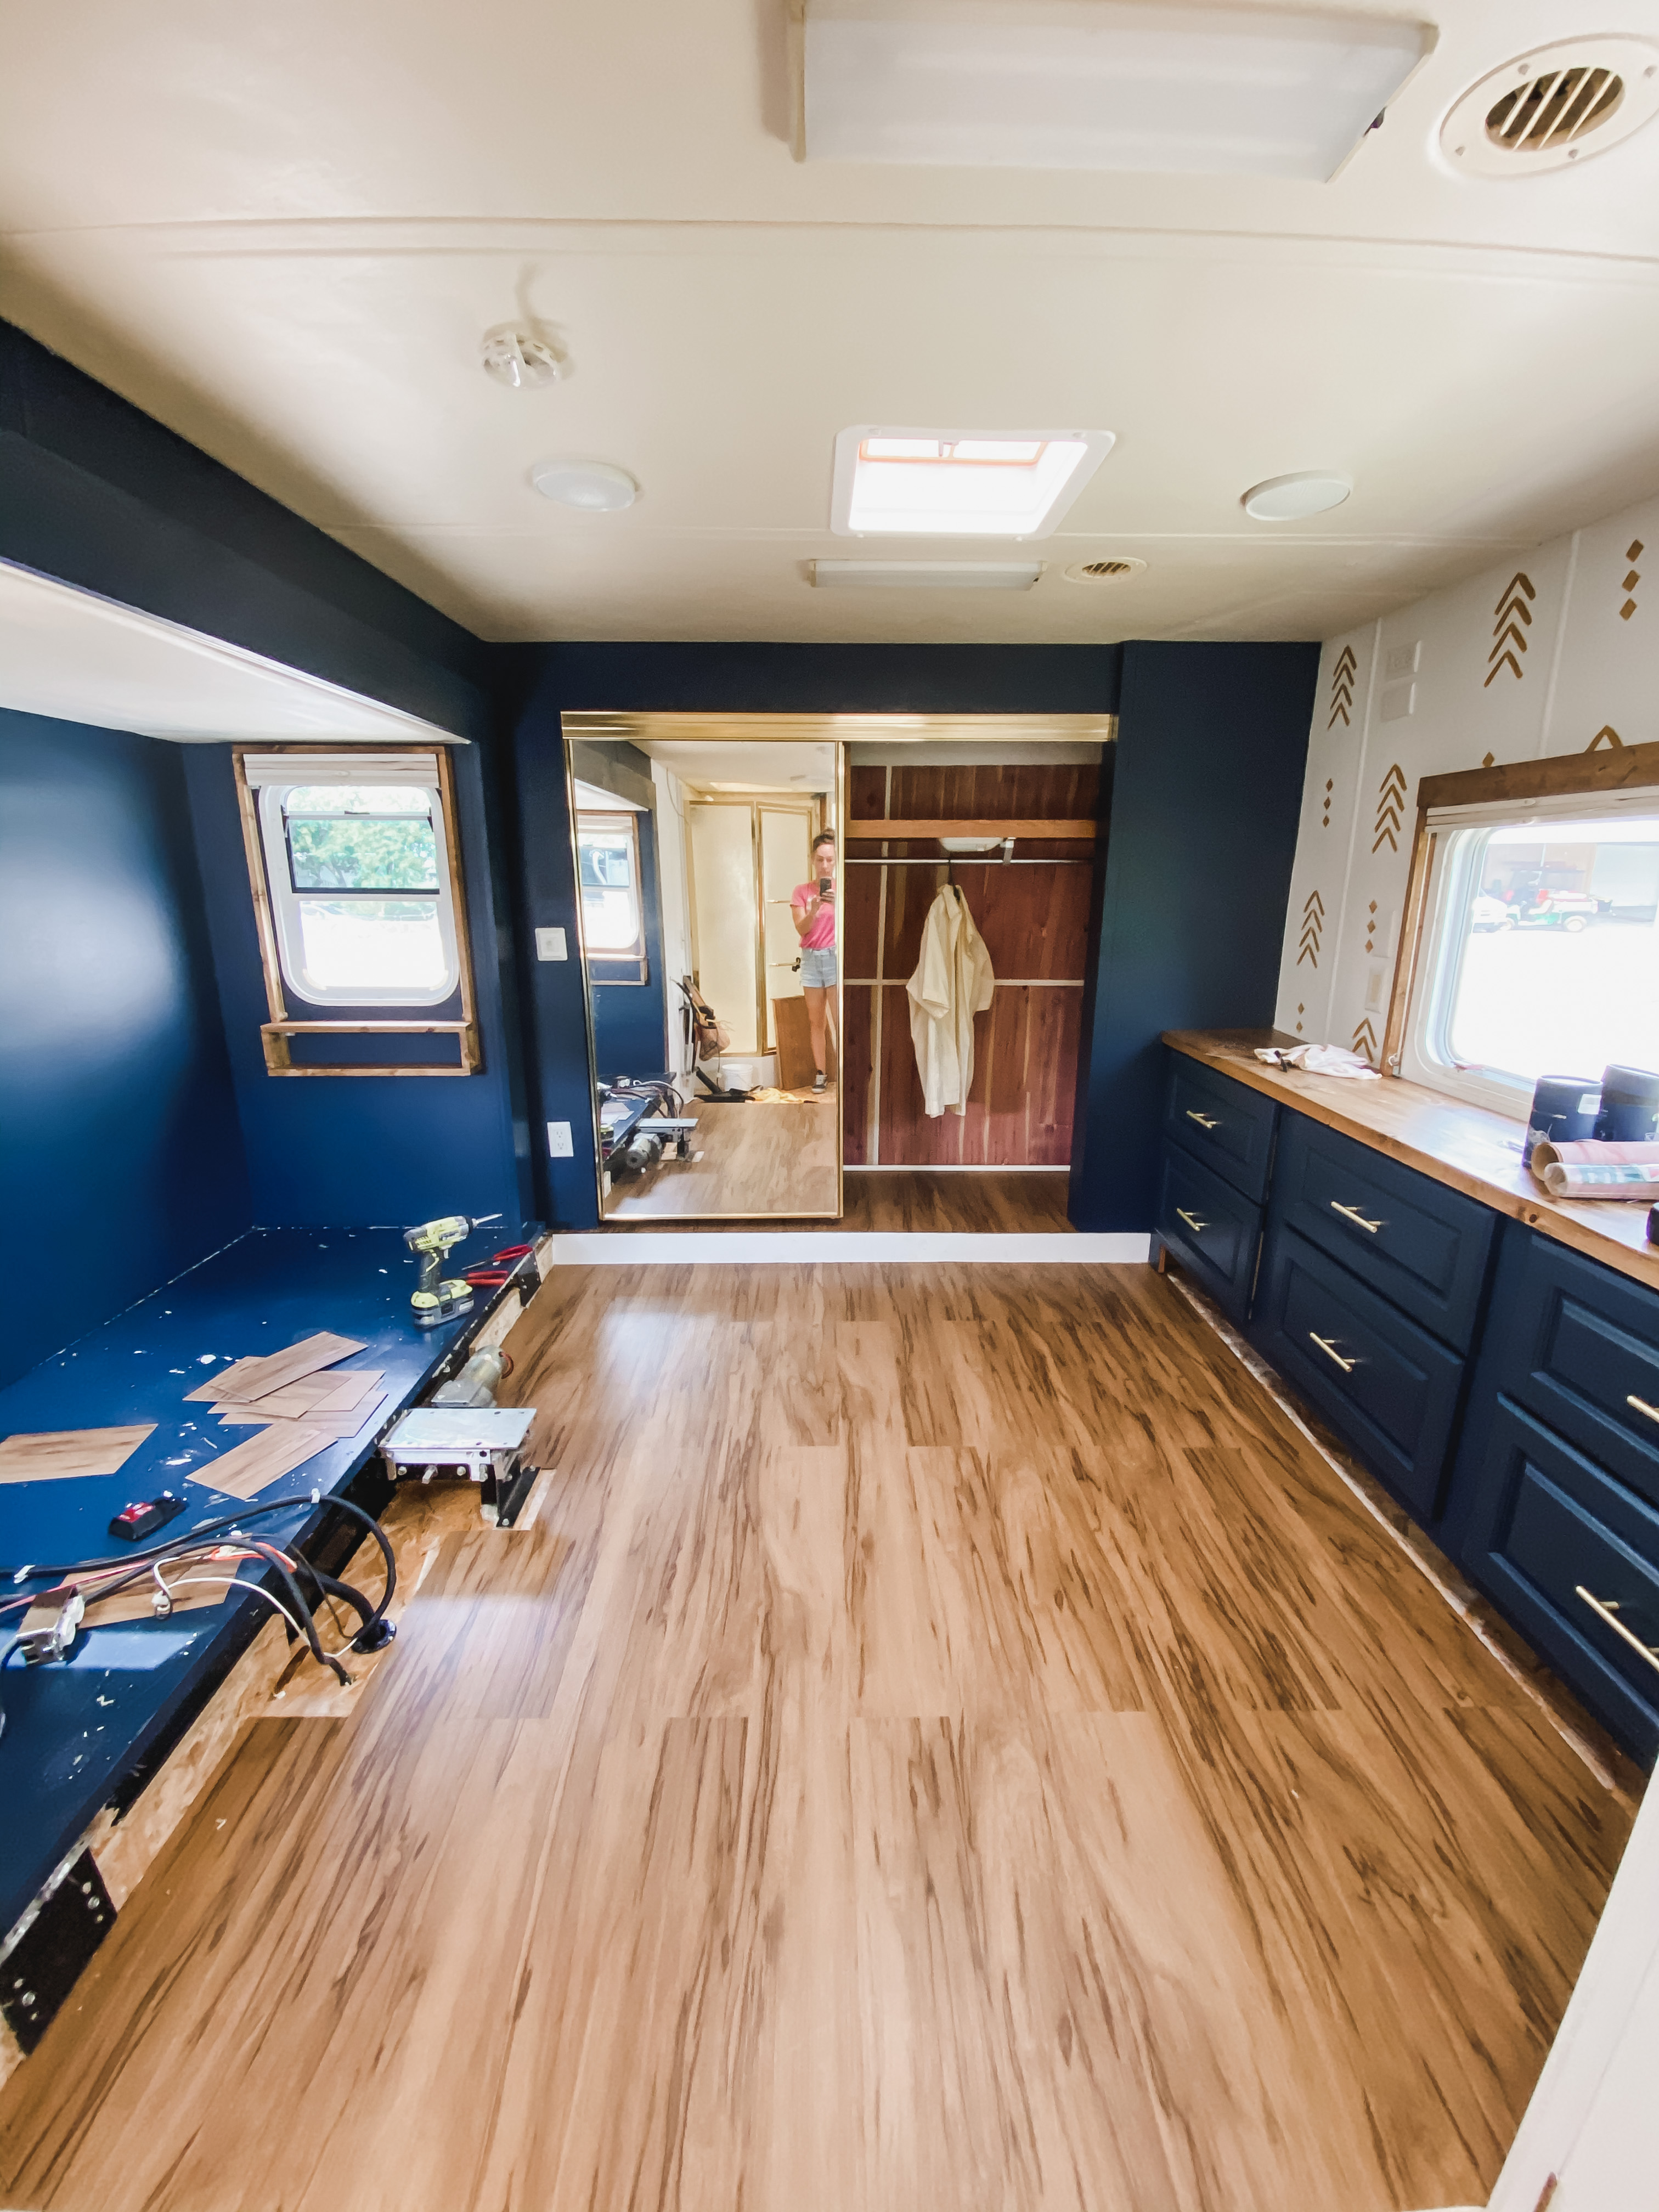
Installing glue-down vinyl plank flooring. Photo: TheRamblrRV.
What to Use
There are several flooring options out there! We researched many options when we were rehabbing our campers. Sheet linoleum and carpet can be tricky since they have to be installed in one continuous piece. This can be tricky with all the cutouts for cabinets and other camper built-ins. This is why RV manufacturers typically install it before the cabinets. So plank or tile floors seem a better option. Tile is heavy which isn’t ideal for a moving home that already gets poor fuel mileage and can be brittle and crack with a good bump. In the end, we settled on glue-down vinyl plank flooring. Many of the other plank-style floors like pop-and-lock or floating laminate can give a very attractive finished product. In our case, we didn’t choose these options for a few reasons.
First, our RV had very few straight edges and also had some slight dips in the subfloors. Pop-and-lock can UN-pop-and-lock in some instances where the subfloor is uneven or flexes with weight. Also, by leaving the existing cabinets and walls, there are several cuts that need to be made and many of the laminate options need to be cut on a saw which would mean a lot more work and time. Glue down vinyl plank could be cut with a razor knife at the install site and would take the slight dips of our subfloor.
Where To Get Your Floors
Like I said previously, there are a lot of options for flooring. Home improvement stores offer a wide variety of options. There are even stores dedicated to just flooring. In our case, as we were on a tight budget, we opted to visit a local retail arbitrage store that had left-over building materials. Since we only needed about 200 sq. ft. for our RV, we knew that we could find enough. After several minutes of sorting through partial boxes, we had our 200 sq. ft. bought for about 20% off retail.
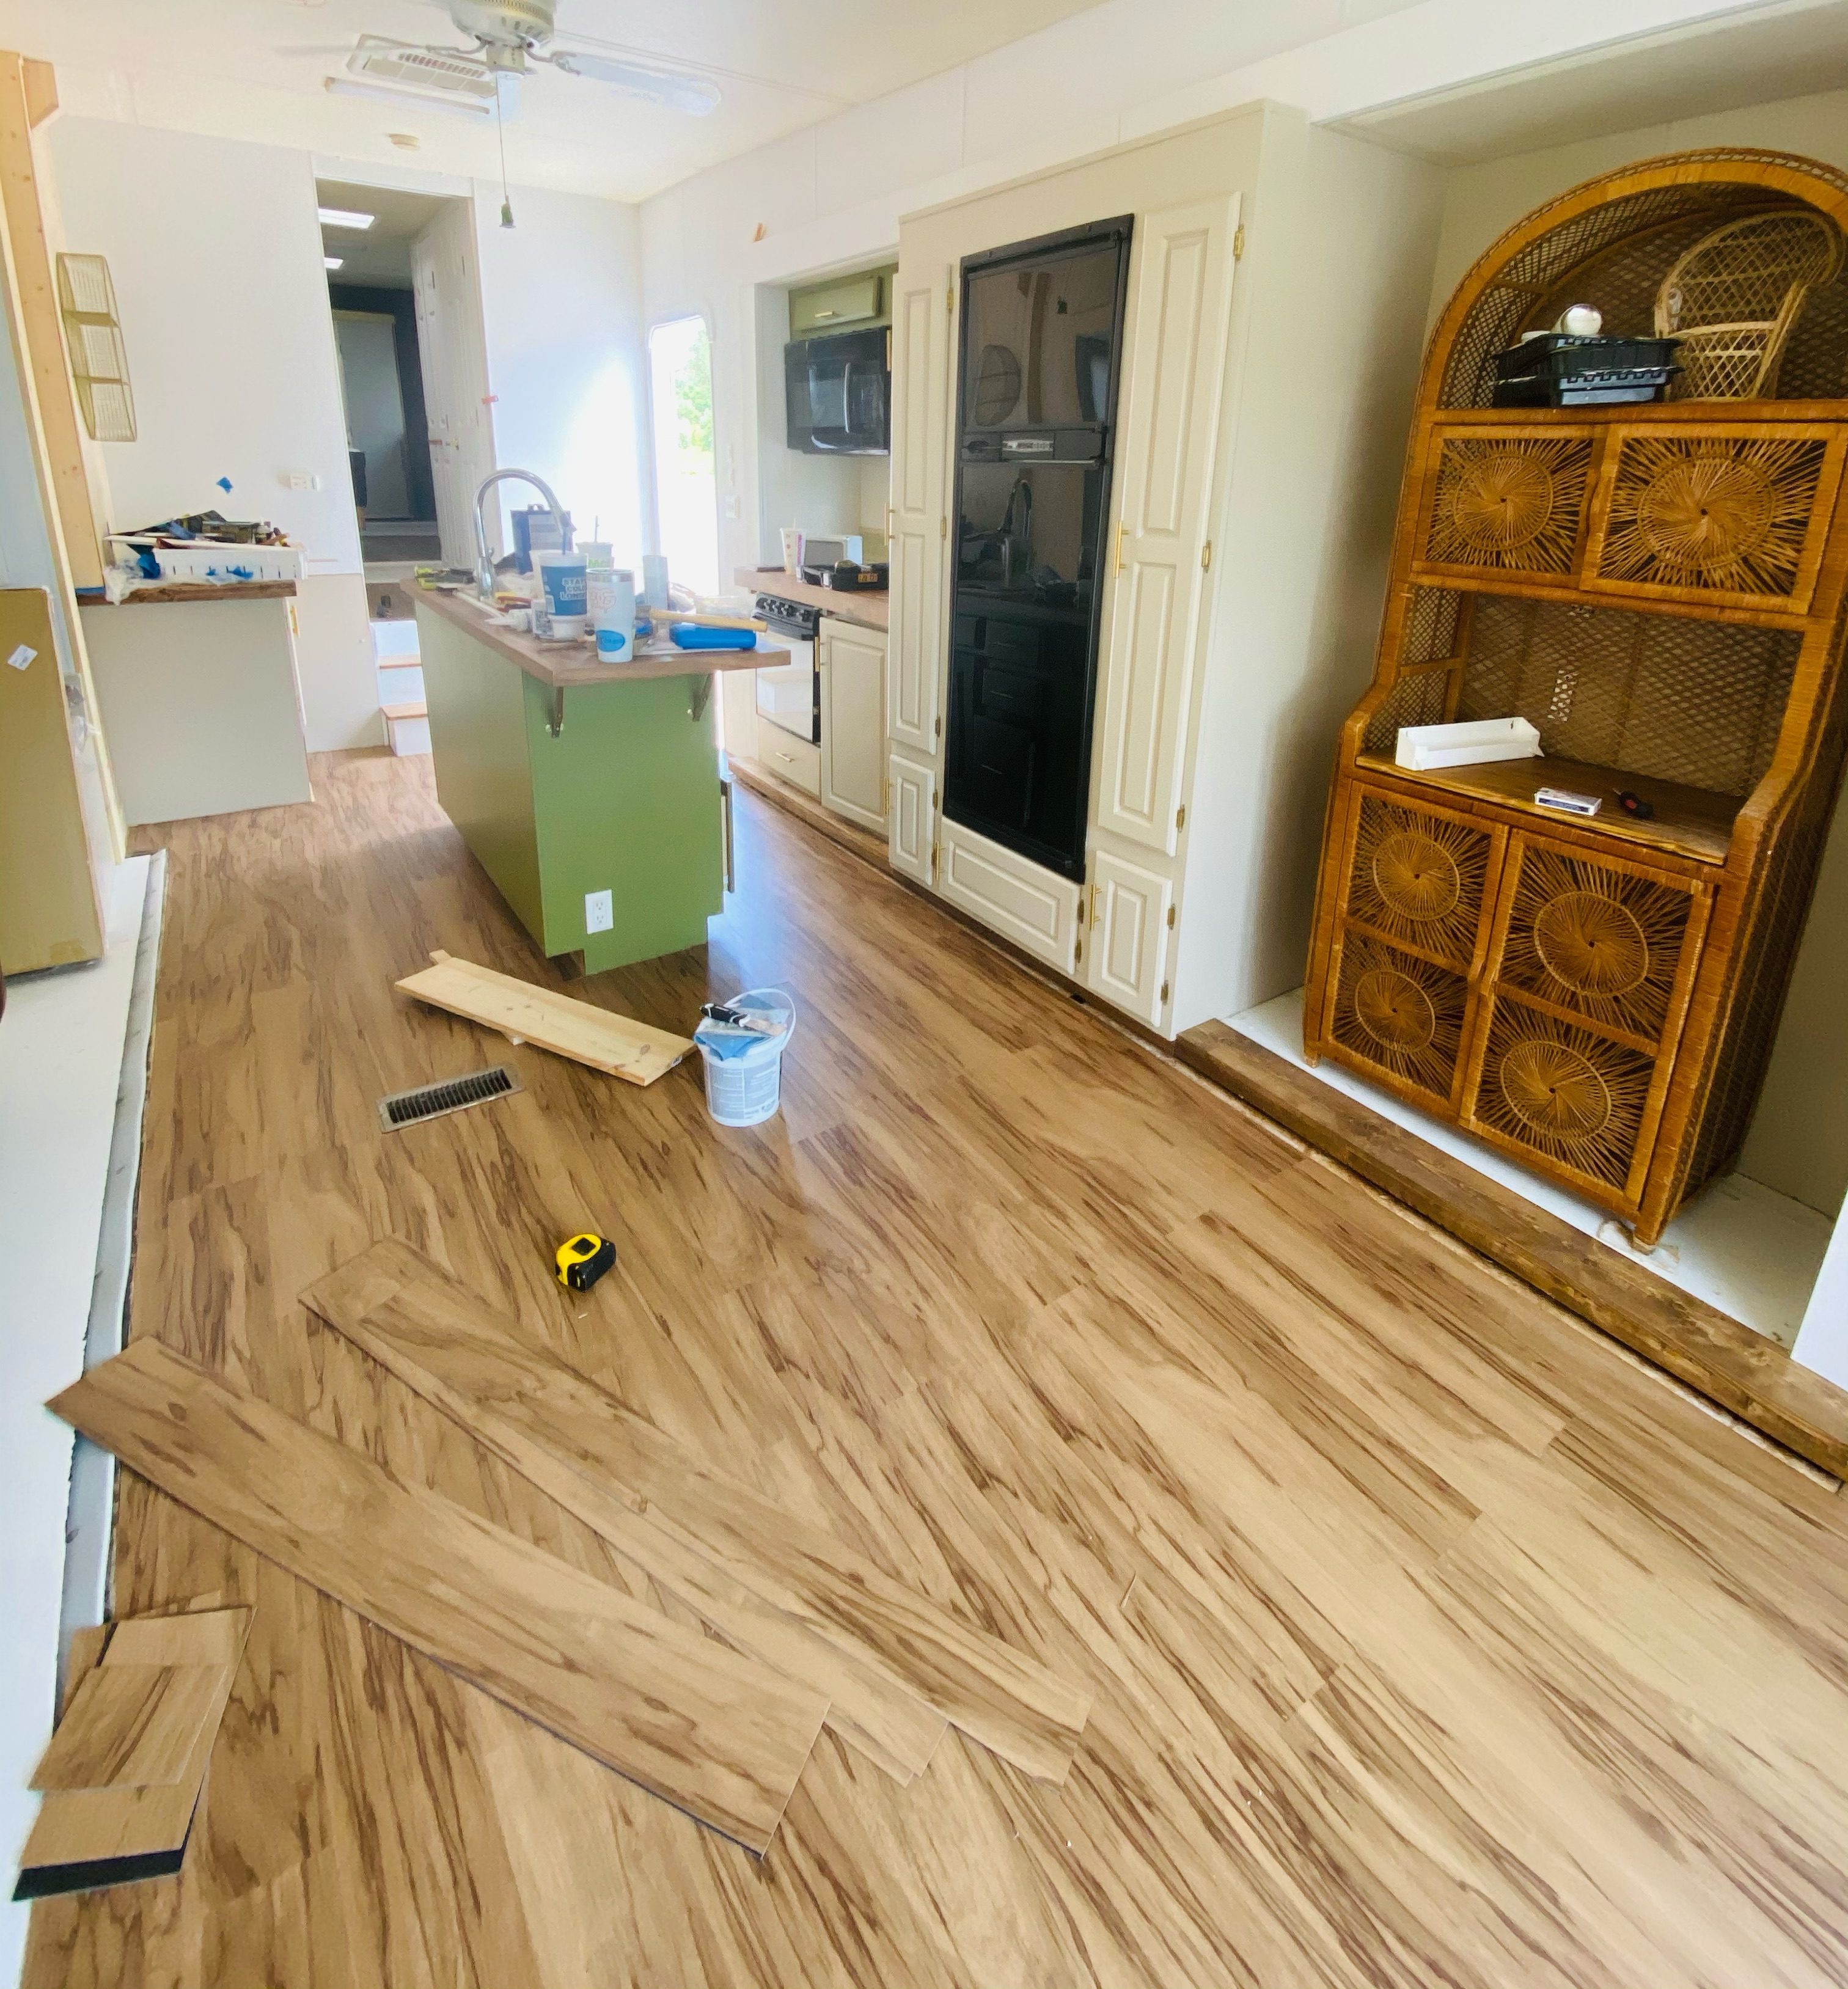
Installing plank flooring with tools and adhesives. Photo: The Ramblr RV.
Layout and Installation
First, you’ll need adhesive and a few tools. Each variety of floor has a recommended adhesive and application. In our case, a multi-floor adhesive was recommended and to be applied with a slotted trowel, both of which were purchased at the home improvement store. As far as layout, we started ours at the most visible area of our camper, the side entrance. This allowed us to hide all of our cuts on the opposite wall which was hidden by furniture though trim did the same. First, make sure the area is clean, clear of debris and check for any missed staples or tacks. Apply a small section of glue down the wall first, enough for 3 or 4 planks, and let it tack up for a few minutes. Install your first piece by resting gently on the glued area, position it and then applying consistent pressure on the entire surface of the plank. This first piece will serve as the guide for all the subsequent pieces so its position is critical. Then lay your first row of planks end to end along that wall. Press them together firmly so that you can barely see the seam.
At this point, you will want to determine your stagger. In our case, we settled on half so for our 48-inch planks, our next piece was cut to 24 inches. Remember to always put your cuts to the wall or cabinet. No matter how straight they look, they will not give you the plank-to-plank seam you’re going for. For cutting, you only need a razor knife with a sharp blade. Use a straight edge or speed square to make the cuts as clean as possible. It takes very little pressure to score the vinyl plank where you want your cut. Simply rest the blade against your positioned straight edge and push down slightly while dragging the blade down the edge. With a little pressure, bend the vinyl plank near your score and it should crack along your scored line. You’ll use this same technique for all the additional cuts around cabinets and corners through the rest of the install. Before you make your cuts, apply your adhesive for the next row so that it has time to tack up. This will speed up the entire job. Apply your second row, pressing the new tiles against the previous row to ensure no gap. Use a damp cloth to clean up any glue that squeezes through the seams. Continue this process for the rest of the install and by the end of the day, you’ll have beautiful new floors in your camper. The adhesive will take a few hours to a few days to cure completely but can typically be gently walked on after a few minutes.
Installing new floors in a camper can be a daunting task. But with a little work and time, you can replace your camper floors and be back out on the road in your updated RV!

