In-Dash GPS
Stay the course — remedy intermittent GPS antenna failure.
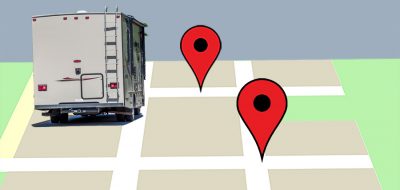
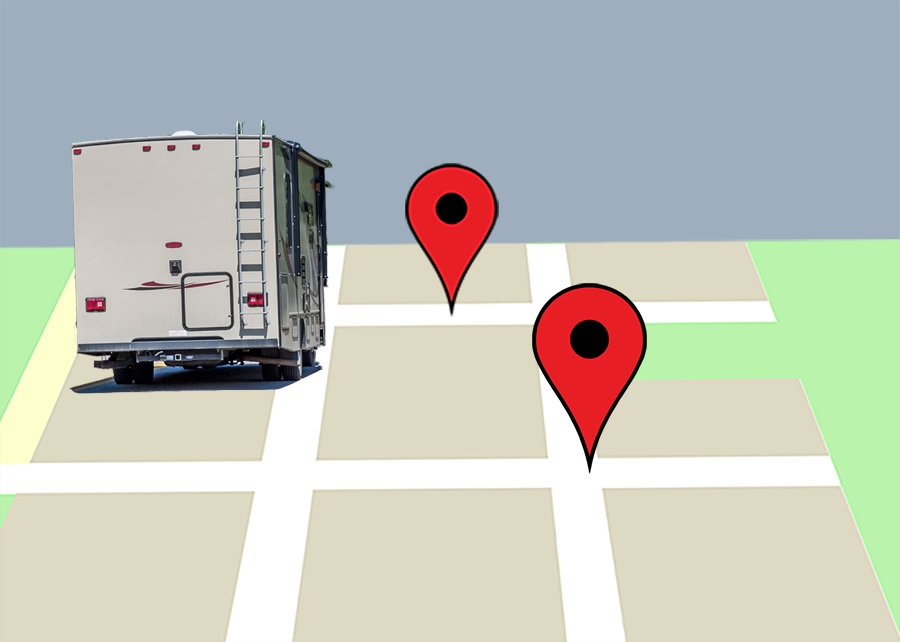
Many vehicle purchasers opt for an in-dash GPS (Global Position System). These marvels are geniuses when it comes to guiding you through unknown territory. Well, at least until you find yourself at a dead end listening to that know-it-all voice repeating, “Make a U-turn if possible.” There is not much we can do about that issue, so we will just deal with it.
But there are more serious issues, like when you find your “electronic pathfinder” inoperative. This usually spells the need for expert service. Unfortunately most, if not all, RV repair shops are unable to diagnose and repair these, requiring they be sent to the GPS maker. This leaves you looking at a black hole in the dash for what might seem like weeks.
 Pinpointing the Problem
After all the waiting, you might well find that it is your GPS antenna that is the culprit, one of the most common failures. You will then need to have the original receiver reinstalled and have the antenna replaced. These are usually located in the roof structure at the front of the rig, requiring a couple of hours labor to change out.
Now, I’m going to show you a better route to go for such an issue, and you don’t have to be that skilled. First, you need to diagnose the failure. The unit, while displaying the map, will show a loss of satellite signal, perhaps in words or maybe a red circle with a cross diagonally through it. Often, this type of fault can be an intermittent issue. This can be due to a loose connection or a failed antenna head. The latter is more common than one would think.
Fixing the Problem
The next steps are pretty straightforward. Source a new antenna for the make of receiver you have. Often, you can get next-day delivery from an online supplier.
Remove the receiver from the dash, just enough to allow access to the wire connections behind. This can be done by either unscrewing the dash panel or just pulling the receiver itself out, if that is an option. The wires that are plugged into the rear of the receiver should all be labeled. Find the one marked “Antenna,” and unplug it. Now plug in the new antenna, placing the antenna head on the dash. Test the unit. Hopefully, it works flawlessly.
Now, for routing the antenna. It does not require being mounted on the roof or anywhere even near it. Merely thread it through the underside of the dash towards the passenger side. Now stick it with double-sided tape on a level surface face up. Even though it is beneath the dash, it will work perfectly. Re-install the receiver back into the dash and you are done!
The reception and operation of the GPS will now work just as good as it did with the antenna in the roof. I know, as I have done this, and it works every bit as good with the antenna head mounted in the more convenient place.
So, pat yourself on the back for a great job. You have saved money and time.
Check out more GPS products and accessories.
Peter Mercer — You Can Be Handy Too!