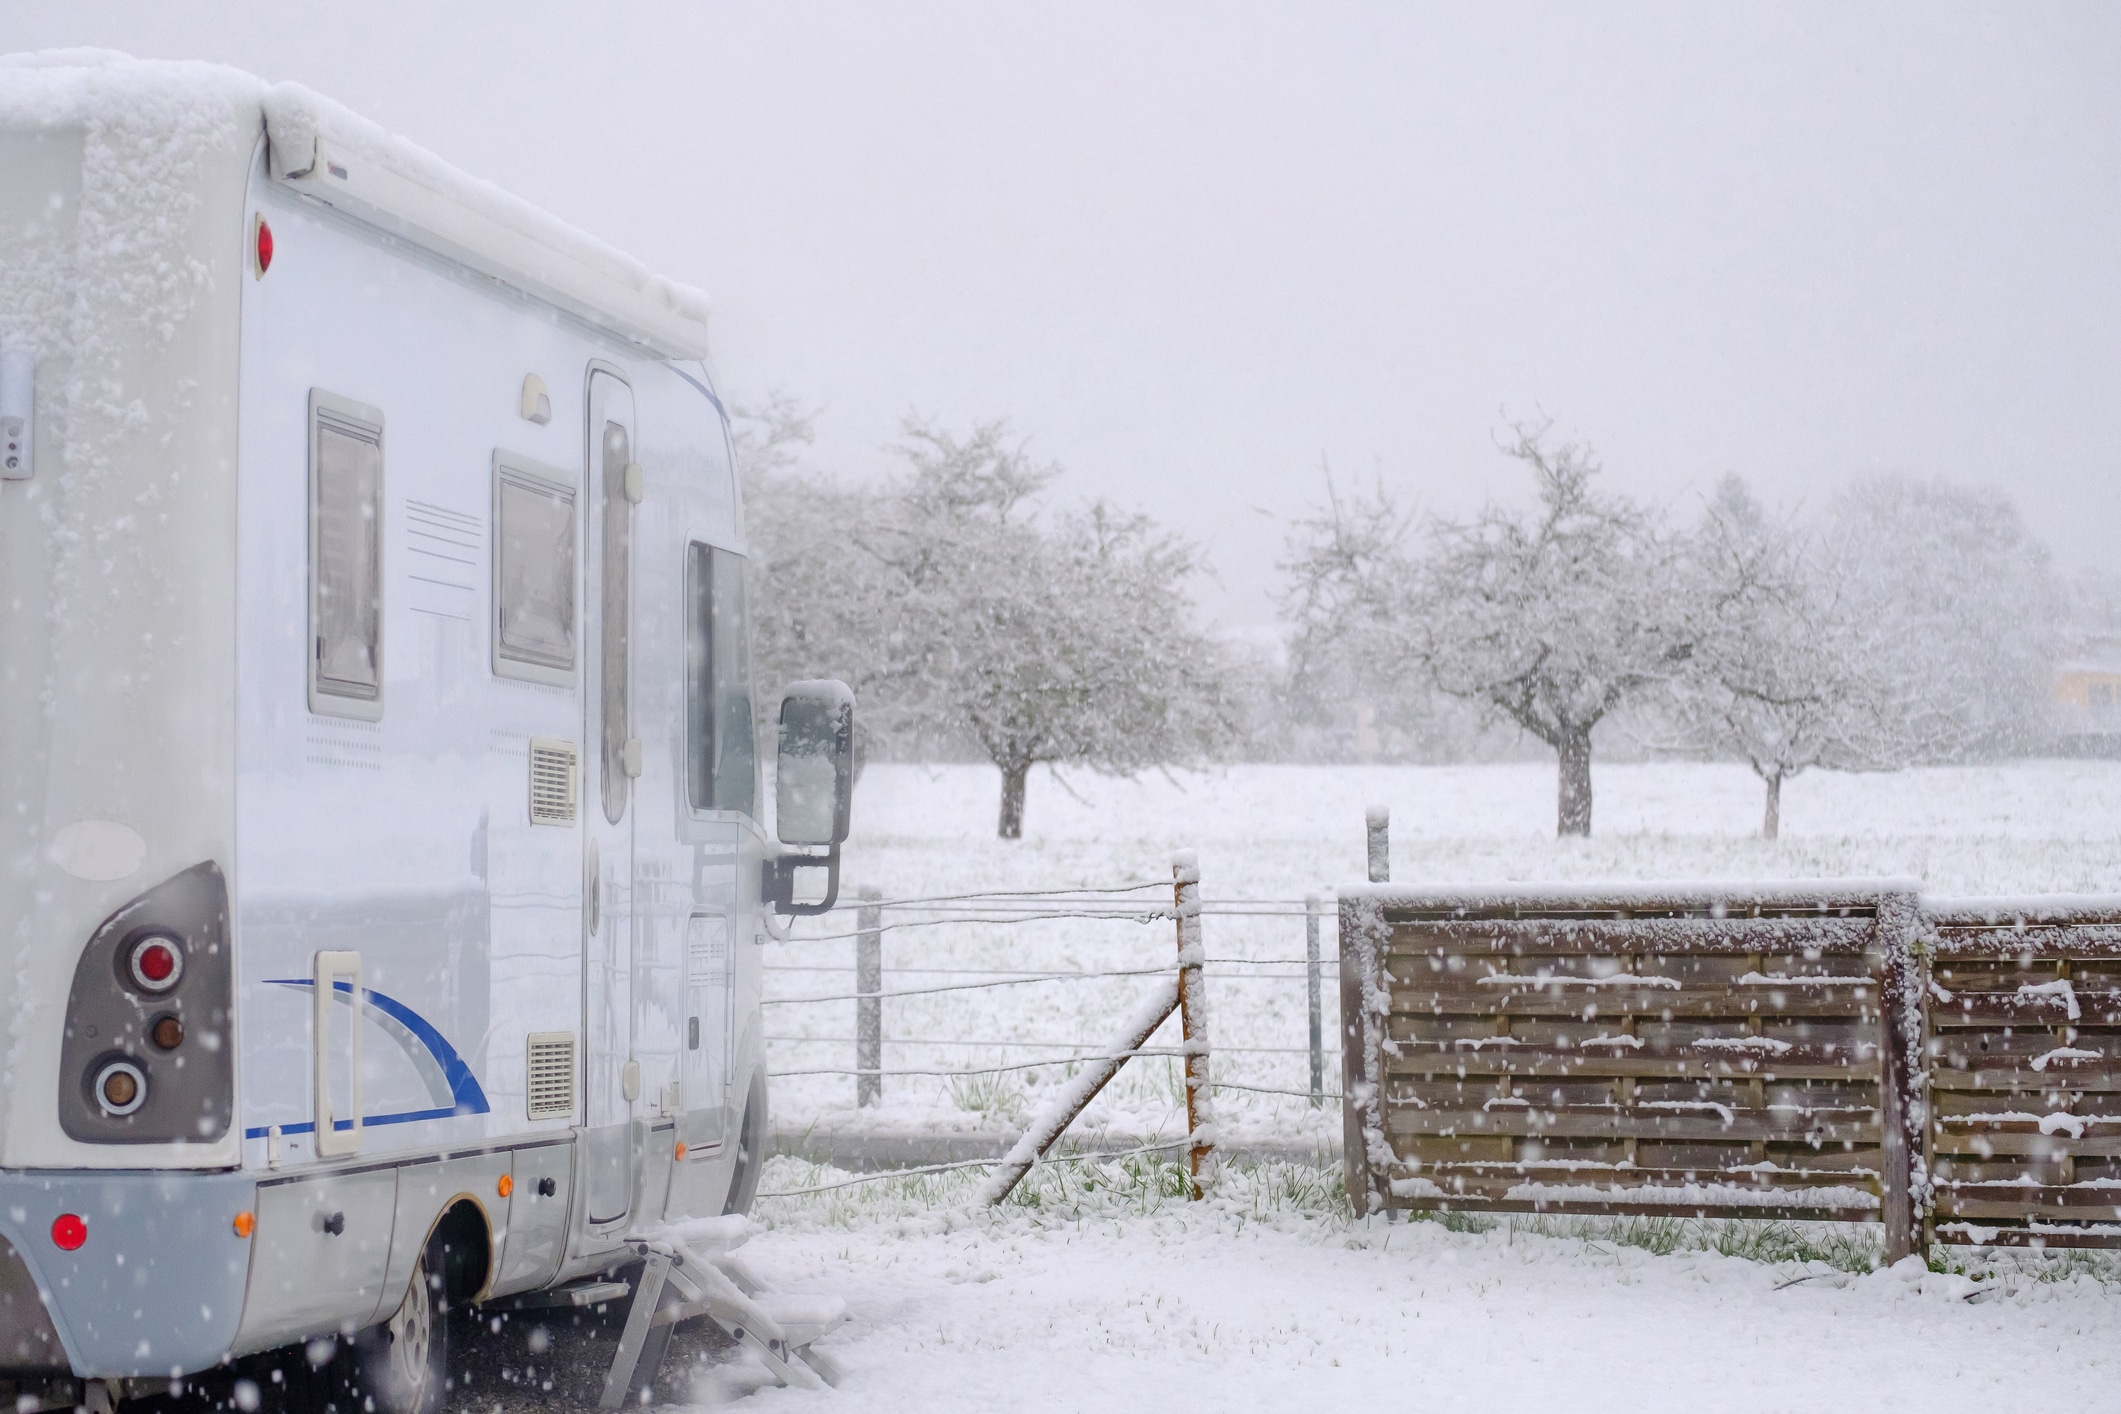
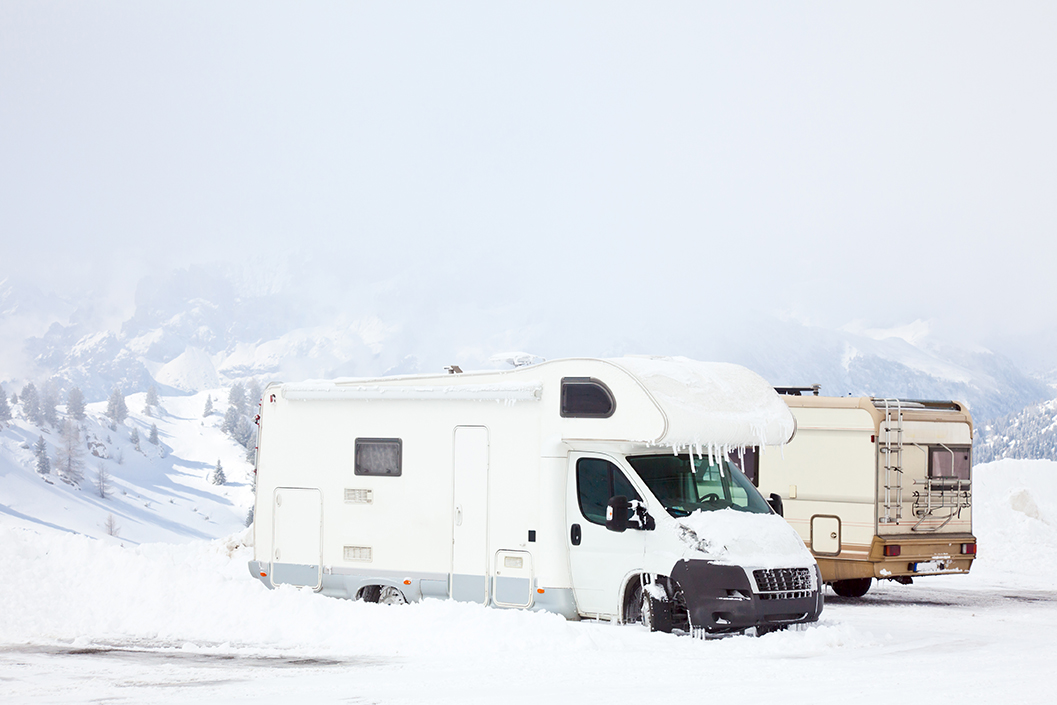
Do you prefer to stay put for the winter? If you’re one of the folks who live in cold northern climates, RV winterizing is probably a big part of your autumn routine. As leaves begin to fall, it’s time to make sure your vehicle remains safe and sound in storage until spring rolls around.
Currently, the border between Canada and the U.S. remains closed for non-essential travel. For this season, many Canadian RVers are putting snowbird travels on hold and putting their RVs in storage instead. By the same token, many U.S.-based RVers in northern states are staying local, forsaking this year’s trip to the Sun Belt in favor of riding out the balance of the pandemic within their home bubble.
It is not possible to cover all the steps and procedures required to winterize an RV, as there are many makes and models. But let’s look at some of the basic items that need service. Consult your owner’s manual for any additional winterizing instructions.
Plumbing and Water System
All the water system plumbing must be either flushed and filled with RV antifreeze (Propylene glycol) or purged of all liquid using compressed air. The RV antifreeze or compressed air is introduced into the freshwater pump intake. The pump will have to be powered on to propel the antifreeze through the lines whereas the compressed air will provide the flow alone. Get the details here.
Empty Gray and Black Tanks
Empty and flush both the gray and black holding tanks at a local RV dump station. In addition to the internal flushing of the black tank, if so equipped, pour a couple of buckets of water down the toilet while dumping to help obtain better flushing results.
The Freshwater Reservoir and Low Points
Drain the freshwater tank and open the low-point drains. Doing this before arriving at the storing location will not only keep your storage area drier but will also help with the total evacuation of all the water pockets as the unit travels.
Winter Battery Care
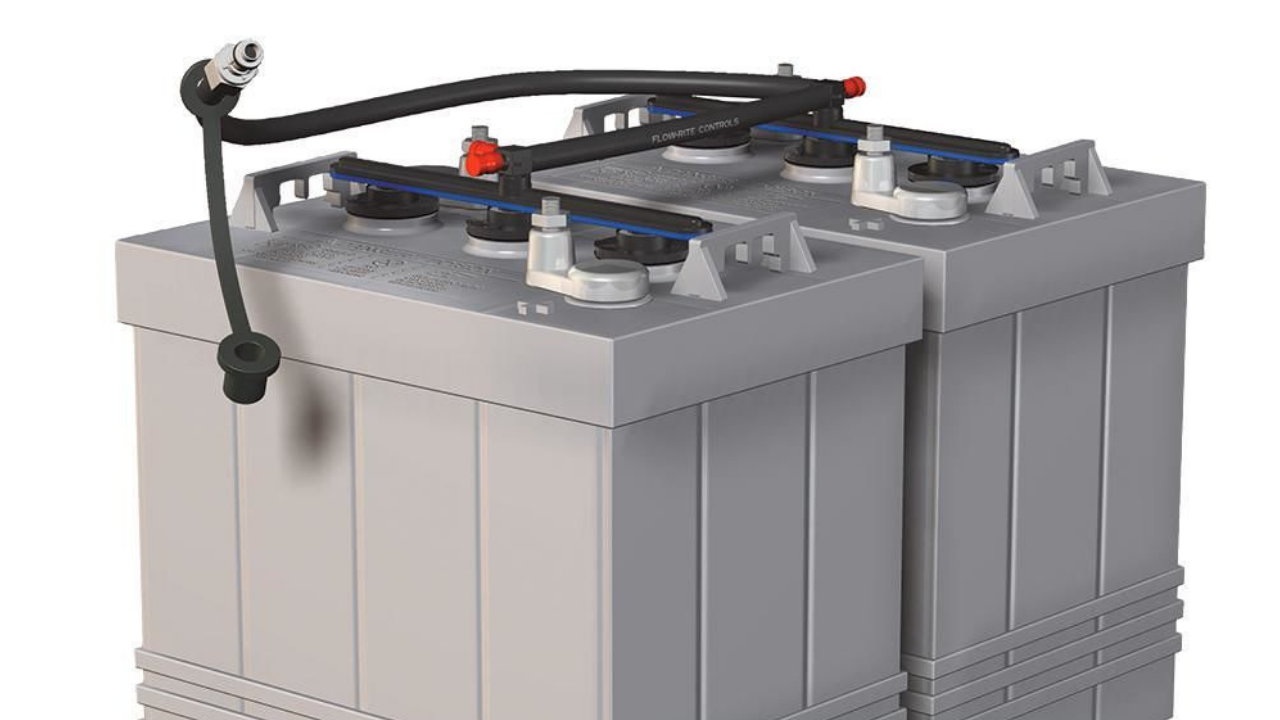
Batteries require special care when the temperature dips. You’ve got three options here:
Removal: You can remove the batteries and store them in a safe environment. This is a great opportunity to inspect them. Check for any case swelling of physical damage. Make sure you don’t store them on a concrete floor; moisture from the floor could damage the batteries. Instead, place them on a shelf or wooden surface.
In-Place Storage: The other option is to leave them in place in your vehicle. If you don’t plan to keep them charged during this time, disconnect the batteries. This will prevent the batteries from being drained, as appliances and utilities in the vehicle can suck power from the battery even when turned off. This is best done by removing the negative ground cables from the batteries. Be sure to fully charge batteries prior to this.
Keep the Battery Charged With AC Power: If you have reliable AC power onsite, you can keep the batteries charged during storage. This requires a trickle or full three-stage charger. If you’re using the live charger method, be sure the batteries are in a well-ventilated area. If any connections must be removed, be sure it is the ground (-) lines and take a photo of the original wiring positions. It is surprising how difficult it can be to return everything where it was supposed to be without some kind of template!
Tend to the Tires
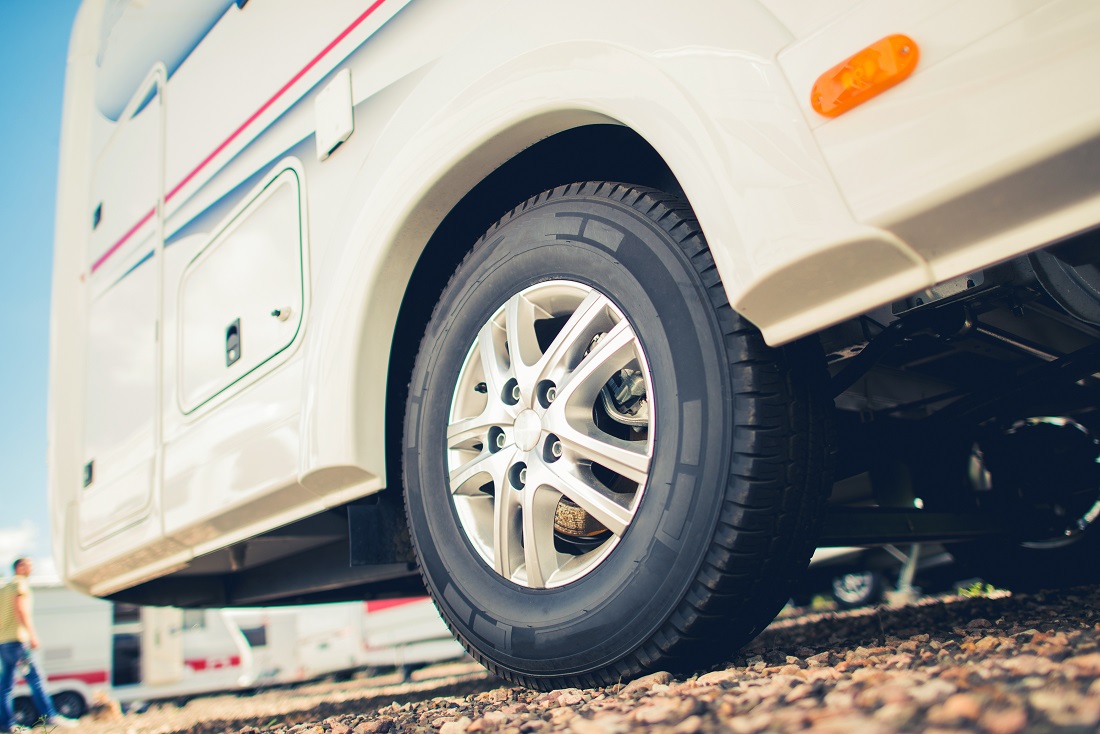
Tire care is critical as the seasons change. Dirt, mud and debris that have built up can leach some of the chemical enhancements from the tire casings, which will degrade their performance and shorten their life. Tires should be cleaned thoroughly on both the outside and inside sidewalls.
The tires should be inflated to the pressure specified for your RV weight plus an additional 10 percent. The extra pressure will help off-set the inherent pressure loss over time. Now, be sure not to store the vehicle where the tires may be subject to contacting pooled water. Also the placing of a sheet of plywood or plastic cutting sheets beneath each tire’s footprint will help prevent the leaching of the tires’ chemical additives into concrete or similar surfaces.
Check 12-Volt DC Accessories
If your batteries remain connected during storage, any continuous 12-volt-powered components should be disabled. As mentioned before, these items can drain the battery. These may include GPS systems, radios, back switch lighting, refrigerator lighting, etc. In some cases, the removal of fuses may be necessary to fully disable such devices.
Clean Your RV Before Putting It to Bed
Thoroughly washing the RV can best be performed prior to it being put in its storage location. Splatted insects, bird droppings, dirt and grime can severely damage painted and gel-coated surfaces if left untreated for an extended time. Likewise, accumulated mud and road grime can cause corrosion to the chassis frame, running gear and related undercarriage components. A good pressure sprayer can quickly remove most, if not all, of this.
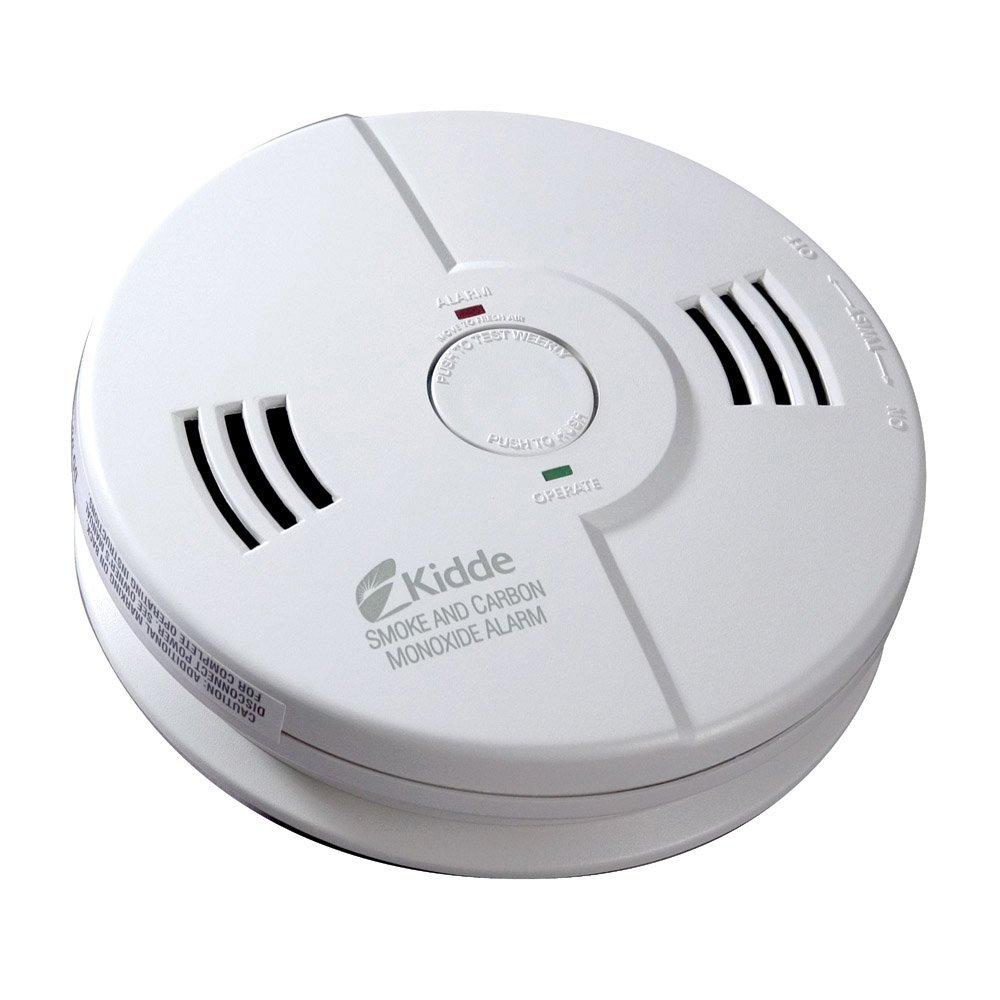
Smoke and Carbon Monoxide Detectors
Remove the batteries from the smoke and carbon monoxide detectors. Batteries also should be removed from clocks and other small devices.
Plan for Spring RV Travels
Well, that covers most of the basics of preparing to store your RV. Of course, there are many other chores that need tending, like making sure you have removed all canned or bottled products that may freeze.
Once all is done there is nothing left to do but wait and dream of the completion of the RV’s hibernation and the welcoming of next year’s camping season.
Peter Mercer — When the RV Heads to the Barn

