


Making a pair of DIY RV workstations in a fifth-wheel trailer.
When the term “recreational vehicle” was coined, I’ll bet nobody imagined that one day RV owners would use their home on wheels for anything but outdoor fun. The Internet changed all that, and today many people — like my husband and I — live and work on the road. But despite our growing numbers, most rigs still don’t come with built-in RV workspaces. If we want to be comfortable on the job, full-timers like us must work what we’ve got.
Regardless of your skill level, we hope that the following DIY workstations will spark some ideas in your own RV journey.
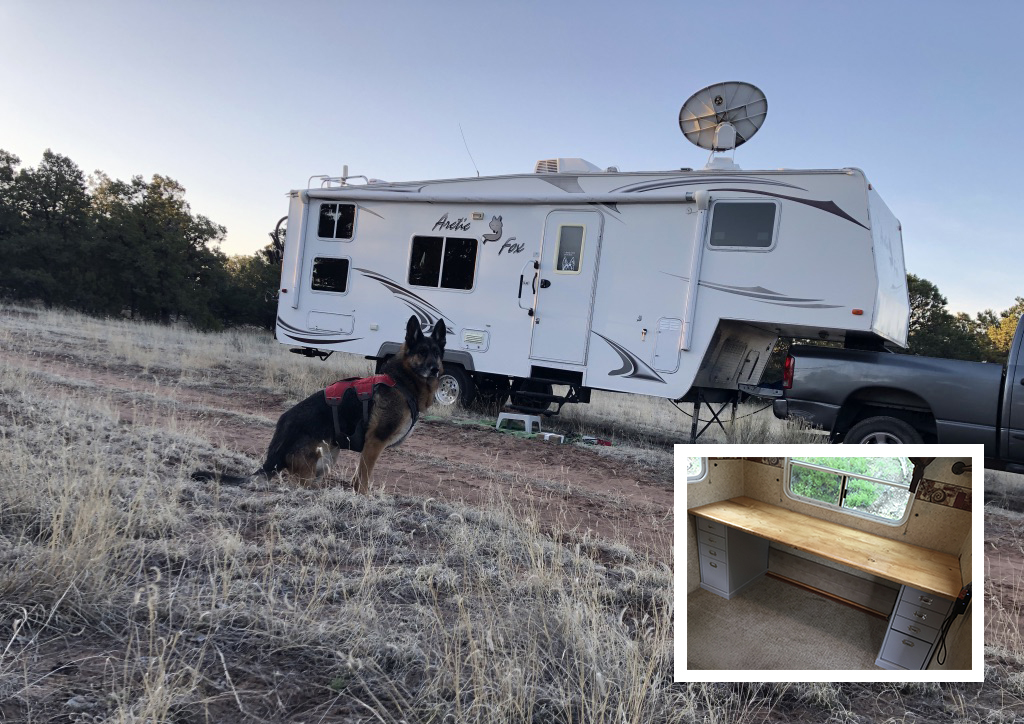

After a few years of working at the kitchen table, on the couch or outside in camp chairs, Jim and I needed proper seating, desks and storage space to ease the burden on our aching backs and necks. Tearing into our 27-foot Arctic Fox fifth-wheel was slightly terrifying but necessary in order to make it happen.
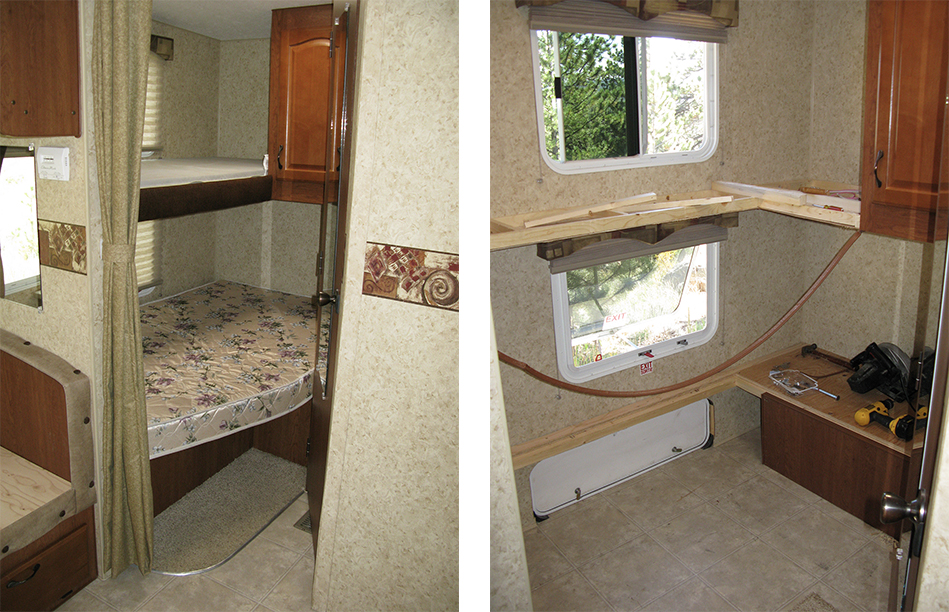
First, we deconstructed a fifth wheel bunkhouse.
We loved our first Arctic Fox, a 24-foot fifth-wheel. But my growing jewelry business was taking up precious storage space. I needed a proper workbench, too. The metal pounding required to fabricate the jewelry was starting to take a toll on our kitchen table, and I was constantly seeking out picnic tables and flat rocks on which to bend, stamp and craft custom pet tags, pendants and charms for customers.
We saved our money for a larger used fifth-wheel that we could buy outright. Since we love Northwood RVs, we decided to stick to Arctic Fox fifth-wheels. The perfect model soon caught our eye: a AF275B fiver. It had a bunkhouse in the back that would clearly make a mobile workshop. Two states and one dented savings account later, the deconstruction process began.

Our fifth wheel bunkhouse office space remodel
This remodel went quickly. Once we determined the workbench location, Jim removed the beds and tore apart their frames. Not literally, of course. He carefully dismantled the bed frames and re-used most of the framing and paneling.
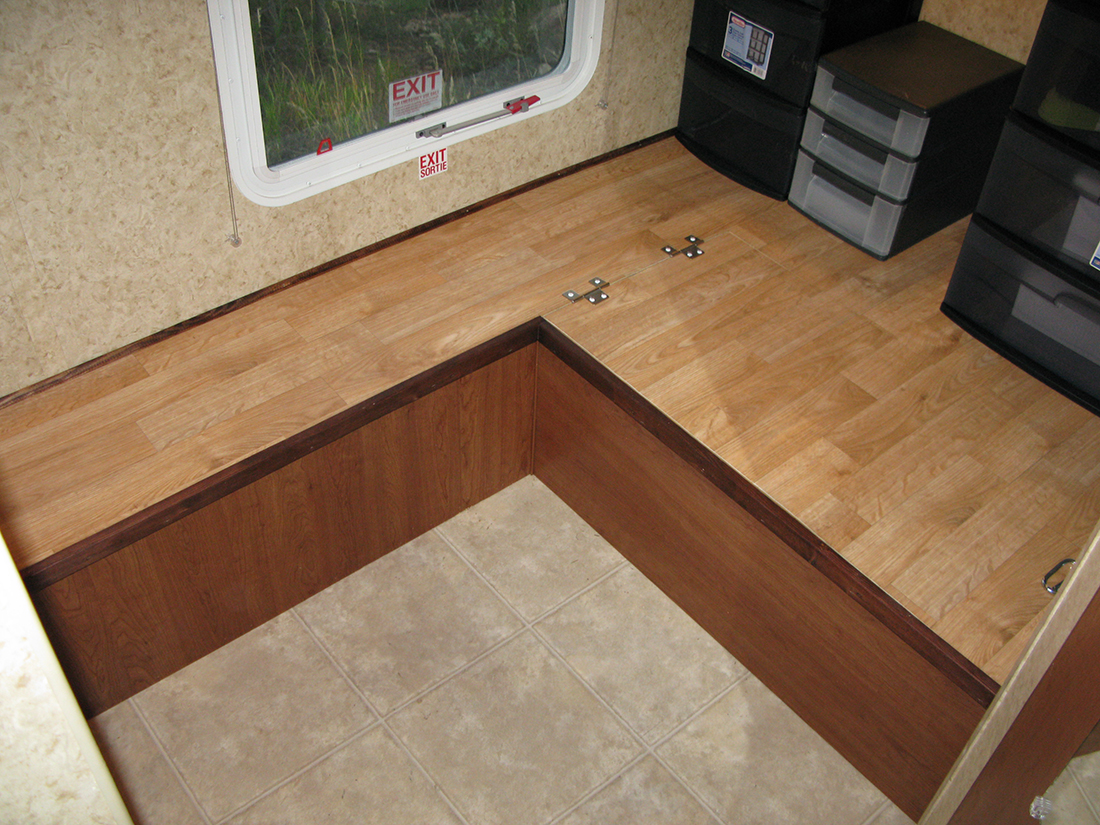

He kept the trim around the top bed intact, rewired a new DC light fixture, and framed in a new support for the storage lid below. Then he focused on completing the storage area. Our go-to source for up-cycled construction materials was the Habitat For Humanity Restore, which did not disappoint. We picked up a remnant of wood-grain linoleum, paneling, wood trim and even a solid core door for the benchtop.
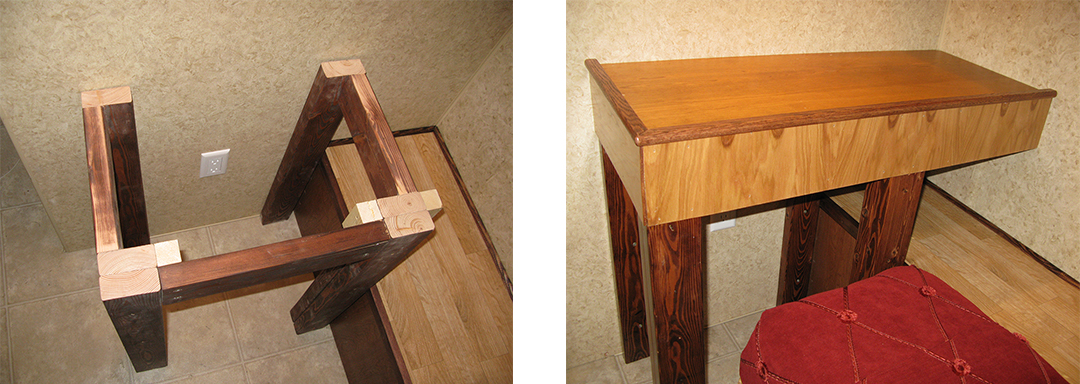

Before building the workbench, he added an electrical outlet underneath it and a new light fixture above. The closest AC power was an outlet outside the nearby exterior wall, which happened to line right up with the interior wall where the new outlet and fixture would go. Jim then made a four-legged bench frame out of 2x4s and doubled up on the front legs to support the hammering required of my jewelry-making process. Now Jim has earned the bragging rights to say that he bought me a fifth wheel.
Next up: a computer work-station command center
An accumulated cost of chiropractor visits over the years finally convinced Jim to tackle a DIY RV office workstation. The project would be more complex than my jeweler’s bench and begged the questions: where do you construct a workstation and desk in a 27-foot fifth wheel? And how do you build an attractive desk without losing valuable storage space? The answer: ditch the jackknife couch.
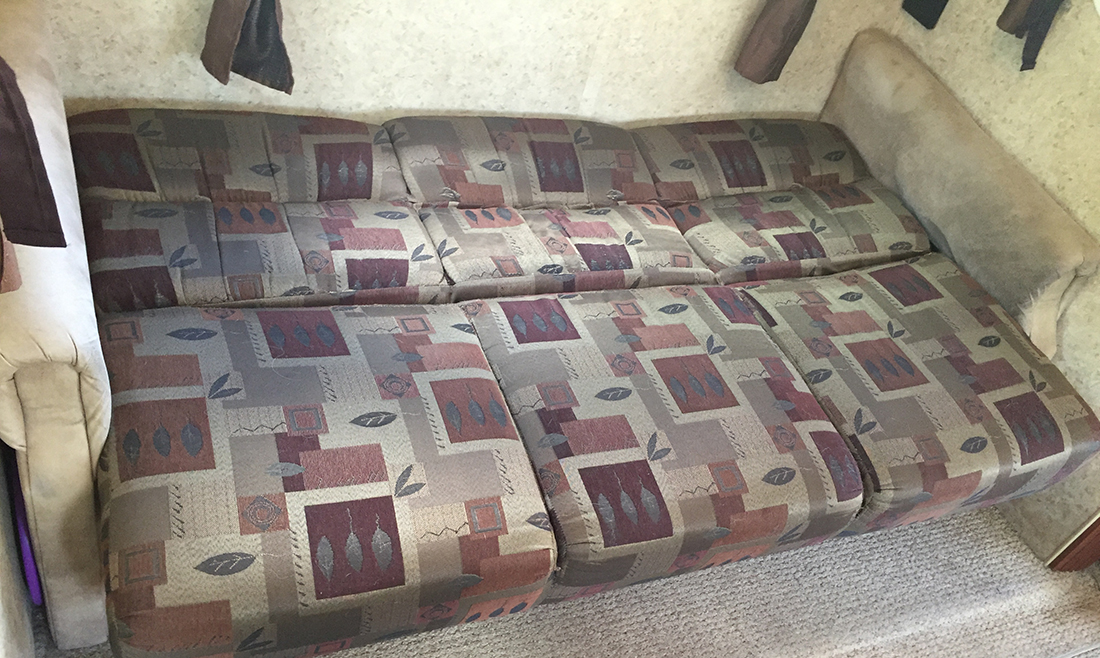

After almost five years of owning our current rig, it was clear that our German Shepherd was the only one of us who regularly used the couch. The well-worn piece of furniture was clearly ready for the landfill, and the time was right to repurpose the slide-out space in which it sat.
With the ugly couch gone, the rig already looked better and felt much brighter and bigger. To hide the exposed storage bay door and block incoming drafts, he first applied self-adhesive weatherstripping around the door opening. Then he covered the entire area with a recycled scrap from the cover that concealed the storage area underneath our old couch.
Factors influencing the DIY RV office
When designing a new RV office, the most critical factors Jim needed to address were finding a suitable desktop, storage space, accessible AC power and affordability. Comfort and aesthetics also played a role in design. The total amount of side-out workspace we had to work with was 76-inches wide. This required a 24-inch deep slab to cover the cabinets and provide ample workspace.
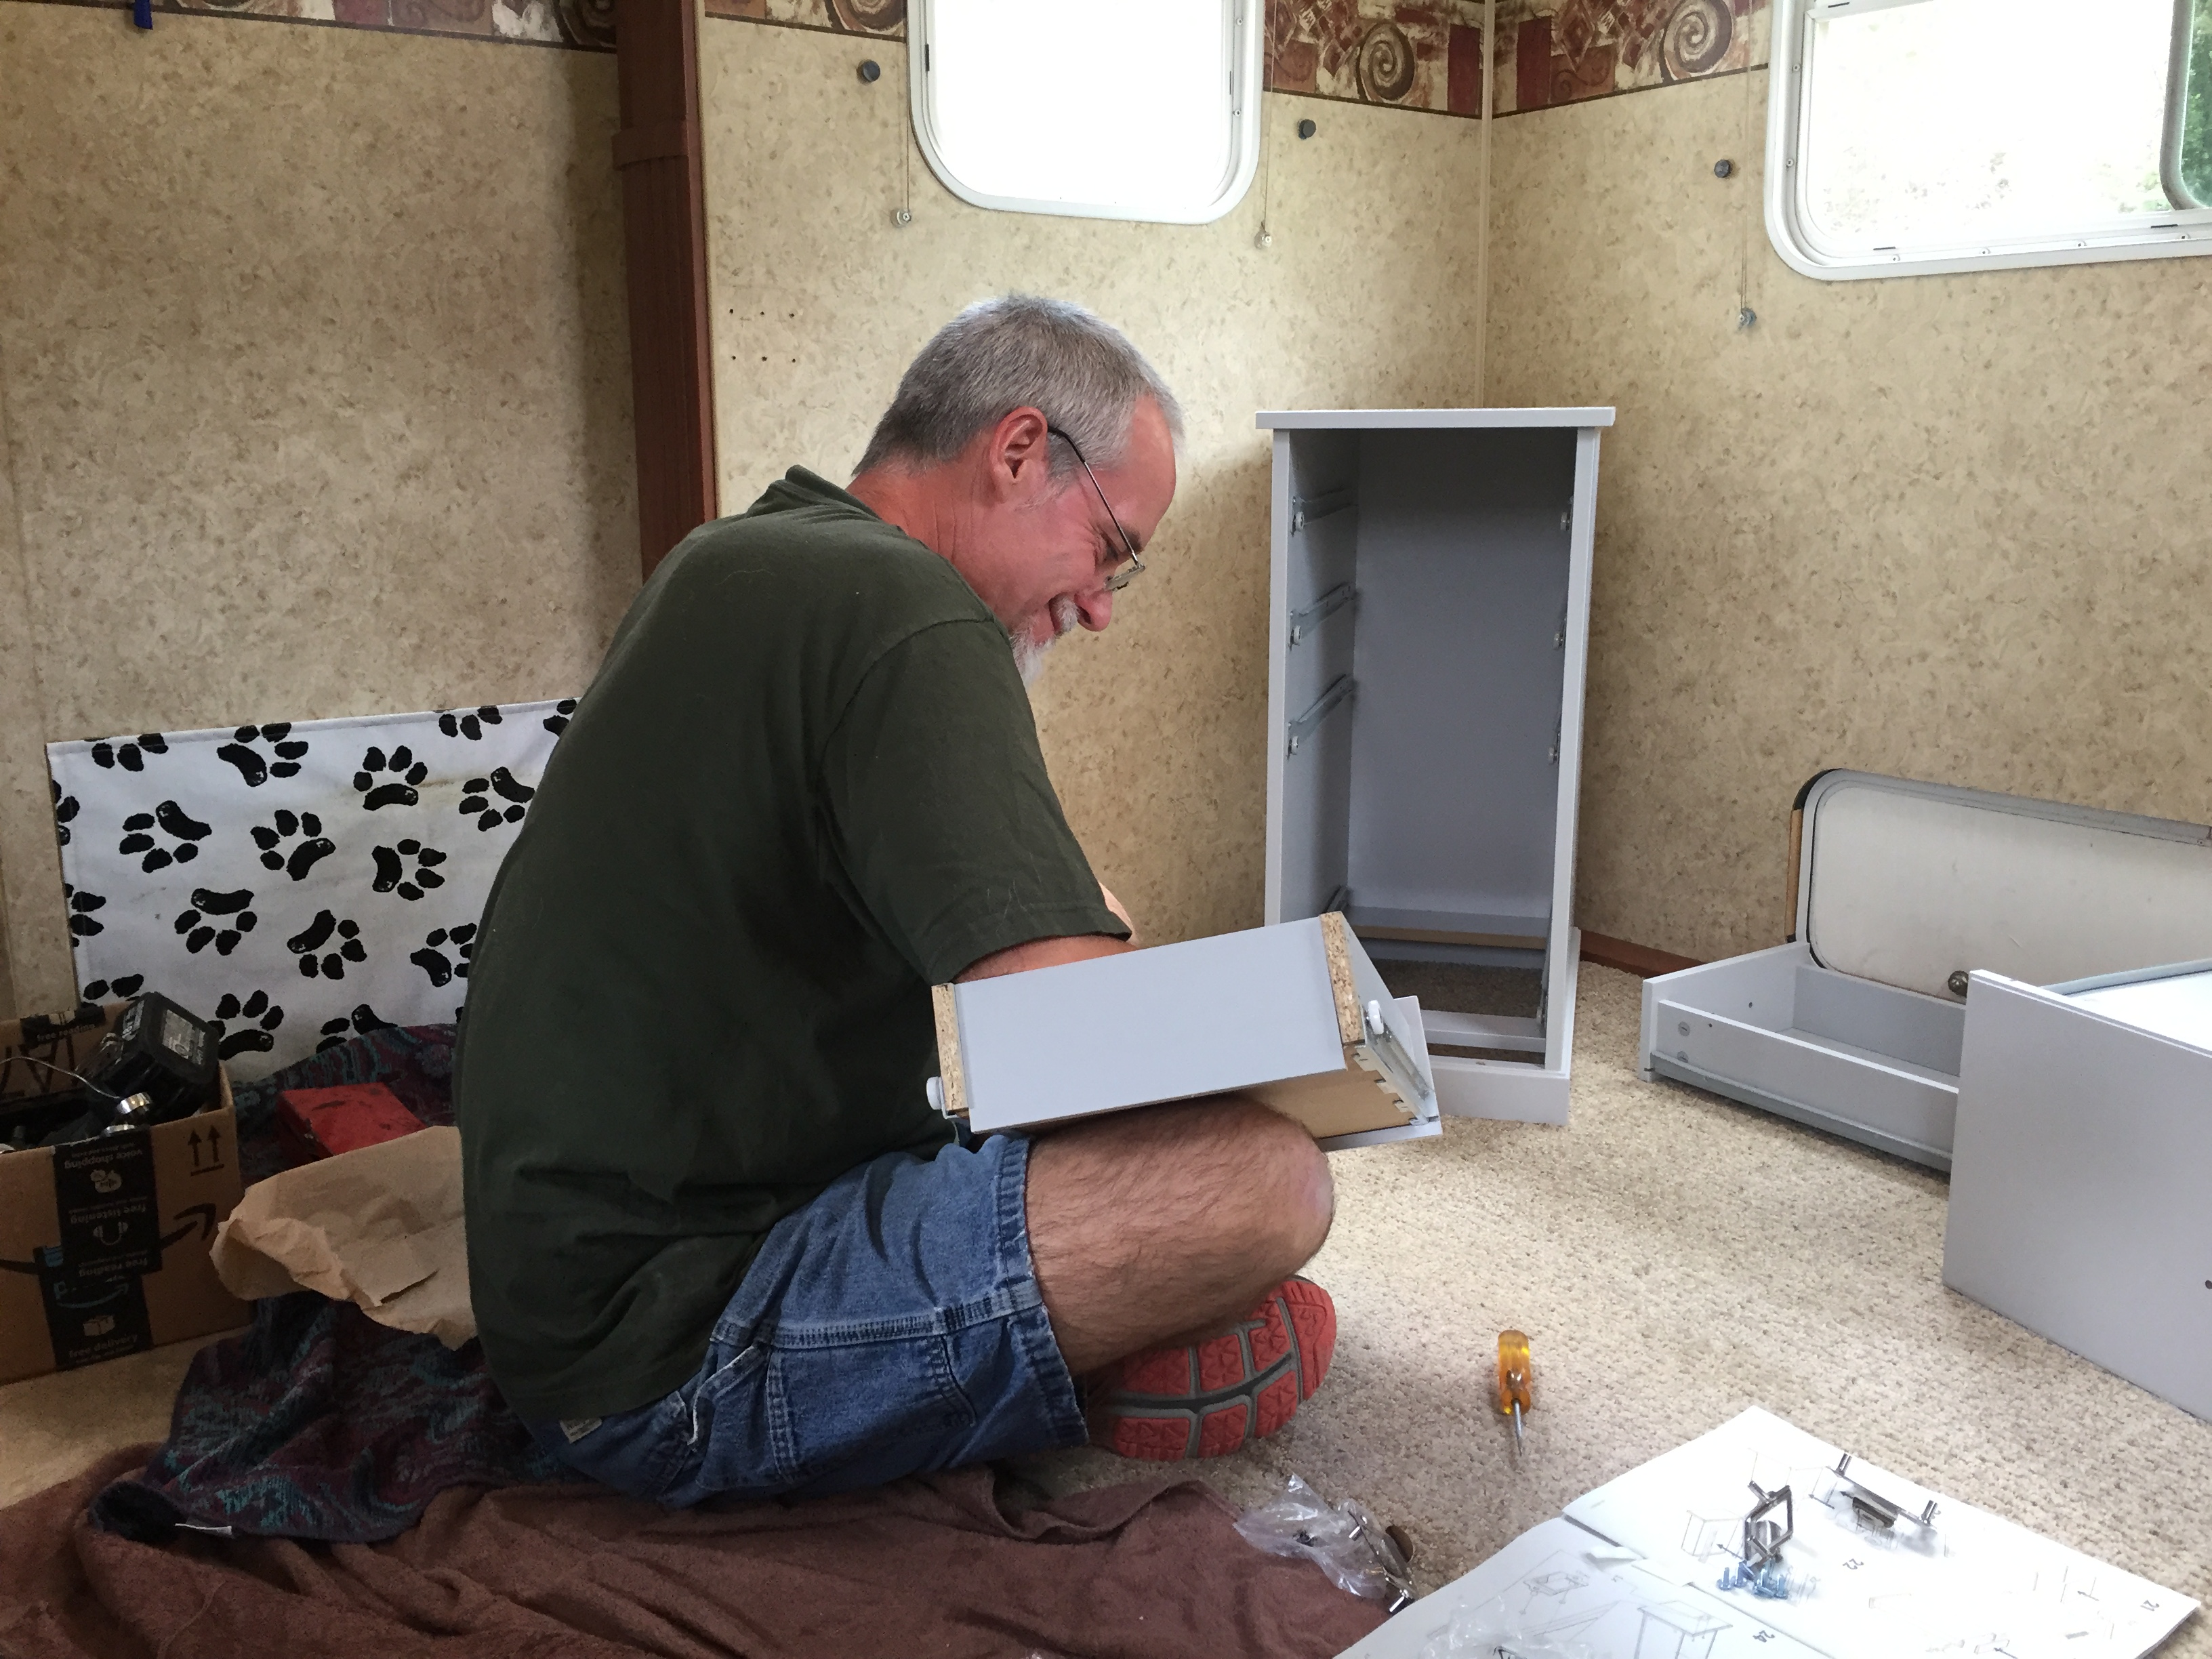

After researching numerous options, he purchased two desk-drawer cabinets from Ikea. When the price of an Ikea desktop became cost-prohibitive, he decided to build a custom desktop while workamping at a Colorado dude ranch over summer. After all, there’s no better place than a working ranch to do the job. He had access to a big shop, all the right tools and an unlimited supply of natural wood.
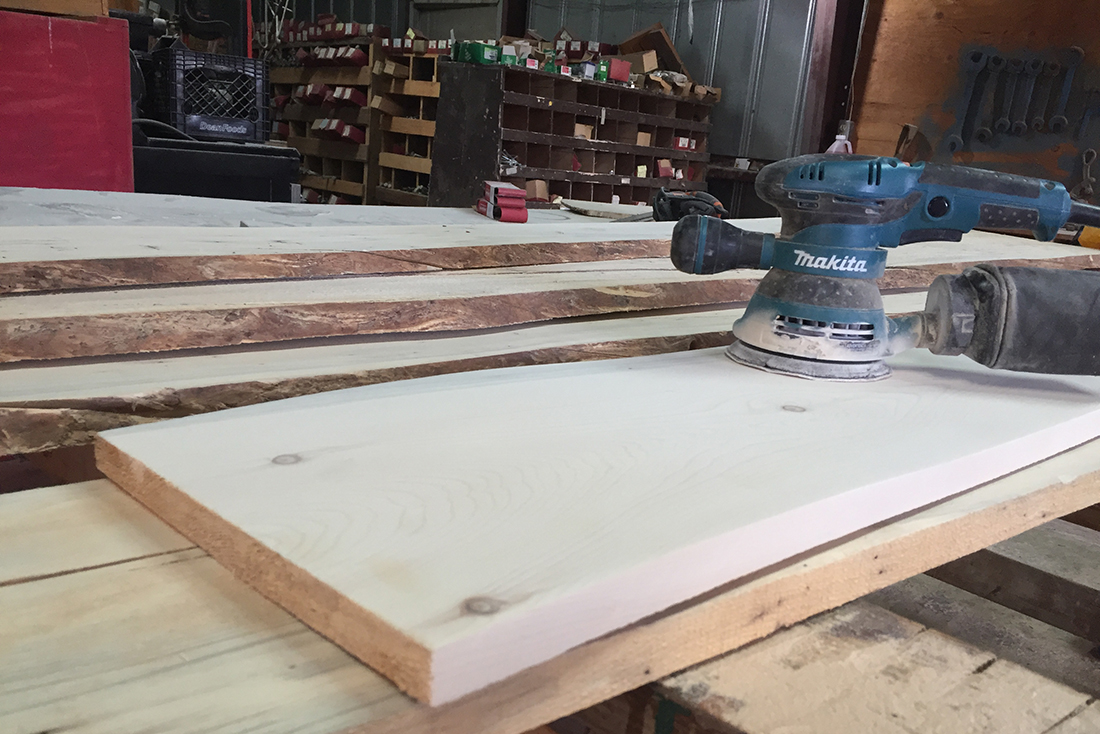

Jim used the ranch Woodmizer to mill up a couple 1.5-inch-thick pieces of pine approximately 18-inches wide by seven-feet long. Then he used a biscuit joiner and plenty of wood glue to create a desktop at the perfect size to fit snugly in our slide-out. A couple hours of sanding, and some natural stain with polyurethane varnish added the finishing touch.

Providing Power
Next, it was time to run some AC power to a convenient location for charging our laptops. Since the slide-out only provides DC power for the lights via flexible wiring, he installed a new outlet in the wall covering for our refrigerator. The position was ideal, since it was near the power distribution center and required fewer holes in the walls. To run power, he used an open breaker slot and installed an AC outlet. Then, to manage the power cords leading to his desk, Jim applied 3M Command Cord Clips to the slide-out wall.
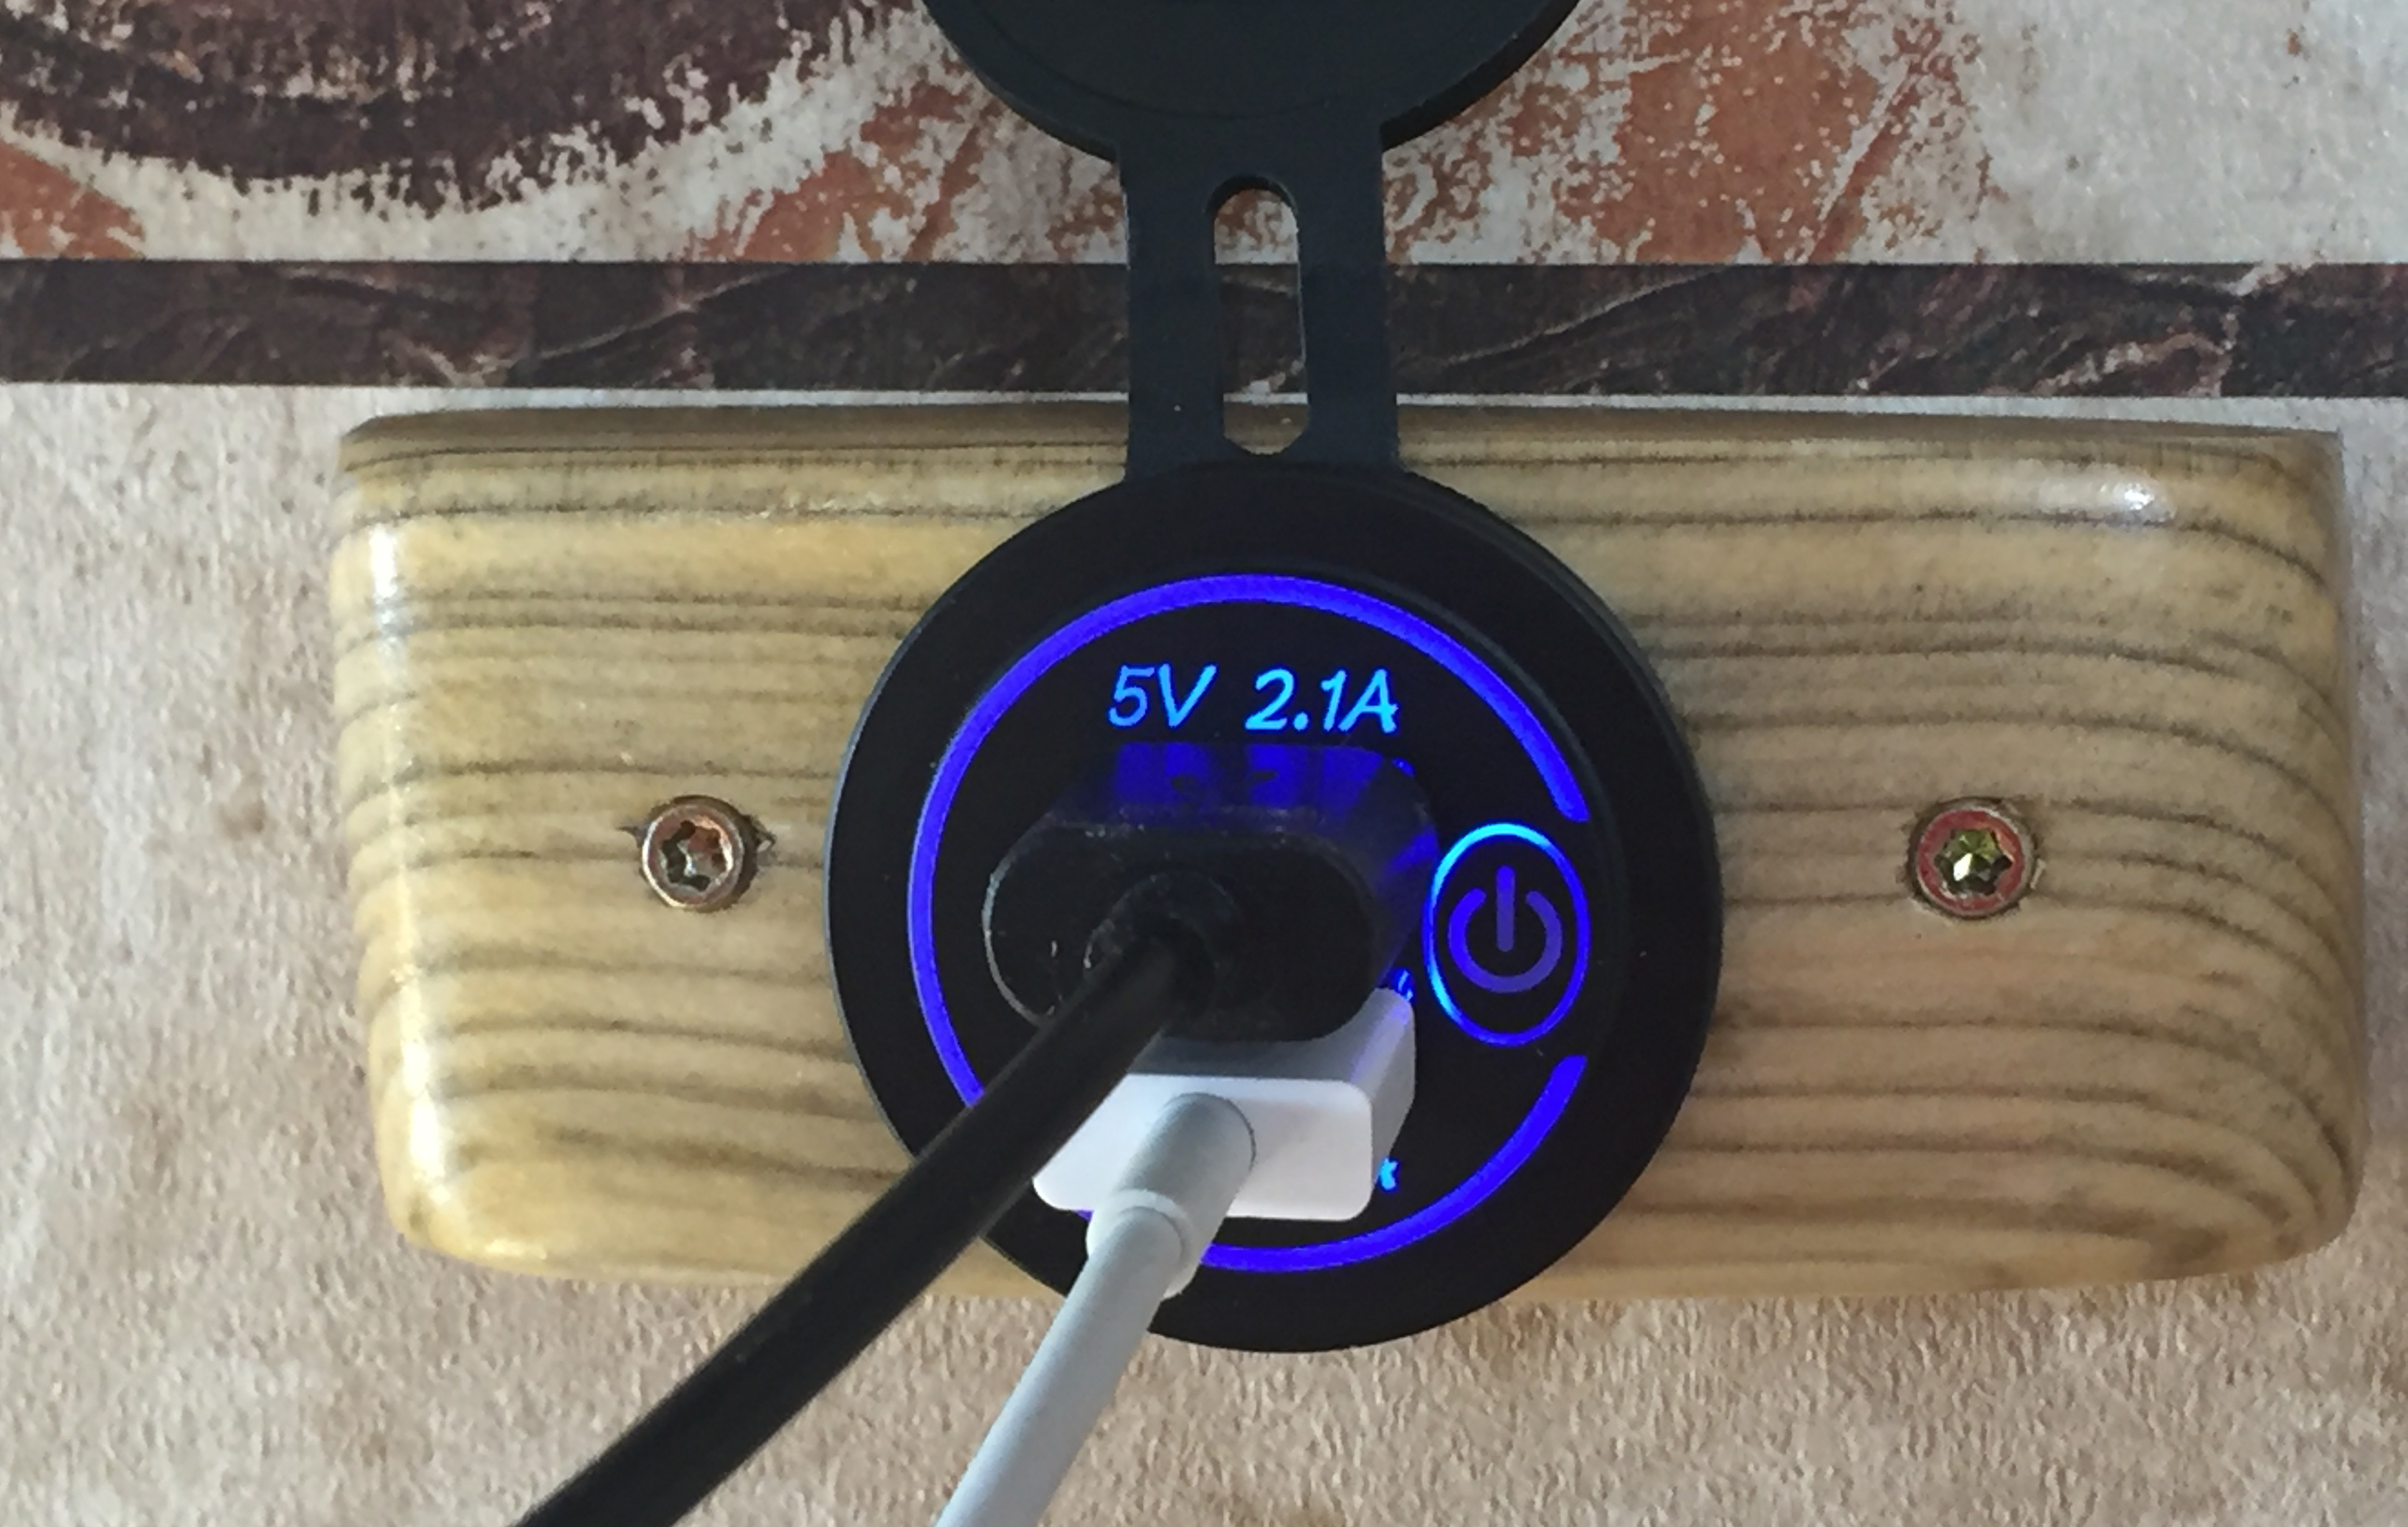

For additional power options, he installed a USB wall outlet. It sits right above a custom wood shelf he built to create a convenient and tidy charging station. Decorated with the Vickers Ranch brand, the shelf size is just right to fit a few mobile devices, accessories and office supplies.
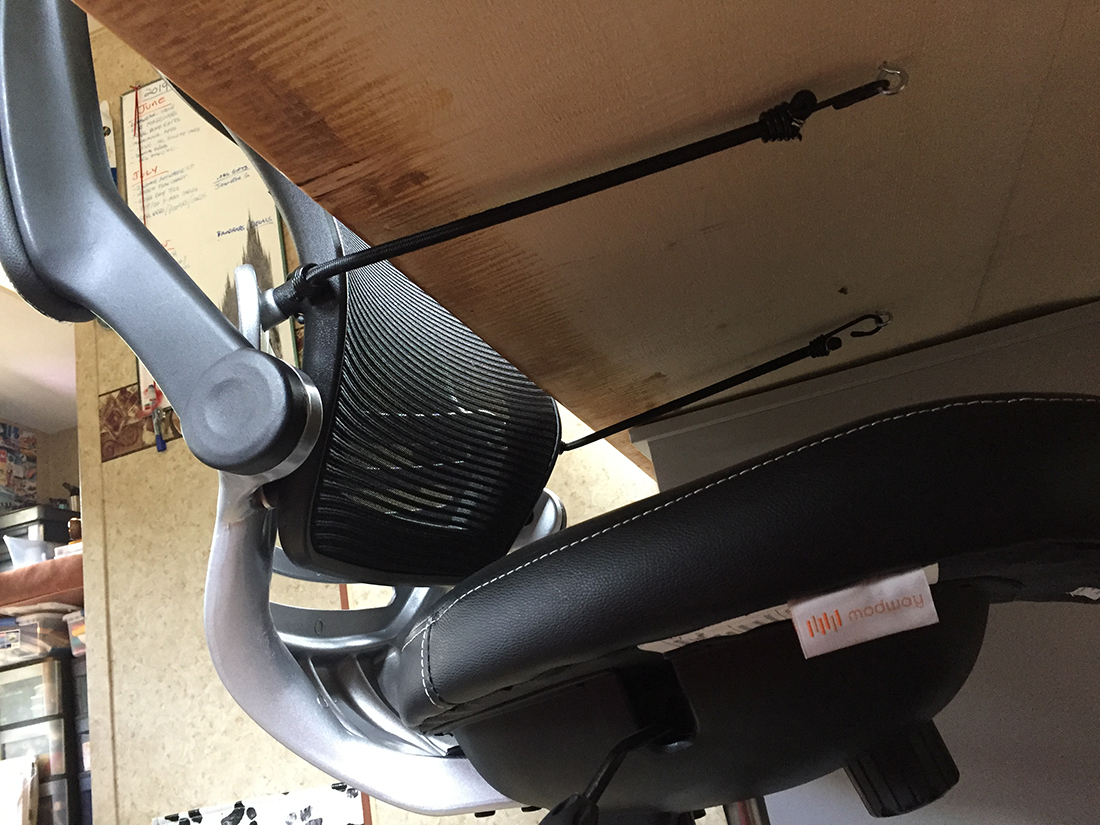
To secure his new chair while the RV is in motion, he installed two small eye-bolts under the desk for a couple of 12″ bungee cords that attach to the chair. The bolts are anchored just far enough apart to stow the cords out of the way while working at the desk.
Custom-built
We’ve been enjoying the fruits of our labor for a few months now. We still need to take the rig to a proper RV weigh scale to find out if these additions impacted our Gross Vehicle Weight Ratio numbers, but we’re confident that they didn’t put us over the edge.
Jim finally has a proper workstation and I have a great jeweler’s bench/workstation. We think the result is far more attractive than any prefab particle board desk from China and should suit our needs for a long, long time.