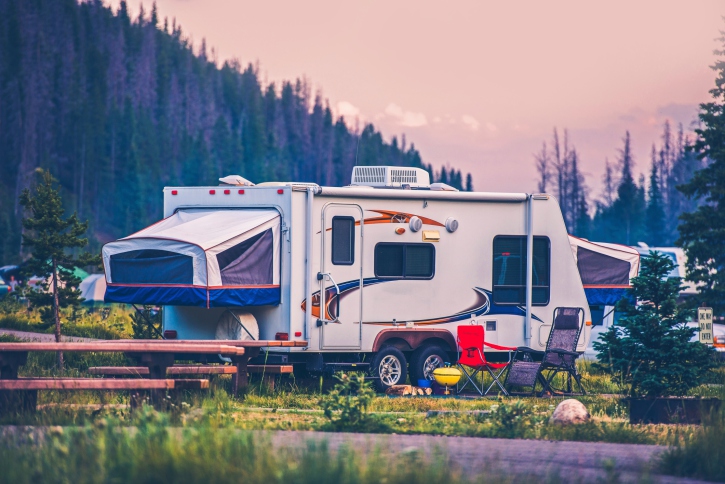
If your RV has been around the block—or the campground—a few times, you’ve likely watched an RVer move into a campsite, and you could tell immediately it was one of their first camping trips. You maybe cringed at some of their attempts to settle in to their campsite, maybe even turned your back hoping not to cause them embarrassment with their ineptitude.
We’ve all been that unfortunate RVer at one time, and if you don’t want to become the newest version of the Keystone Cops of campsite parking, here are some basic tips on how you can not only become more efficient, but also look like a veteran doing it.
Choosing a Campground
Verify that the campground can accommodate your size of RV, such as large-enough campsites, adequate overhead clearance (make sure you know your RV’s clearance), and condition of interior roads. Most private campgrounds will have this information readily available. Public campgrounds (Forest Service, National Monuments, etc.) may not, in which case you may have to park outside and walk through to see for yourself (you might want to save these types of campgrounds until you gain come experience.) Does the campground have full hookups or will you have to use a dump station?
Choosing a campsite
Pull-through campsites, which allow you to pull in one side and out the other, are convenient for fifth-wheelers and motorhomes towing cars, as these spaces don’t require unhitching or backing up to move into your site. But your options of campgrounds and campsites will be limited if all the pull-throughs are full—then you’re out of luck. As you grow more proficient with your RV, practice backing into parking spaces in an empty parking lot before you attempt backing into a campsite.
Parking in your campsite
If you are towing a vehicle behind your RV (and you do not have a pull-through site), stop in a common area of the campground out of the way of traffic and unhitch. Have your partner follow the RV to the campsite if there is enough room to park it there, or park it in the common parking area. Before backing into the campsite, your navigator should stand behind the RV on the left side at a place visible to the driver in the side view mirror. The nevigator informs the driver of obstacles, whether the RV is backing in straight, and when to stop. Hand signals (this takes practice), cell phones, or walkie talkies should be used, not shouting back and forth—the true sign of a newbie. If the navigator needs to step away from the vehicle to check the other side, stop until he/she returns to visibility in the mirror, and if the driver does not understand the navigator’s instructions, he/she should stop and go look at the situation before continuing.
Hooking Up
First, be sure your transmission is in Park and your emergency brake on. Hookup the sewage electricity, and water lines (and cable TV if available). Leave the sewer valve closed. Open the black water valve only when tank nears capacity. After emptying, open gray water valve to flush out sewer hose, then close both valves when gray and black water tanks are empty. Determine your service capacity (15, 30, or 50-amp) and be careful not to overload the circuit if you are on 15- or 30-amp service. Open the water supply valve and check for leaks and tighten connections where needed, then turn off your RV water pump.
Now go ahead and extend your awning, set up the BBQ, camp chairs, patio carpet, bird feeder and picnic table and you’re ready to kick back and enjoy the RV lifestyle.
You can find Bob Difley’s RVing ebooks on Amazon Kindle.
