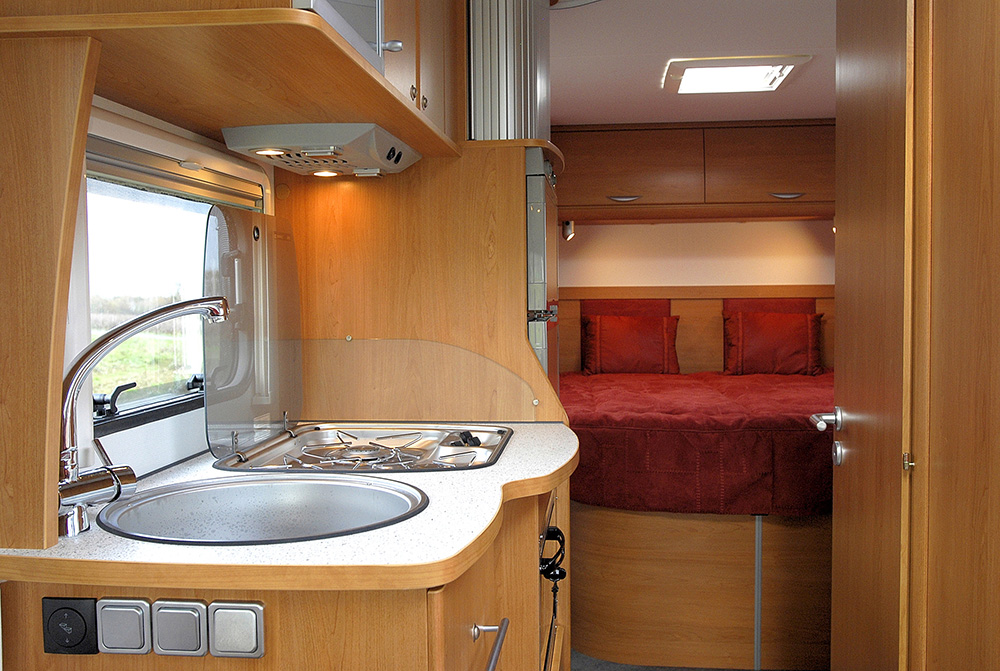
RV freshwater tips for clean lines and clear H20.
Your RV internal fresh water supply is an important system in filling your camping needs. Unlike your home water, some component maintenance is a requirement periodically. Over time, bacteria can gather in your water tank, pump, lines and related valves. Cleaning these is a fairly easy project requiring more time than labor. Here are the simple RV freshwater steps. (Note: Water system will be unavailable for 12 hours).
- Drain the fresh water tank fully and close the drain valve
- Remove any in-line water filter elements and isolate ice maker feeds
- Using a 5 gallon pail, fill with 4 gallons of water and ½ once of bleach
- Fill the tank with as many of the 4-gallon mixtures as it takes. (Do not put any non-diluted bleach into the tank. Only 4 gallons water to ½-ounce bleach)
- Remove any tap screens. These are normally screwed on the opening of the tap spout. Place these to soak in a bowl of the water/bleach solution
- Turn on the water pump. Turn each tap on in the RV and run until you can smell the bleach. Turn off. (Don’t forget shower valves, washer, etc.)
- Top the tank up with the 4 gallon to ½ once bleach and leave everything stand for at least12 hours.
- After allotted time drain tank and fill with fresh water. Flush taps with fresh water from tank until you no longer smell the bleach. Rinse the tap screens and re-install.
Doing this once or twice a year should keep your RV freshwater system free from odor and crystal clear.
Some RV freshwater fill methods may require the adding of the water/bleach solution to be done by filling the full house filter housing or using an in-line hose adapted mixer.
Check out this selection of products for your RV freshwater system and other RV needs.
Well, that’s it! It’s Miller time!
Peter Mercer – With the Clear Water Choice
