


RV cover solutions: the best protection for your RV.
In Part I of this series on Protecting Your RV, we discussed the damage on your RV caused by weather. In this installment, we’ll examine the best covers for your vehicle.
There are a number of RV cover suppliers on the market, and their products have been used by RVers for years. Generally, these covers last a few years and then must be replaced, especially if there has been an unusually harsh winter. Still, the cost of replacing the cover every few years is still better and cheaper than having a damaged RV.
Fortunately, things have changed, and both technology and design have progressed. Camping World recently released their all-new Elements line of covers, which they have had custom-made to exacting specifications, and they really have made a difference.
An RV Cover With a Difference
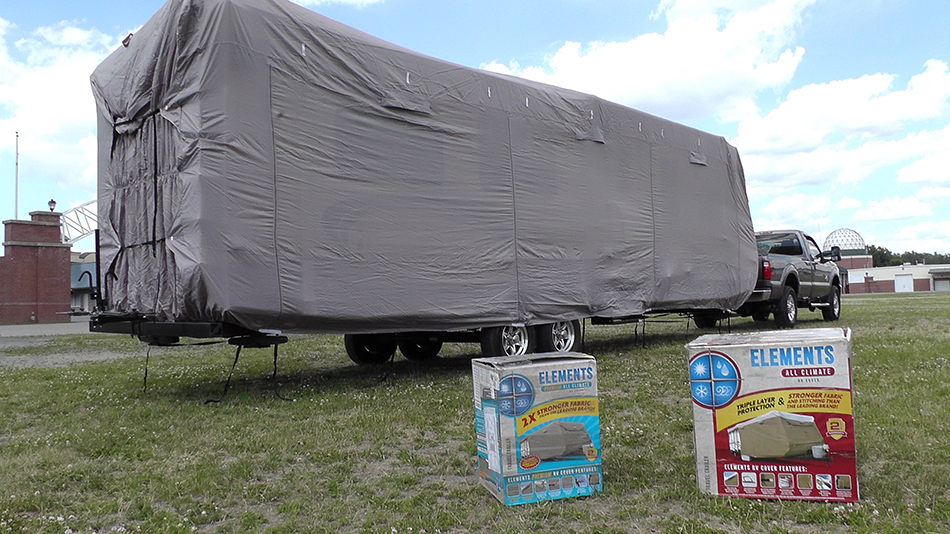
Elements covers come in two models: the Elements All-Climate and the Elements Premium All-Climate. The two covers are four-season, all-climate covers, and are available for all types of RVs and the company also offers a matching truck cover.
The Elements All-Climate cover is made from a tan triple-layer, moisture-releasing polypropylene that is water resistant. This, along with the Tyvek roof panel, makes it solidly 10 percent stronger than the leading brand cover, according to the company. They have also added a number of features to make the cover easier to deploy and more effective in protecting the coach, all while helping to make the cover last longer.
The roof panel has four handles attached, which allow for easier handling while on the roof. The buckles, flaps and straps are reinforced to prevent rip-outs, a problem all too common with other covers. The covers have vents on all sides, which allow for better ventilation, enabling moisture to evaporate and preventing mold and mildew from forming. Another benefit of the flaps is as a pressure release in high winds to prevent billowing.
f
No bungees are needed here, as these covers have elastic insets and adjustable straps built into the front and rear panels for cinching. There are no metal grommets. Instead, the company has used poly-formed grommets, which also won’t rust or corrode, and are stronger than metal in pull testing, the company states. They have integrated elastic vinyl panels in the corners to provide additional wear resistance. The covers have zippered panels for entry to the RV while the cover is on, and gutter protectors are included.
The Premium All-Climate covers have most of the same features but are made of a Poly-Oxford fabric, which is said to be twice as durable as other fabrics. This fabric is also completely water repellent. The vents on the Premium have mesh insets for better ventilation than the All-Climate version, as well. The Premium is lighter, allowing easier deployment, and stores in about 50 percent of the space of other covers.
Both covers are designed for long-term storage.
Fitting and Unpacking Your Elements RV Cover
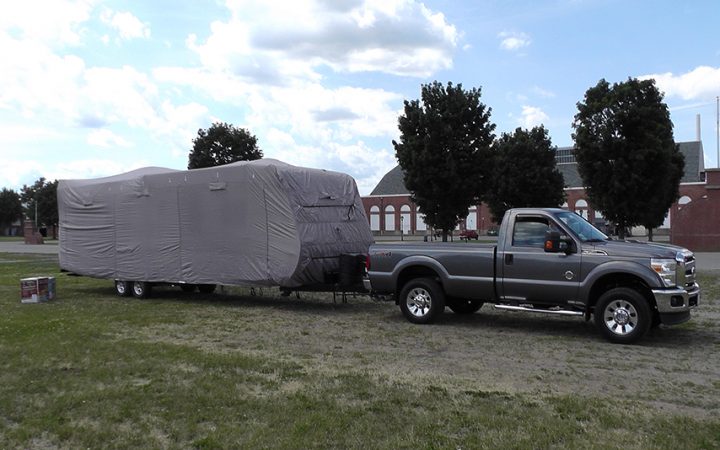
The company has specific directions for measuring your RV for fitment, and they should be followed carefully before ordering. Camping World has even provided a video to help show you how to do it. In our case, we were putting the cover on a 2013 Coleman CTS330RL travel trailer. The overall body length, including the ladder, is 33 feet, 8 inches. The covers are sold in size ranges to accommodate all sizes and designs of RVs. In our case, the 31-foot, 7-inch to 34-foot cover was the correct choice.
Out of the box, the covers are wrapped up tightly in cellophane wrap. Before opening, be sure to compare the model you ordered with both the box and the cover sheet inside the box before unwrapping. Follow this adage: Measure thrice, unwrap the large RV cover once. If you have to send it back, well, you’ll probably never get it back in the box.
You should have a large open area on a windless and dry day to unwrap the cover. It’s best to unwrap the cover, if you can, extending from the rear, so you can use the ladder on your RV, if so equipped, to deploy the cover. Have another ladder handy to help with adjustments should you need it.
Preparing Your Vehicle for the RV Cover
Be sure to clean your coach before covering, and let it dry. This way, any contaminants don’t get ground into the finish, and the RV is nice and clean and ready to go when the cover is removed. Before deploying the cover, look for any sharp edges on the coach and cover them up to protect the cover. The cover comes with reinforced bumper corners and gutter spout covers, but things like awning locks, steps, ladders, antennas and plumbing roof vents should all be covered.
A cheap, reusable and effective protector is a bundle of terry or shop rags and a roll of duct tape. Simply wrap the towels around the sharp or protruding item, and wrap tape around the towel to hold it in place. Don’t tape directly to the coach, or you’ll have a lot of difficulties getting the glue off in the spring. You can also use the cardboard from the cover box to lay over larger items like TV antennas and solar panels.
Deploying Your RV Cover

The straps that go under the coach come with weighted assist straps to aid in getting them under the coach… no crawling under the coach is required! Attach the weight to the strap you want to get to the other side and throw it under the coach. Disconnect the weight and attach the buckle to its corresponding buckle on the other side. Repeat this for all the straps. Attach and cinch the straps on the ends of the coach. Check for any missed sharp edges, and you’re done.
Ready to hit the road? To remove the cover, simply reverse the process, again folding the cover inside out, and carefully pulling the cover off the roof. Watch for anything that can snag. Roll the cover as tightly as you can and store in the included storage bag. Make sure the cover is dry and clean before storing.
For more information and to order your Elements RV cover, visit www.campingworld.com/elements.