


Just because you are on the road does not mean you can’t enjoy baking some of your favorite culinary delights. Many RVs, Fifth Wheels and Travel Trailers now come equipped with a convection microwave in place of a traditional propane or electric oven. If you are hesitant about baking in one, I can assure you many recipes can be beautifully rendered in one of these convenient space savers.
I have experimented with cookies and cupcakes, baked egg casseroles, roasted meats or vegetables, pizza and even homemade bread achieving delicious results using my coach’s convection oven. The process is much the same in an RV as it would be in your home kitchen. If you are a full time RV traveler, all the more reason to experiment with the foods you love. You will be pleasantly rewarded for your efforts. Virtually a full timer myself, I bring along a food processor, blender and most of the kitchen tools I use at home-stashing them in every spare nook and cranny I can wrestle away from my husband! You just have to adjust the size of your pans and some recipes to fit in the space available in a convection microwave. In some cases you may have to cut the recipe in half.
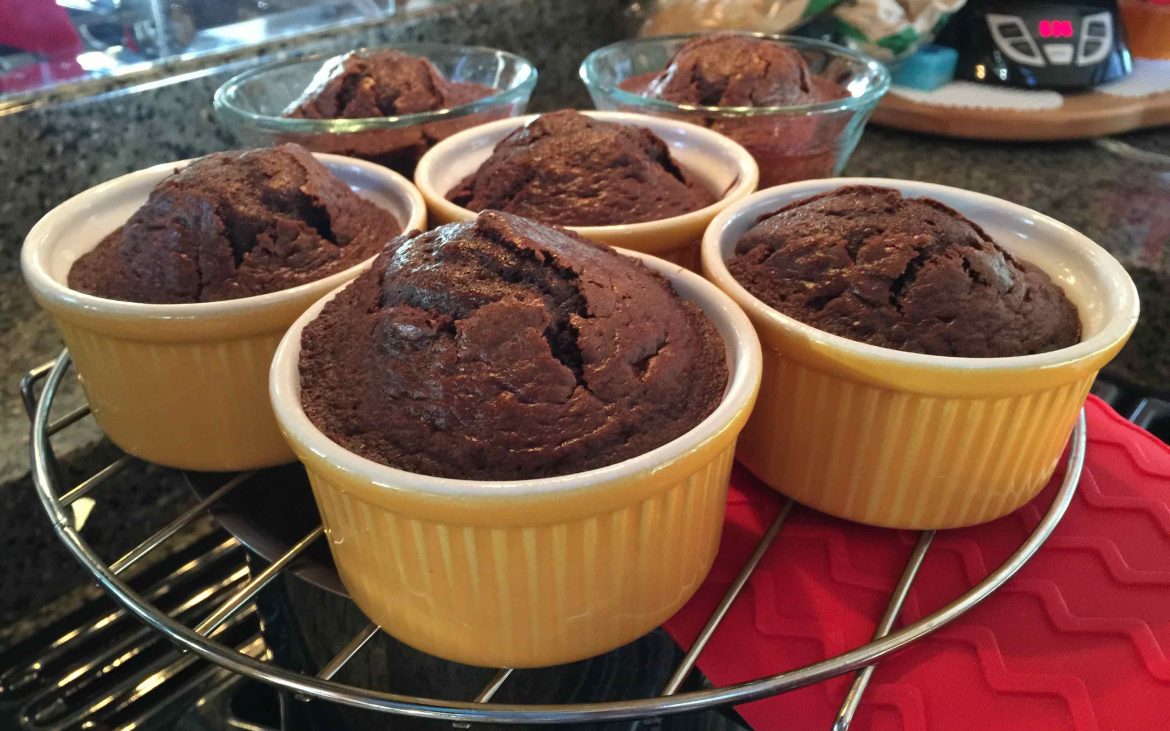
For cupcakes I prepare half of a cake recipe and then bake them in ramekins. Baked egg casseroles or chicken potpies can be done in the same ramekins so you get multiple options from one set of oven ready cookware. So if you are an avid chef, go ahead and enjoy your favorite recipes while on the road and don’t be afraid of that convection microwave oven!
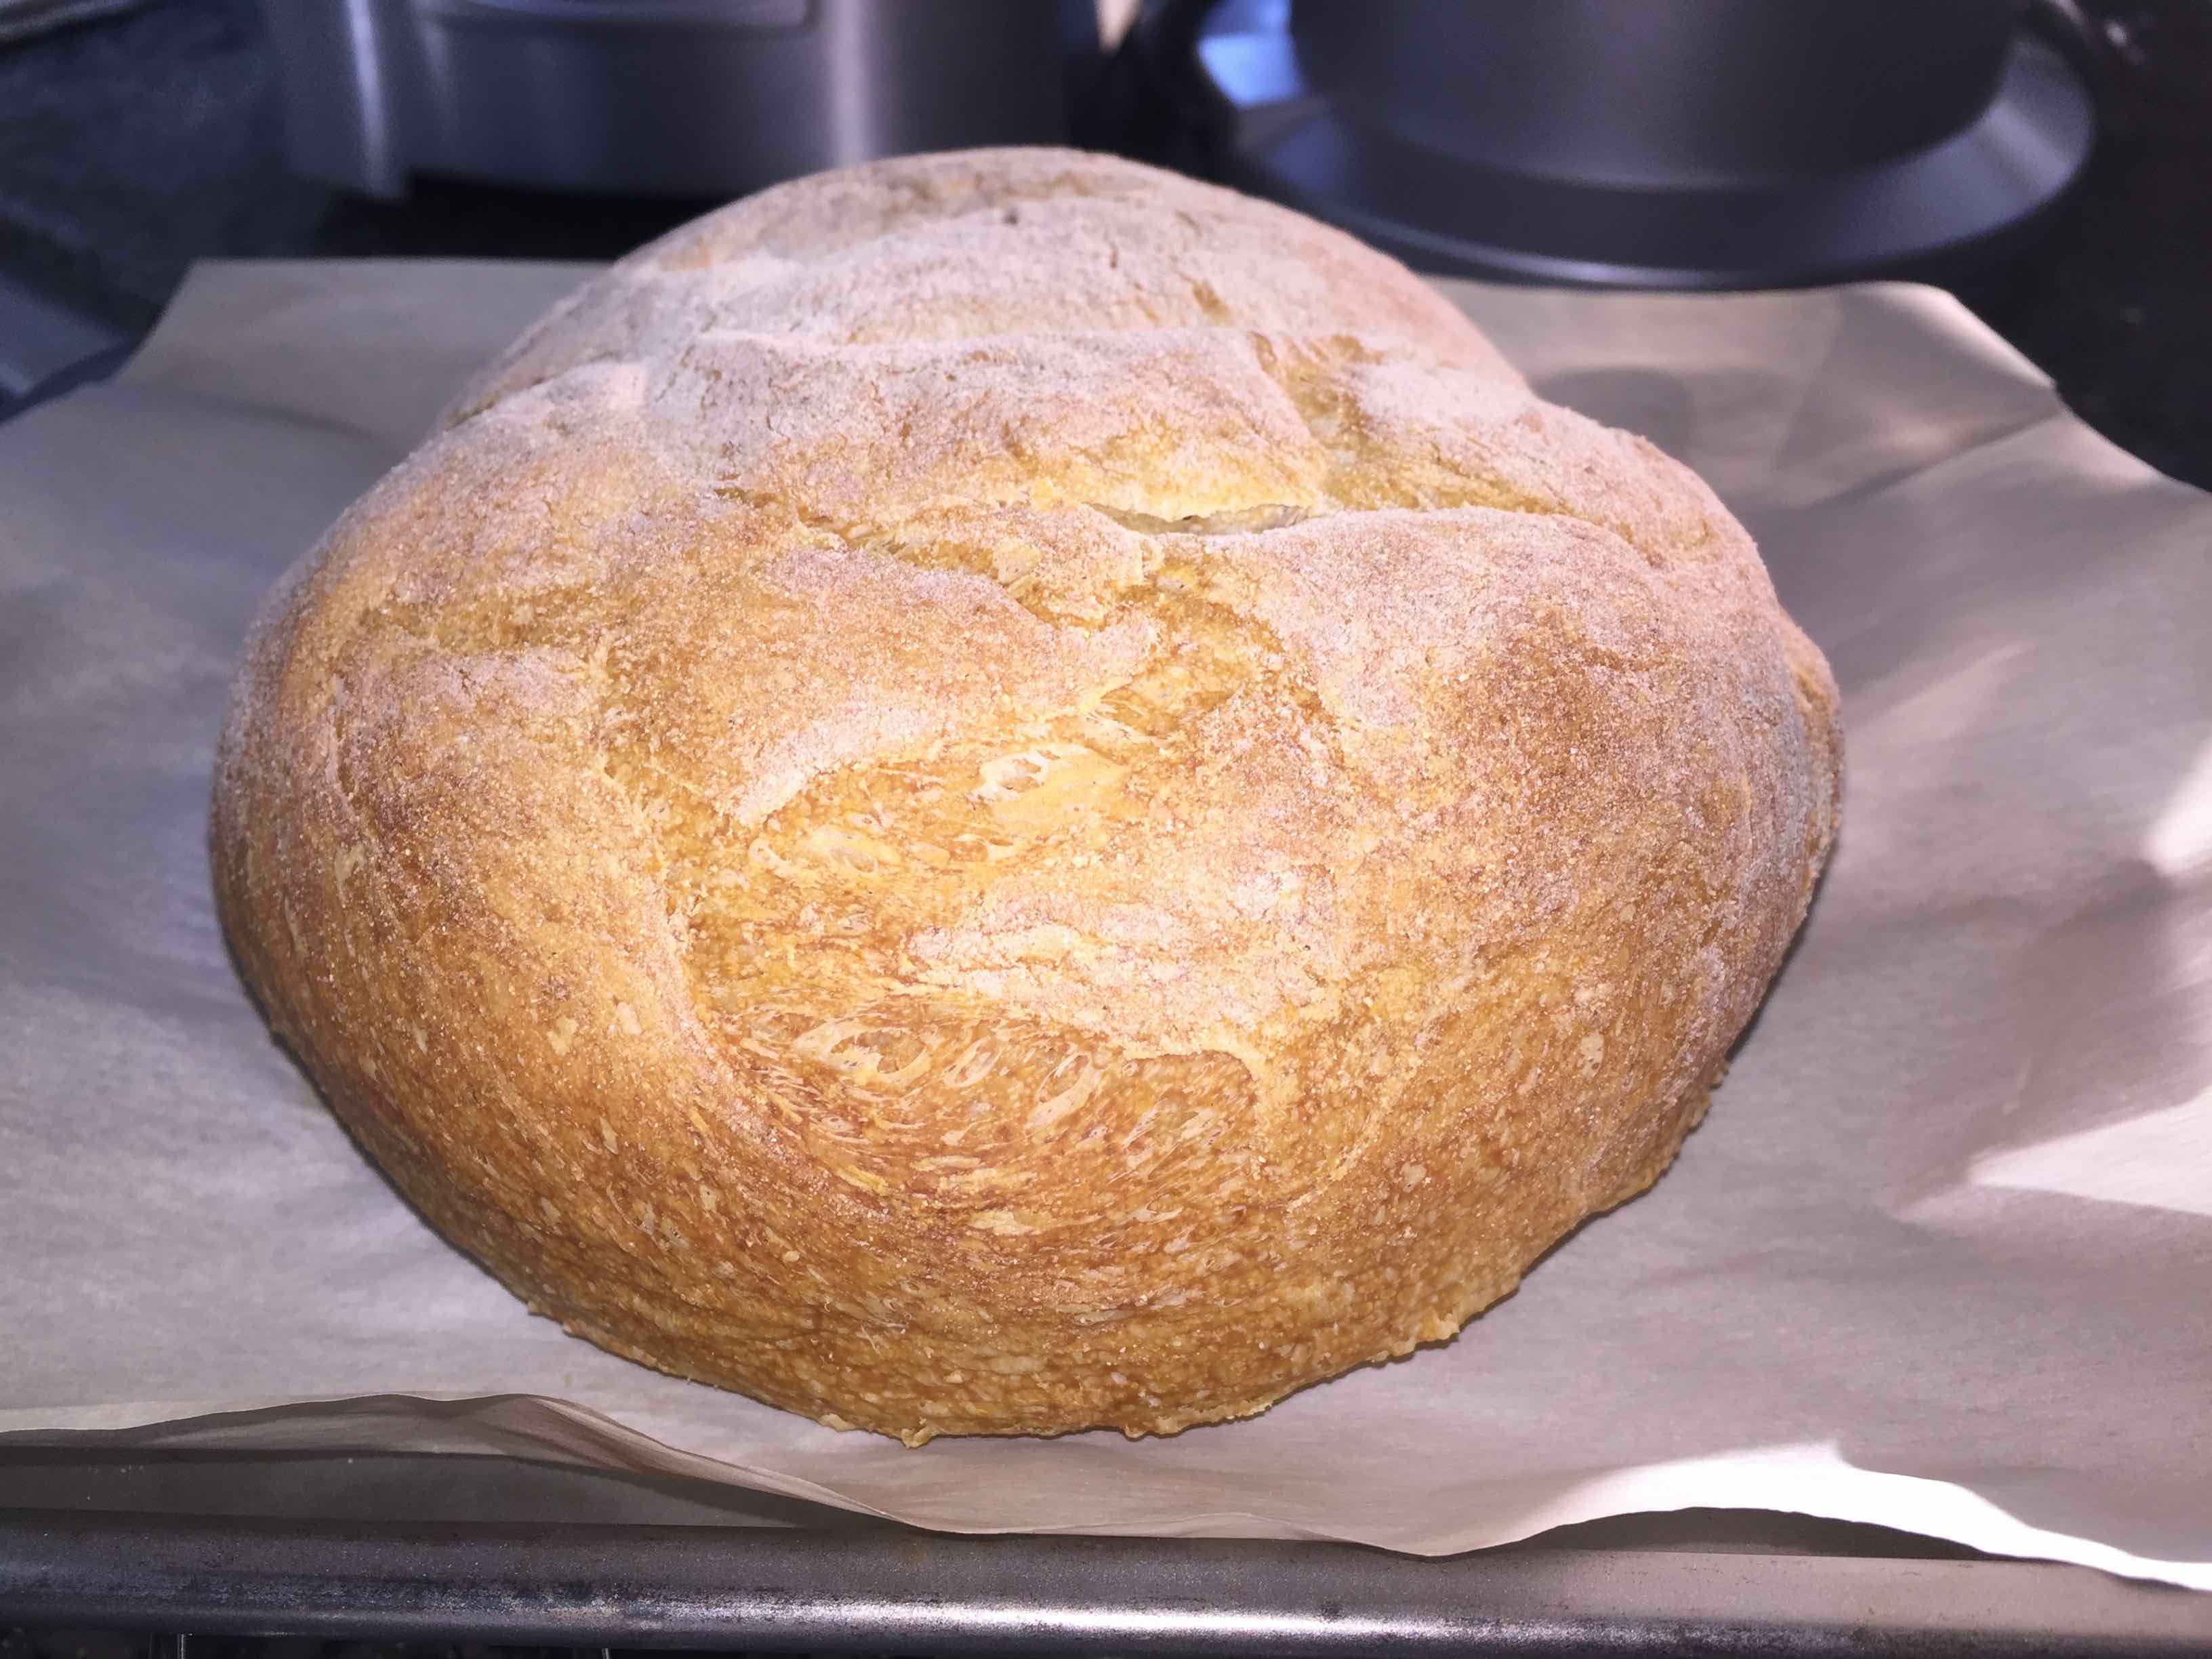
Here is an easy way to make a small loaf of artisan style homemade bread:
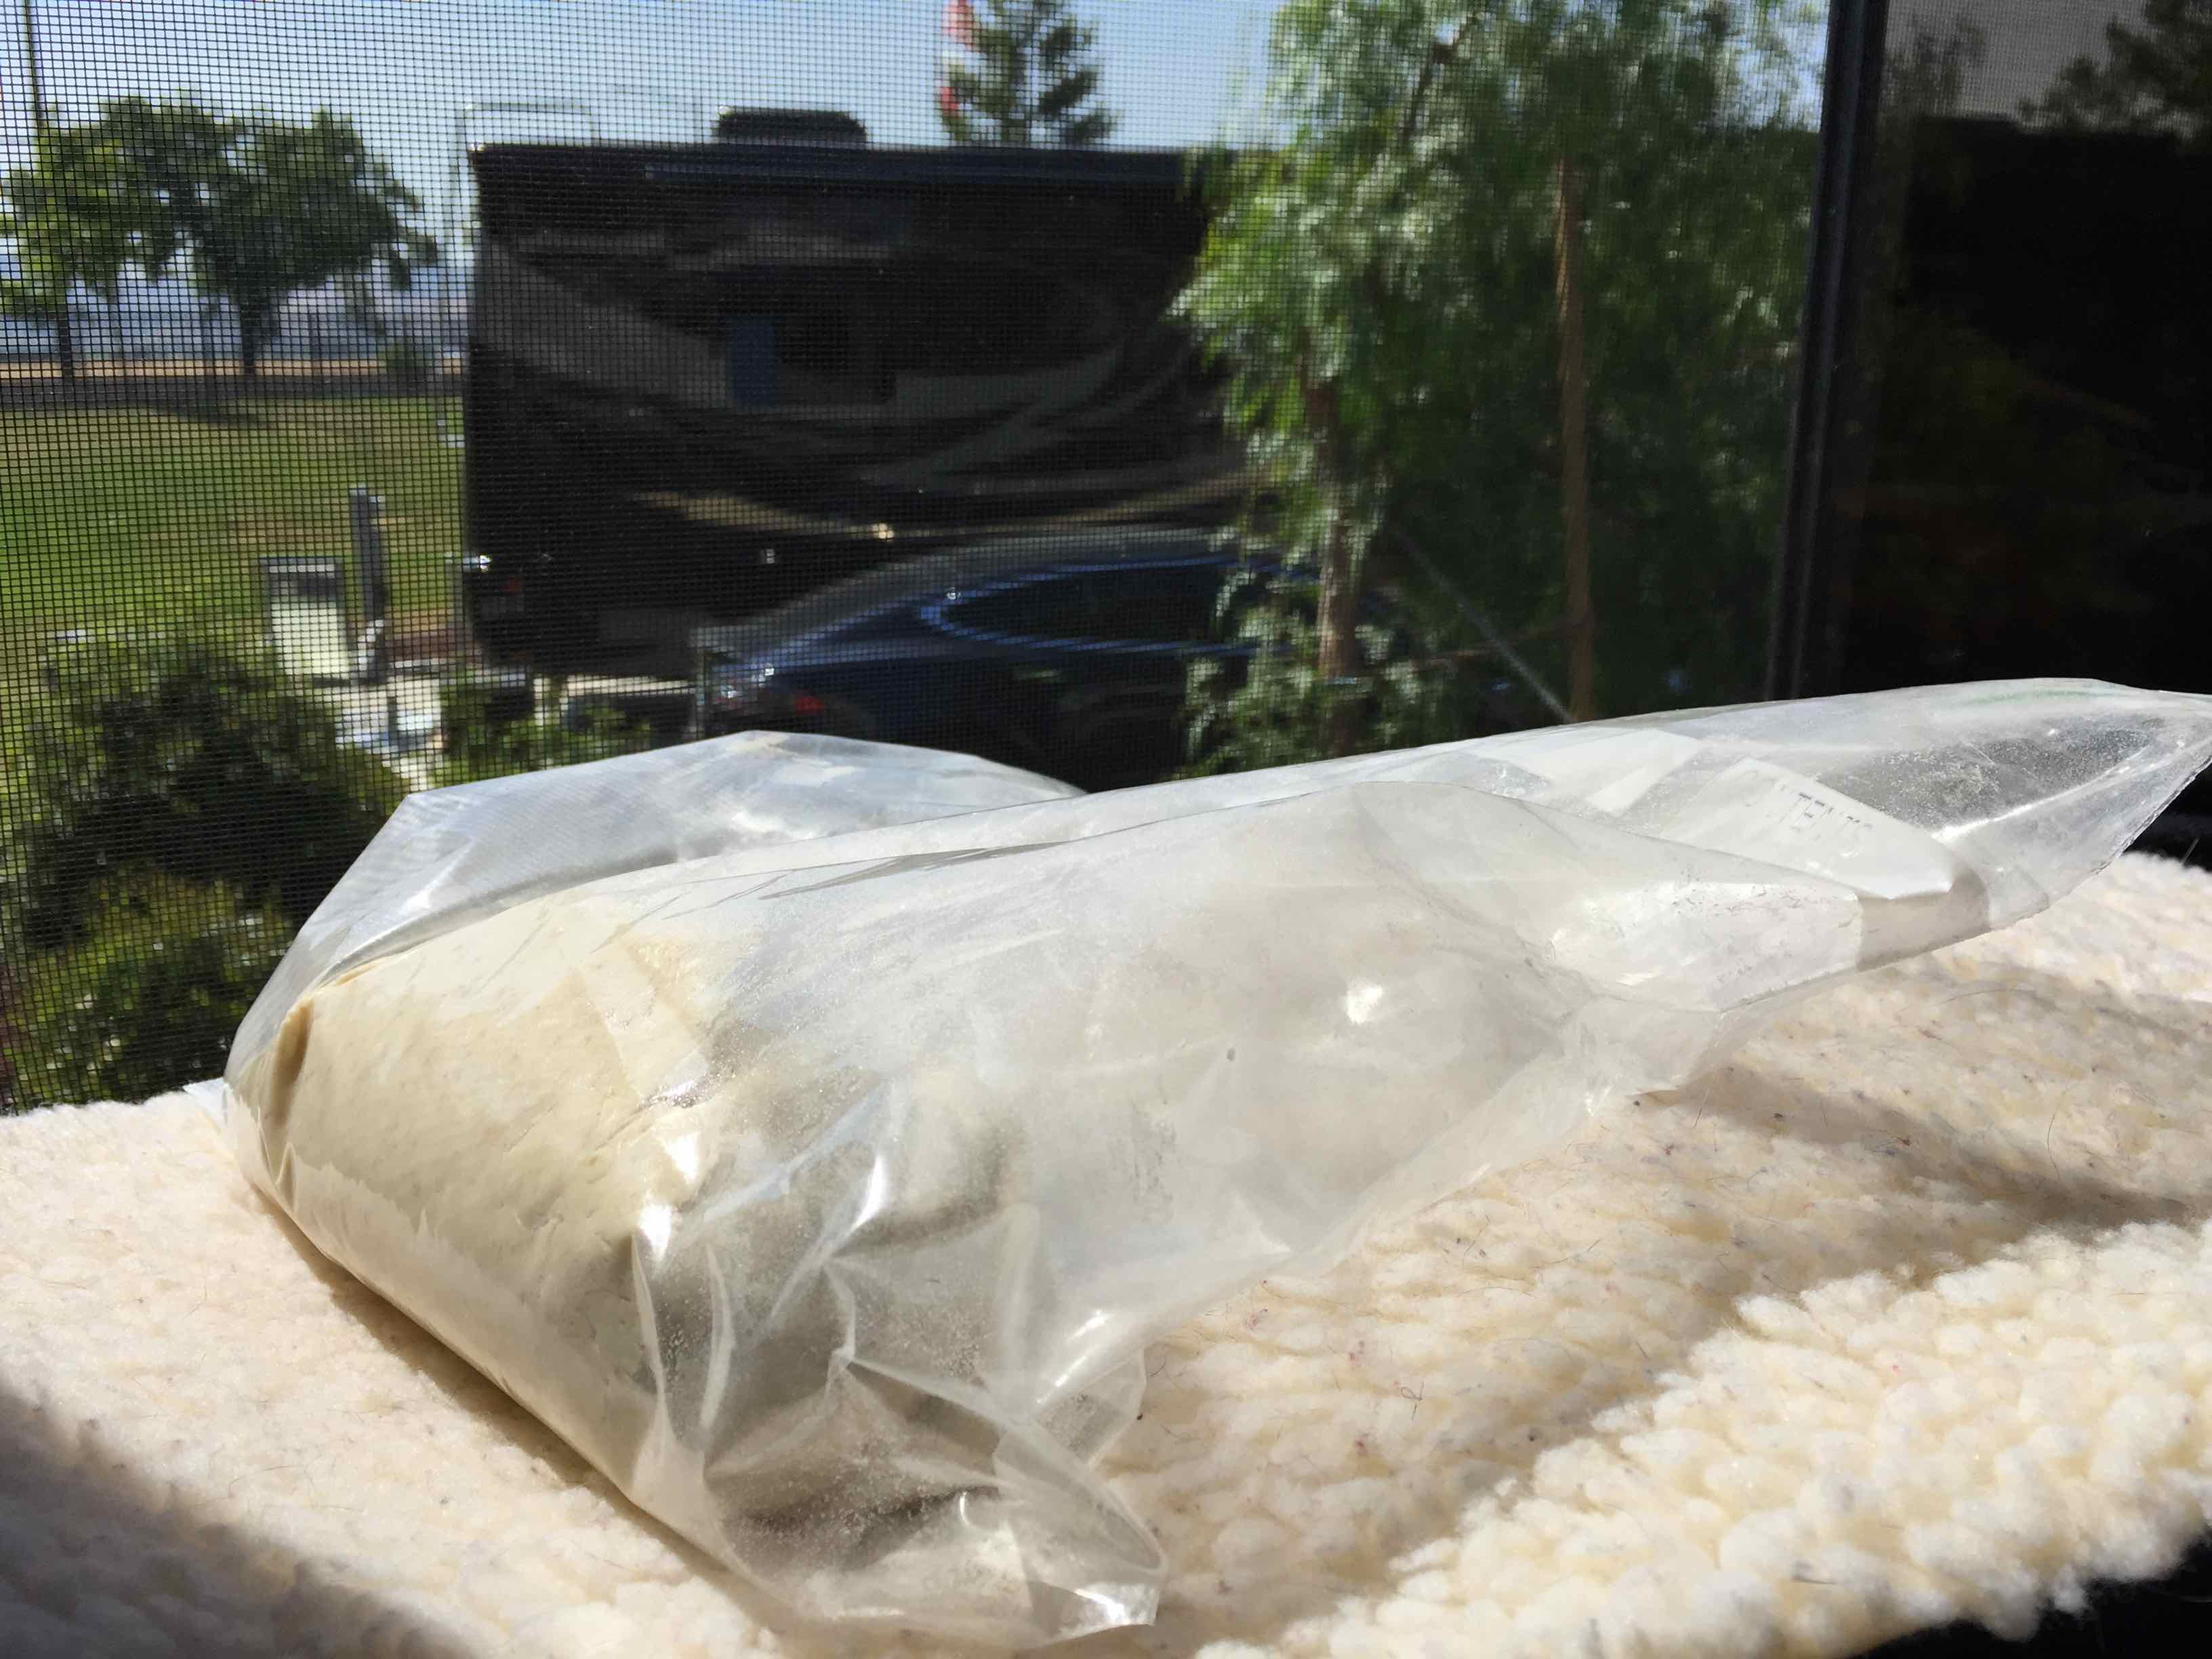
Measure out 1-3/4 cups bread flour, ¼ cup cake flour, 4 teaspoons wheat germ and ¾ teaspoon salt and place into a food processor. Pulse to combine. Place ¾ teaspoon active dry yeast into 3-1/3 oz. of 105 to 110 degrees F water for five minutes. (Just heat the water in the microwave for a few seconds and use a meat thermometer to test for temperature before adding yeast.) Now add ¼ cup cold water to the yeast mixture. With the food processor running on dough speed, slowly pour the water/yeast mixture through the feed tube into the swirling flour until the water is absorbed and the dough forms a ball and cleans the sides of the food processor bowl. Process dough for 45 seconds longer. Dough should be smooth and elastic. Place the dough into a lightly floured, large Ziploc bag to rest and rise until doubled in size for an hour or so. A nice warm sunny window or dashboard will work just fine.
Punch down and allow dough to rise again in bag for another hour. Flour your fingers and remove dough from bag, shape into round loaf and place on parchment paper on small cookie sheet. Cover loosely with plastic wrap and let dough double in size again for an hour. Dust loaf with flour, cut a couple of diagonal slashes into its top about ¼ inch deep and then bake in a 425 degree oven for 25 to 30 minutes until browned and hollow sounding when tapped. Break apart and enjoy warm, buttered bread with your meal or wait until fully cooled before slicing.