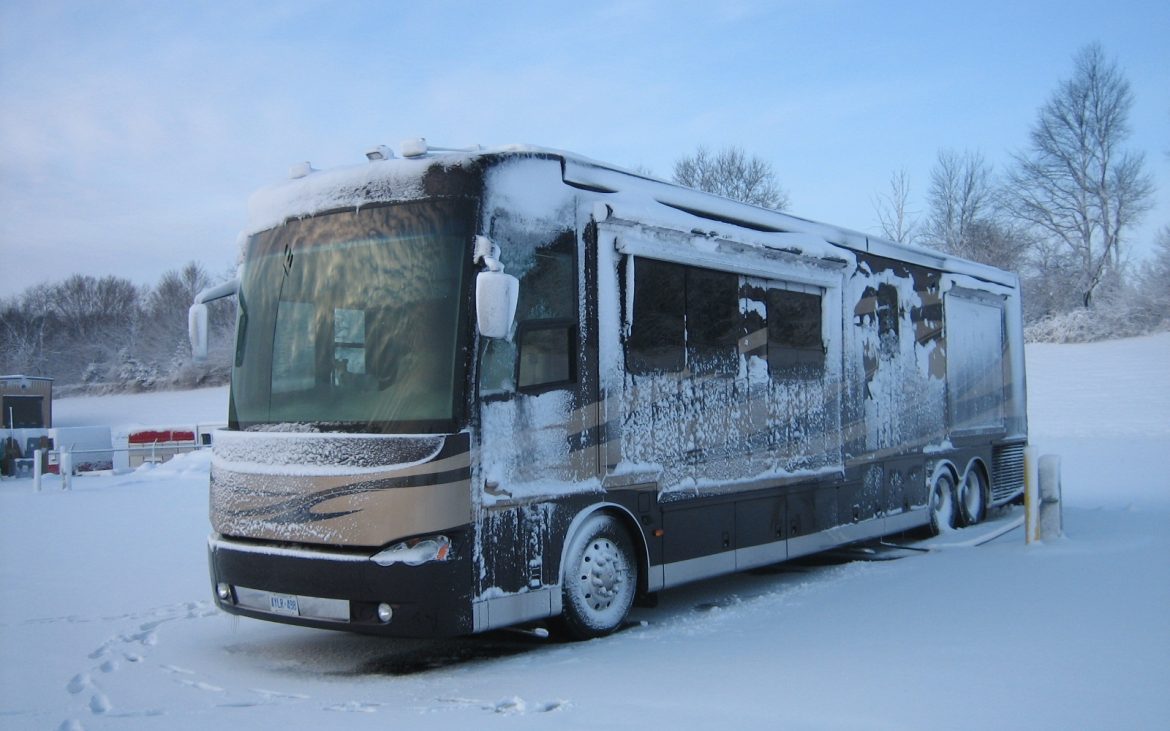
The shorter days and cooler nights are a sign that seasonal changes are afoot. It soon will be time to get your RV ready for the cold grasp of winter. This means winterizing the unit for its long off-season hibernation.
With so many RV brands and model levels, it is impossible to list the step by step procedures, but they can be found within the manuals of your specific unit. We can, however, look at the two methods that are used.
The first, and most popular, is the use of RV antifreeze for your RV’s plumbing system. This requires the draining of the water tank, hot water tank, and all the water lines and related components throughout the unit. This is then flushed and filled with the pink RV antifreeze. Generally you will be circulating the antifreeze through the water pump to all the internal lines and into the sinks and drains.. Do not put antifreeze into the fresh water tank. Many RV fresh water systems include a pump intake alternative hose requiring only opening and closing two valves. But again, refer to your specific manufacturer’s instructions.
Tips for Antifreeze Method:
- Use only propylene-antifreeze-based RV plumbing antifreeze.
- Remove filter elements and water from any in-line water filters, galley, whole house, etc.
- Pour some antifreeze into all drains to protect the traps. Don’t forget the shower and, if applicable, the washing machine drain.
- Be sure to flush all taps until the pink color is visible.
The less-used method also requires the draining of the tanks, both the reservoir and hot water tank. Then the water lines and related plumbing components are purged dry using compressed air. Basically, the water in all the water lines and components are evacuated of all water. This winterizing method is probably used less, as it requires the owner have a compressor and a method of adapting the air pressure line to the system.
Tips for Compressed Air Method:
- Flush using a pneumatic air pressure regulator set to deliver about 40 PSI.
- Remove filter elements and water from any in-line water filters, galley, whole house, etc.
- Never exceed 50 PSI or plumbing may be damaged.
- RV antifreeze will still be required for the drain traps as air pressure cannot fully clear the elbows.
Regardless of which method you chose, don’t forget any not-so-used components like an outside water compartment shower. Making a check list for this procedure can be a great help. This can also be a help in future years in making sure you don’t miss anything.
Oh, there is a third, and perhaps best winterizing method!
Best Winterizing Method
- Insert ignition key and turn until engine starts.
- Put unit in gear and point front end of RV towards south.
- Push accelerator pedal until you see palm trees.
- Stop and enjoy!
Peter Mercer – Dealing With Old Man Winter
