

By Monique & Barry Zander, the Never-Bored RVers
Among the numerous requests for the reverse side of our e-Postcard were a few requests for information, primarily about how to enter text in the writing section on “the back.” I’ll get to it in a moment …
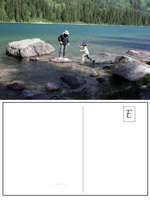
… but first, to those asking where the photo was taken of Monique and me that appeared in yesterday’s blog. It was taken by our daughter-in-law, Debbie, an excellent photographer, at Avalanche Lake in Glacier National Park, Montana. It was shortly before granddaughter Amy slipped off a rock into the glacial water. Monique has her cap and hiking stick in her hand; I have my “Gilligan” hat.
The number of responses in the Comments Section in the original article and in e-mails taking us up on the offer to send the format of the e-Postcard reverse side has been overwhelming. We certainly appreciate your interest.
And now, as promised, instructions on putting text on the e-Postcard:
I use Photoshop to create the e-Postcards. If you use a different program (like iPhoto or Corel) and know how to accomplish the same task, I’m sure readers would appreciate your instructions in the Comments Section below.
I write out wording for the e-Postcard in Word, spell-check it, and save it with an appropriate title (i.e., Avalanche Lake). Then I Select All (either Control A or under “Edit”) and copy. (Right-Click Copy or Control C or under edit, “Copy”).

I then click on the text tool “T” in the left-side menu and, holding down the left-side mouse key, I draw a block covering the area where the text is to go. 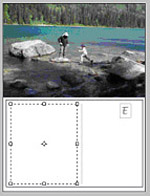

If all this sounds complicated, it probably is — until you get used to it — but it’s absolutely no different than following a cooking recipe or putting together a metal shed. We’re almost there!

I like to keep the text size at 14 to 15. If you have to reduce it more, you may be losing the “quick-read” feature by writing too much.
Once the text is in place and everything looks right, you need to merge the layers or flatten the image under the Layers menu, which you can find under the Windows drop-down. At the top, under the “X” is a little arrow pointing to the right. Click the arrow to find the merge and flatten image features, and click either one.
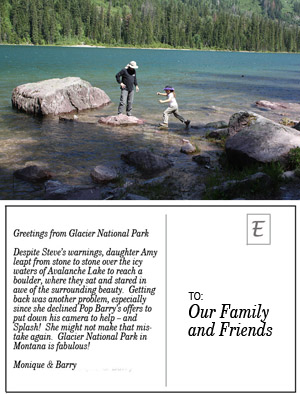
Save the entire file as your e-Postcard [e.g., Avalanche Lake e-Postcard], and it’s ready to go.

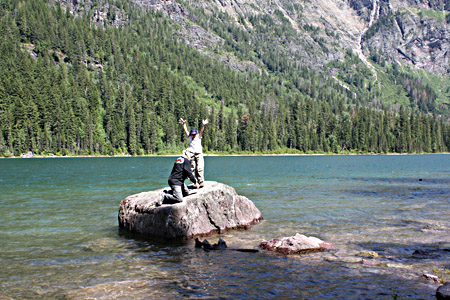
Follow-Up -- AMY MADE IT, but the adventure wasn't over
Aren’t you glad you asked?
Once again, we want to express our sincere appreciation for all the responses to previous articles.
From the “Never-Bored RVers,” We’ll see you on down the road.
© All photos by Barry Zander. All rights reserved