


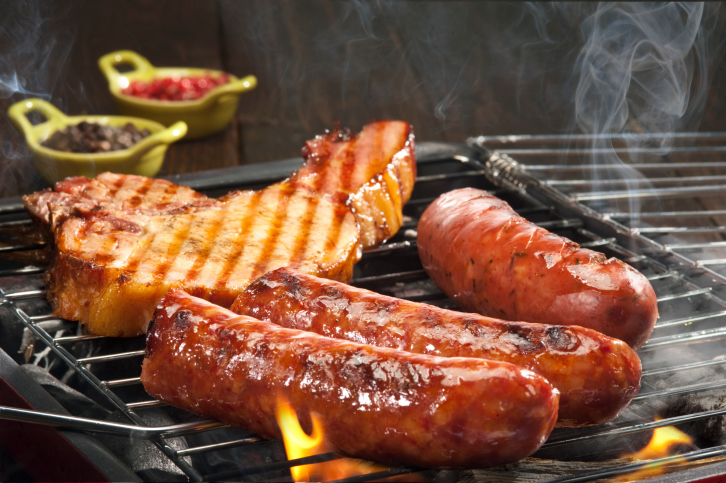
For RVers, barbecuing is as much a part of the RV Lifestyle as camp chairs and campfires. The two most popular ways to barbecue are with charcoal and gas. Aficionados defend their methods, but either way will produce tasty barbecued food, though there are a few fine points that differ between them.
BRIQUETTES
Place briquettes in a mound over a scrunched up pile of paper. Light the paper to get the fire going on the coals. Use starter fluid to soak coals to achieve easier lighting. If you use fluid, wait until all of it burns away before cooking or your food will taste off. Wait until the coals are a uniform gray with a slight red glow, then spread the coals out uniformly over the bottom of the grill, or use more on one side than the other if you are cooking foods that require more or less heat.
GAS
A gas barbecue is a natural for RVers as they already carry a supply of propane gas and don’t need briquettes or a chimney. A quick connect hose (available from Camping World) enables hooking up your barbecue with your RV’s propane supply so you don’t need to carry those little green bottles. A gas barbecue is quicker to set up and start cooking, easier to clean up (no hot coals to dispose of), and no starter fluid required. There is an ongoing debate over whether briquettes produce better tasting meat, but most of the flavor will come from the juices of the meat dripping down on the hot grill and smoking.
COOKING
Spray your grill with a non-stick spray or rub with olive oil to prevent sticking. Handle your meat with tongs rather than sticking with a fork which allows juices to escape.
Until you hone your skill at detecting the proper doneness of your offerings, use a meat thermometer to read the interior temperature of what you are cooking. A digital thermometer is inexpensive, easy to use (insert the probe into the middle of the meat, fish, or fowl and read the temperature), and is especially good for cooking large cuts like roasts and whole fish. Recommended temps are included with the scale.
Cooking time will depend on temperature inside the grill (assuming you use one with a lid and temperature gauge)—slow cooking producing more uniform doneness and usually retaining more flavor.
Spread barbecue sauce on near the end of the cooking time or marinate raw meat, fish, and fowl for an hour (or even overnight) before placing on the grill. There are lots of good and spicy barbecue rubs available also to jazz up your cooking.
Barbecue grill mats can be used for cooking veggies (peppers, onions, mushrooms, etc.) or small items like shrimp that may fall through the grill. Lay the mat on top of the grill and spread out the food turning with a spatula as necessary until done. Just wash the mat off and leave to dry and it leaves your grill clean also. A mat can also be used for cooking flaky fish.
For the finer points of barbecuing and for preparing unique fare buy a good How to Barbecue book and keep it handy—and don’t be afraid to experiment with lots of different foods, marinades and rubs. You will be able to assess the results of your efforts by the smiling faces around the picnic table.
You can find Bob Difley’s RVing ebooks on Amazon Kindle.