Take the following winter RV storage steps for safe vehicle hibernation.
Fall is well underway, but it doesn’t have to mean the end of your RV camping. The fall colors can be beautiful and often provide some of the best camping memories. With an Indian summer, the camping season can run well into November in some regions.
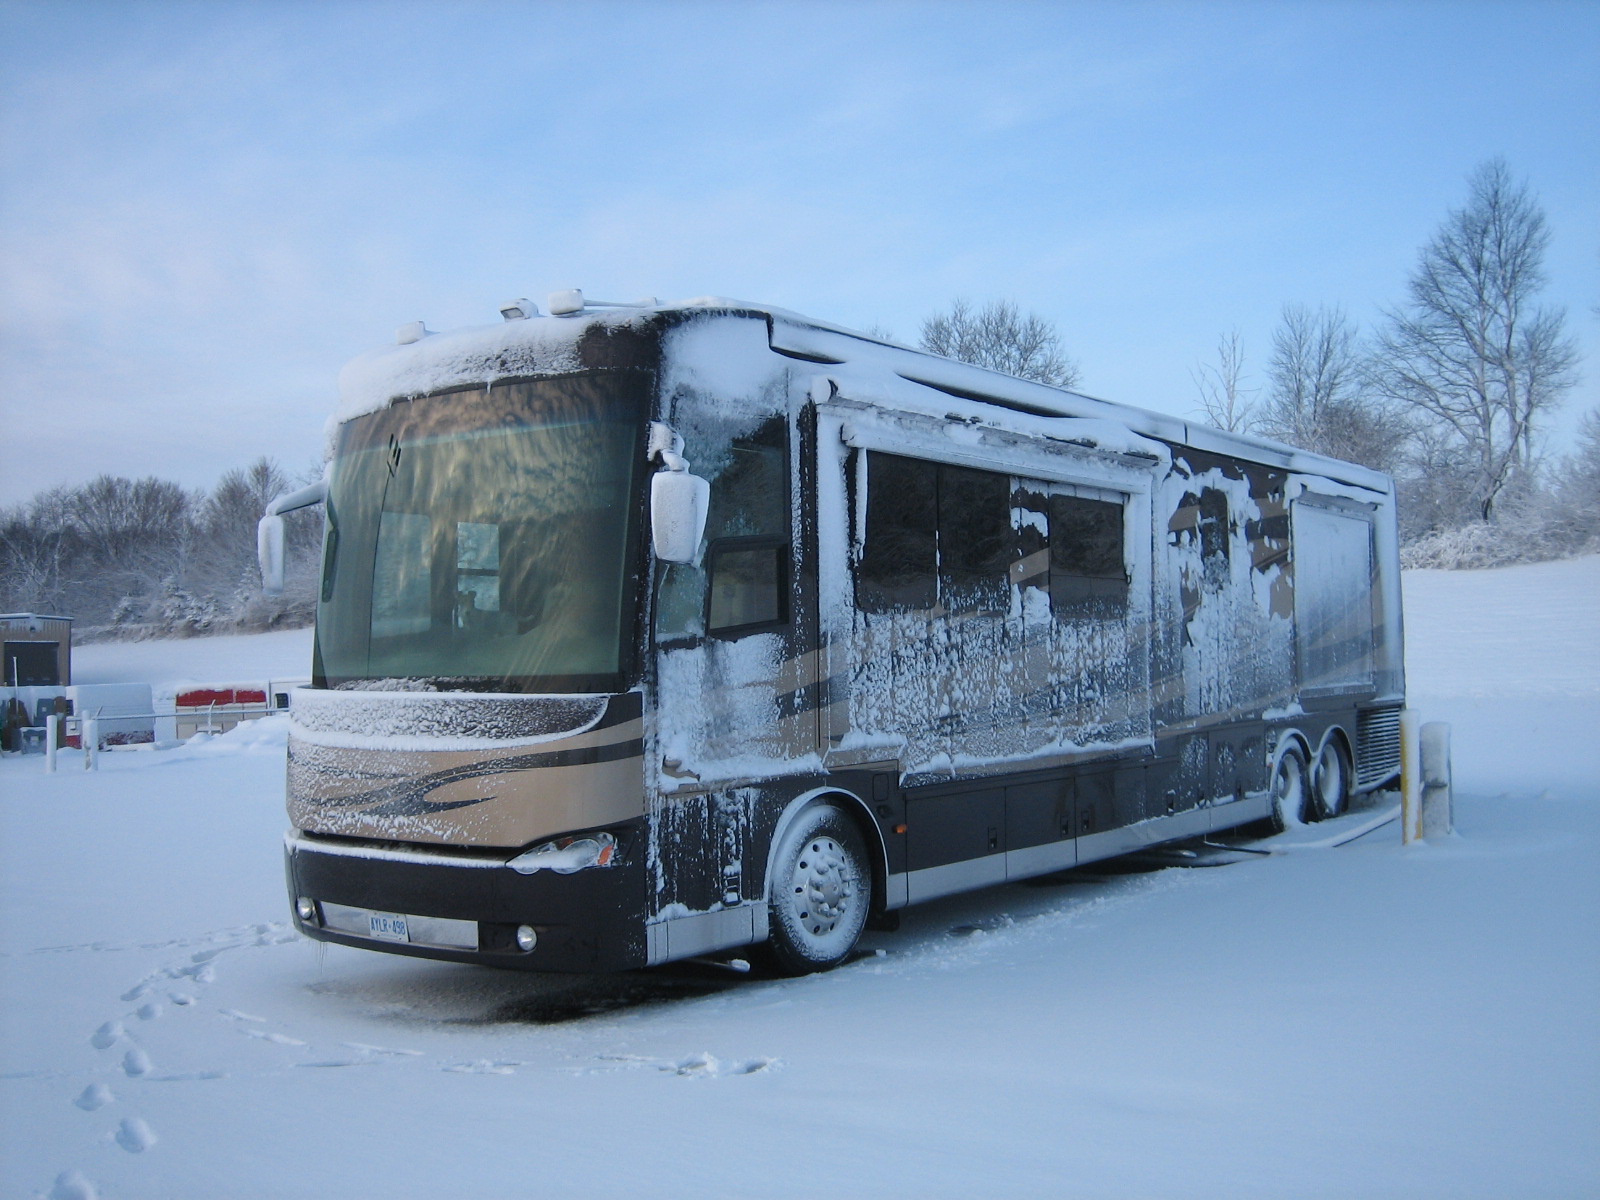
Photo: Peter Mercer
But for folks who don’t live in the Sun Belt and have no plans for snowbirding, the impending winter brings the chore of properly storing your RV. Here’s a list of tasks to perform:
1) Wash the Entire Unit
Thoroughly washing the RV can best be performed prior to it being put in its storage location. Splatted insects, bird droppings, dirt and grime can severely damage painted and gel-coated surfaces if left untreated for an extended time. Likewise, accumulated mud and road grime can cause corrosion to the chassis frame, running gear and related undercarriage components. A good pressure sprayer can quickly remove most, if not all, of this. Tires must also be cleaned thoroughly on both the outside and inside sidewalls. Dried dirt can leach some of the tire’s chemical makeup from the casing. This can substantially shorten the life of the tire, causing wall cracking and reducing its efficiency.
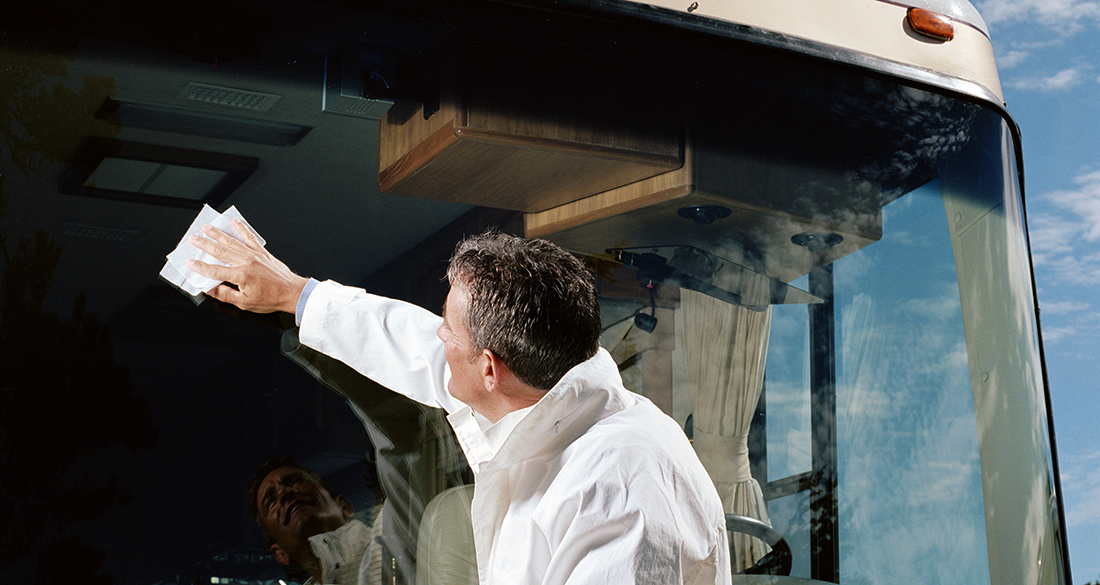
Photo: Getty Images
2) Plumbing Line Evacuation
Before flushing the plumbing, remove any water filter elements that are present. Turn the hot water 120-volt AC breaker off. Remove the hot water tank drain plug and drain all water. Reinstall plug when empty. Configure the hot water tank bypass (methods vary depending depending on the manufacturer).
Purging the water can be done by pumping RV antifreeze through the system or by using compressed air to force the purge product. When flushing with the RV antifreeze, flush all taps, shower heads and toilet valves until you can see and smell the red-colored antifreeze. For air flushing, continue until all water has been evacuated. Find more detailed water-flushing instructions here.
Drain and flush any additional components such as hydronic heater, icemaker, clothes washer, dishwasher, outside shower, etc. Follow the specific winterizing directions for these components as outlined in the owner’s manual. Pour a couple of cups of RV antifreeze into the sink P-traps, dishwasher, clothes washer and shower drain. Note: Use only propylene antifreeze designed specifically for RV plumbing.
3) Empty Gray and Black Tanks
Empty and flush both the gray and black holding tanks at a local RV dump station. In addition to the internal flushing of the black tank, if so equipped, pour a couple of buckets of water down the toilet while dumping to help obtain better flushing results.
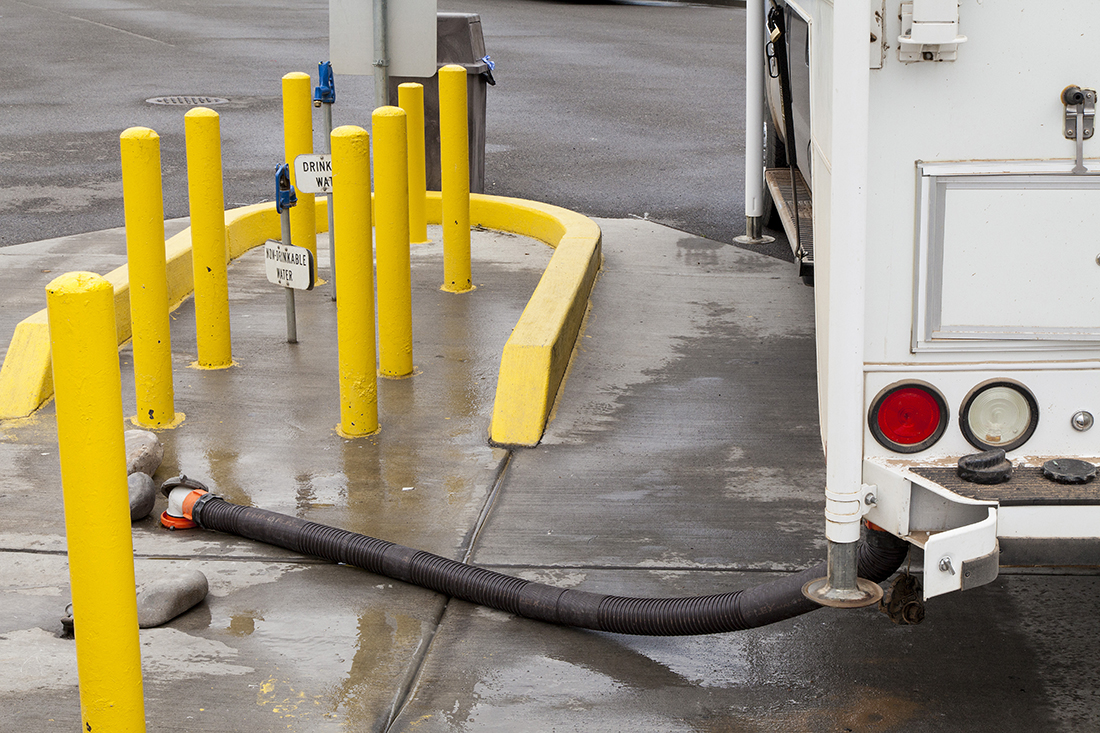
RV at a dump station. Photo: Getty Images
4) The Freshwater Reservoir and Low Points
Drain the freshwater tank and open the low-point drains. Doing this prior to arriving at the storing location will not only keep your storage area drier but will also help with the total evacuation of all the water pockets as the unit travels.
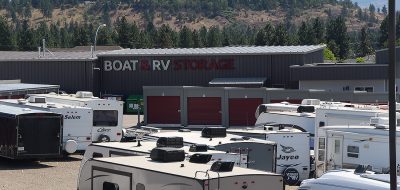
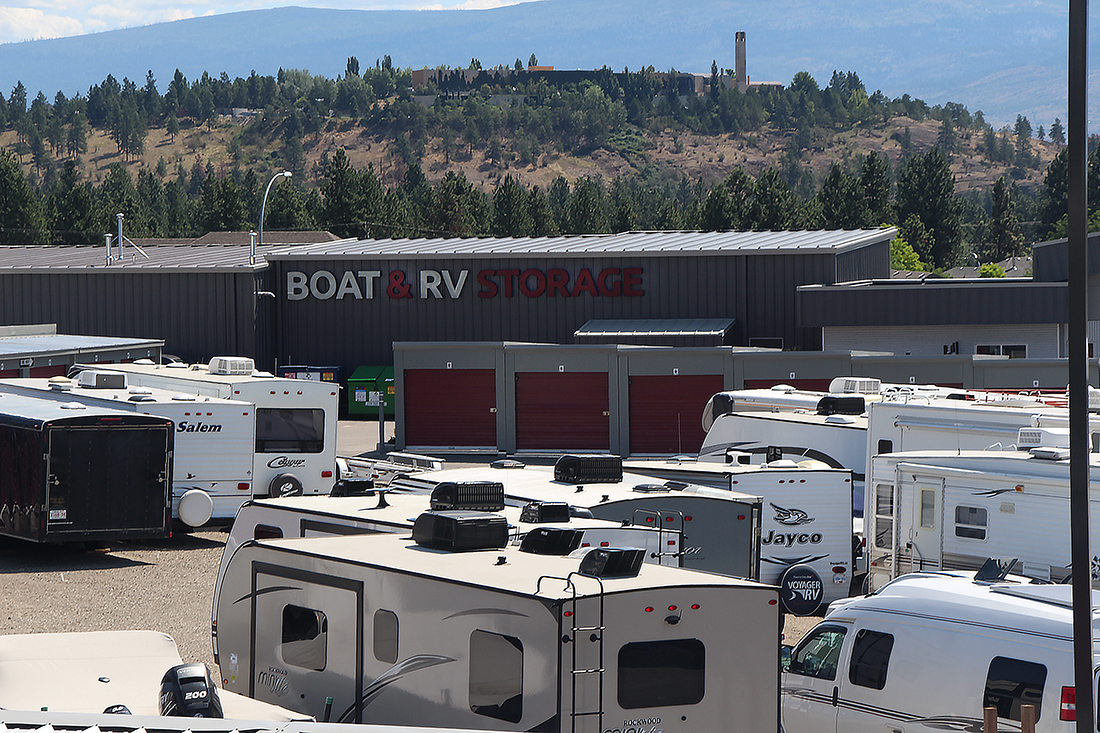
OK, with the above being completed, it’s time to head to the “Barn.” Whether you are storing outside or inside (not heated), the requirements will be about the same. The main items that need attention fall into three categories: tire care, freeze protection and electrical setup. With most of the freeze protection already done, we will look at the tire care and electrical items that need attention.

Photo: Camping World
5) Tire Care
The RV should be stored parked on a dry surface. Avoid parking directly on concrete as it will leach some of the chemical components from the tire casings over time. The use of thin plastic cutting sheets between the concrete and tires will protect them. Also be sure that water pooling cannot happen where the tires sit.
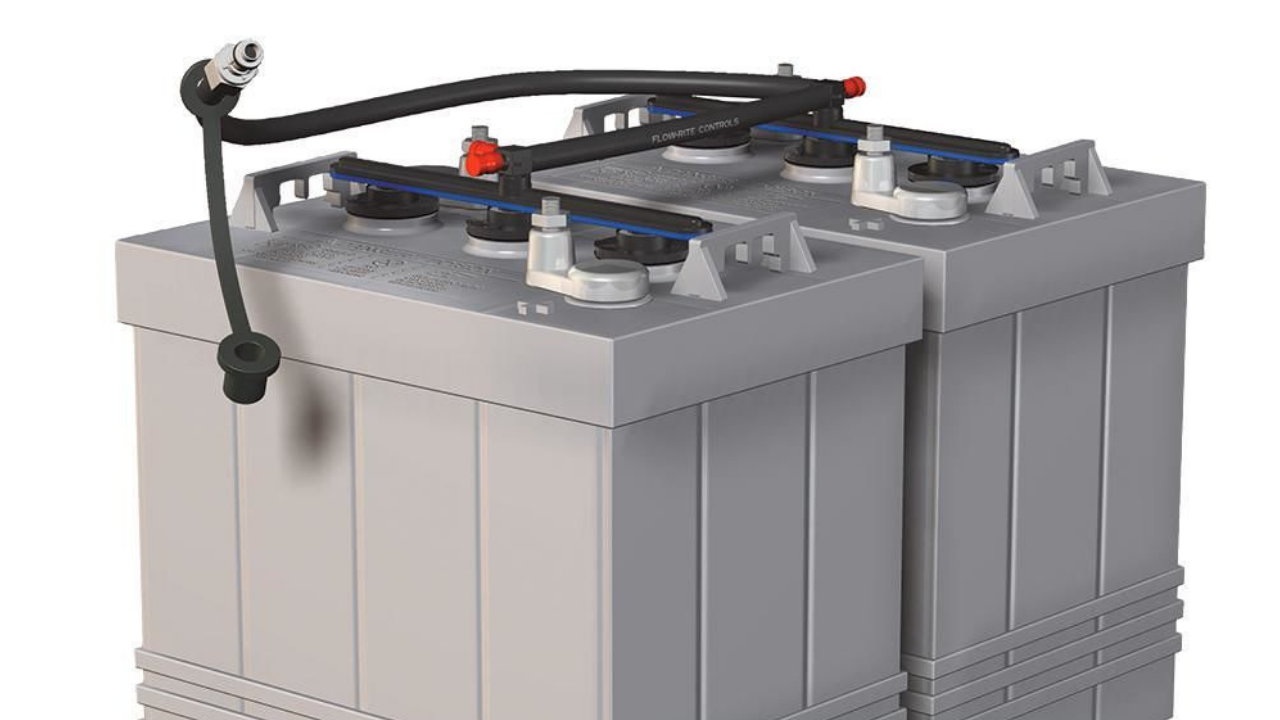
Photo: Julie Chikery
6) Battery Removal and Storage
This is one option. Batteries can be removed, charged and stored elsewhere. Be sure to service and inspect them at this time. Top off the cells with distilled water and inspect for any case swelling or physical damage. Do not store these directly on a concrete floor. Place on a shelf or wooden surface.
7) Battery In-Place Storage
Many RV owners prefer to leave the batteries in place. If no AC household power is available during the storage, disconnect the batteries. This is best done by removing the negative ground cables from the batteries. Be sure to fully charge the batteries prior to this.
8) Batteries In-Place With AC Power
If AC shorepower is available and the unit is equipped with an onboard automatic charger, it can maintain the batteries during the storage period. If the shorepower output is only a 15/20-amp duplex, it may require you to reconfigure the charger output amperage to the lowest value. Failure to do this can result in tripping the breaker should a surge occur. Also be sure to turn off all other AC breakers within the RV.

Photo: Public Domain Pictures
9) Smoke and Carbon Monoxide Detectors
Remove the batteries from the smoke and carbon monoxide detectors. Batteries also should be removed from clocks and other small devices.
10) 12-Volt DC Accessories
With batteries present during storage, any continuous 12-volt DC drawing components should be disabled. These may include GPS systems, radios, back switch lighting, refrigerator lighting, etc. In some cases the removal of fuses may be necessary to disable such devices.
Hopefully this gives you a basic overview of RV storage preparation. It’s impossible to cover every unit’s specific needs. Refer to the vehicle’s owner’s manual for detailed information on your model.
So, once your rig is safely tucked away, it’s time to start planning for the next season’s camping journeys.
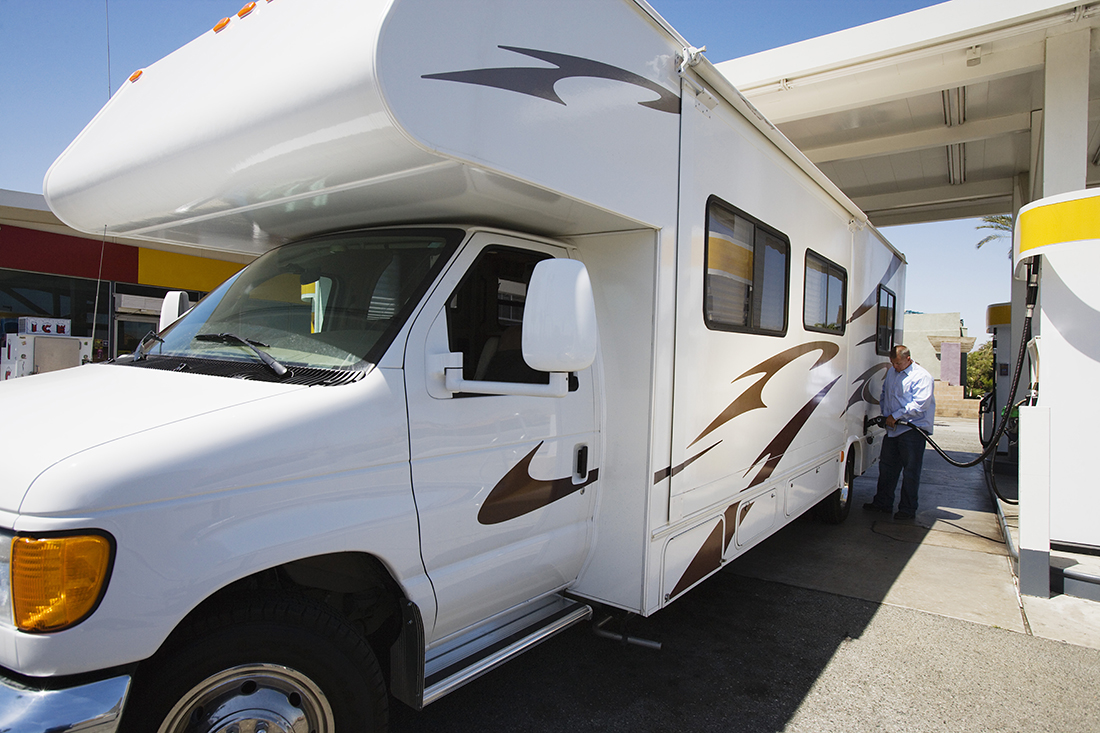
Photo: Getty Images
11) Top Off The Fuel Tank (For motorized RVs)
Fill the fuel tank completely. Fluctuating temperatures in a fuel tank can lead to fuel water contamination. Air or vapor space in the tank can change temperature quicker than the fuel, resulting in possible condensation contamination. Diesel-powered vehicle owners: Do not refuel with biofuel B20 for any storage period that is longer than three months. If there is B20 already in the tank, dilute with a biofuel-free fuel or a B5.
Peter Mercer — Getting The RV “Barn Ready”